

Wool accounted for 0.9% of the global fiber market in 2024, with approximately 1.98 million tonnes of greasy, or unwashed, raw wool that year, according to Refashion's practical guide to wool. That's why wool fat quarter bundles work best when you plan them like a specialty material, not like quilting cotton. Test one piece for felting, measure usable area before you cut, and reserve wool for motifs and accents where its loft and matte color earn their cost.
What Wool Fat Quarter Bundles Are and Who Uses Them
A wool fat quarter bundle is a set of wool pieces, usually cut to 18 by 21 inches, chosen in coordinated colors so the set works as one palette. It is like a box of paint tubes. You get enough shades to build a scene without buying a full yard of every color.
Say you're making a small autumn wall hanging. You might need rust for a pumpkin, olive for leaves, brown for a stem, and cream for a moon. Buying yardage of each would leave you with expensive remnants. A bundle gives you those small cuts together, already coordinated, so you can cut several motifs and move the leftovers into your stash for the next project.
People have woven wool for thousands of years, but a 2021 PMC review of wool's history places wool at about 1% of global textile-fiber supply today. It's a specialty fiber now, valued for warmth, texture, and handwork rather than for large, washable quilt tops.
Who This Is For
- Appliqué stitchers: You need many small colors for flowers, animals, and seasonal motifs.
- Penny rug makers: Layered circles and tongues use small amounts of several shades.
- Ornament and bag makers: Thick wool and wool felt hold shape in small, handled pieces.
- Mixed-media quilters: You want wool accents on a cotton background, not a whole wool top.
Wool works best as an accent, not a background.
That one rule saves money and frustration. Wool backgrounds are bulky, harder to keep square, and risky if the finished piece gets washed. Use cotton or flannel for the large ground, then let wool sit on top where people see and touch it. From here, the practical questions are size, fiber behavior, selection, testing and care, suitable projects, quantity planning, and a final buying check before you order.
Fat Quarter Sizes and Yardage Equivalents
Start with the cut itself, because names can mislead you if you don't check dimensions. Our guide to fat quarter sizes and yardage equivalents uses the standard cuts below.
| Cut | Dimensions (inches) | Fat Quarter Equivalent |
|---|---|---|
| Fat eighth | 9 x 21 | 0.5 |
| Fat quarter | 18 x 21 | 1 |
| Quarter yard | 9 x 42 | 1 |
| Half yard | 18 x 42 | 2 |
| Full yard | 36 x 42 | 4 |
Why the Math Matches
A fat quarter and a skinny quarter yard hold the same area. A quarter yard off a 42-inch bolt measures 9 by 42 inches. Cut that same quarter yard in half across its width and you get 18 by 21 inches, which is the wider, squarer fat quarter shape.
Both cuts give you 378 square inches. The difference is shape, not amount. The long quarter yard suits borders and strips. The fat quarter suits blocks, circles, and appliqué templates that won't fit on a 9-inch strip.
Two Fat Quarters equal one half yard in area, and four equal one full yard. That conversion helps when a pattern calls for yardage but you want several colors. It does not mean four separate fat quarters can replace one continuous yard for a large background panel.
A fat eighth at 9 by 21 inches gives you half a fat quarter. It's handy for small leaves, berries, and penny rug circles. Fat Eighths sit in the same Precuts and Kits category at The Fabric Company, so you can mix the smaller cut in when a full fat quarter would waste wool.
Check Width Before You Compare
Quilting cotton math assumes a 42-inch usable width, not counting selvage. Wool yardage often arrives on a different set width, so always read the listed width for the bolt or bundle. If the width changes, the yardage conversion changes with it.
Don't trust the headline size as your cutting area, either. Templates need seam allowance, directional motifs need room to turn, and curved shapes leave awkward gaps between pieces. You'll lose more area than you expect on the first layout.
Paper test: Trace your largest template at true size, add its seam allowance, and lay it on a fat quarter before you buy a second bundle.
That ten minute test tells you more than any chart. If the template barely fits once, you don't have room for cutting mistakes or matching a directional weave. If it fits four times with space to spare, one fat quarter may cover that color for the whole project. I would lay out every shape for one color on paper first, then order. It's slower at the start and much cheaper than discovering you're short after the first cut.
How Wool Compares to Cotton and Other Precuts
Choose wool for appliqué, penny rugs, ornaments, and bags. Choose cotton precuts for large piecing and frequent washing. That verdict comes down to moisture, stability, and care, not to which fabric looks better on the shelf. If you're still weighing backgrounds, our notes on how to choose quilt fabric for stability and use pair well with the table below.
| Material | Loft and Warmth | Dimensional Stability | Care Risk | Best Use |
|---|---|---|---|---|
| Woven wool fat quarter | Medium, warm | Changes with moisture and heat | High if washed | Appliqué and accents |
| Wool felt fat quarter | Dense, thick | Holds shape well, edges resist fraying | Moderate | Ornaments, bags and appliqué |
| Quilting cotton fat quarter | Flat, light | Stable after prewash | Low, machine washable | Piecing and quilt tops |
| Cotton flannel fat quarter | Soft, fuzzy | Shrinks at first wash | Moderate | Cozy quilts and baby projects |
| Charm pack or 10-inch squares | Small, varied pieces | Same as cotton | Low | Scrappy patchwork |
The Moisture Problem
Wool is hygroscopic, which means it takes up moisture from the air. Published technical data summarized in a Journal of Natural Fibers study on wool fabric contraction place moisture regain at around 13.6% under ordinary commercial conditions and as high as approximately 33 to 35% in saturated air. As fibers swell, yarn crimp changes and the fabric can shift size before you ever wash it.
Say you cut a 4-inch motif in a dry, air-conditioned studio, then press it with steam on a humid day. That motif can relax or contract enough to throw off a tight appliqué layout. Let wool sit flat in the room where you'll cut it, then measure after pressing.
Quilting cotton behaves differently. It stays flat and light, and it turns predictable once you've prewashed it. Cotton flannel is softer but shrinks at the first wash, so it needs its own test if you plan to pair it with wool.
Wool earns its place in appliqué for three reasons. Its loft lifts a motif off the background, its matte surface holds deep color without shine, and wool felt edges resist fraying when you stitch them down. Cotton precuts from Precuts and Kits win on price, washability, and square piecing. Pick based on the finished piece's job, not on habit.
How to Choose Colors, Weights and Brands
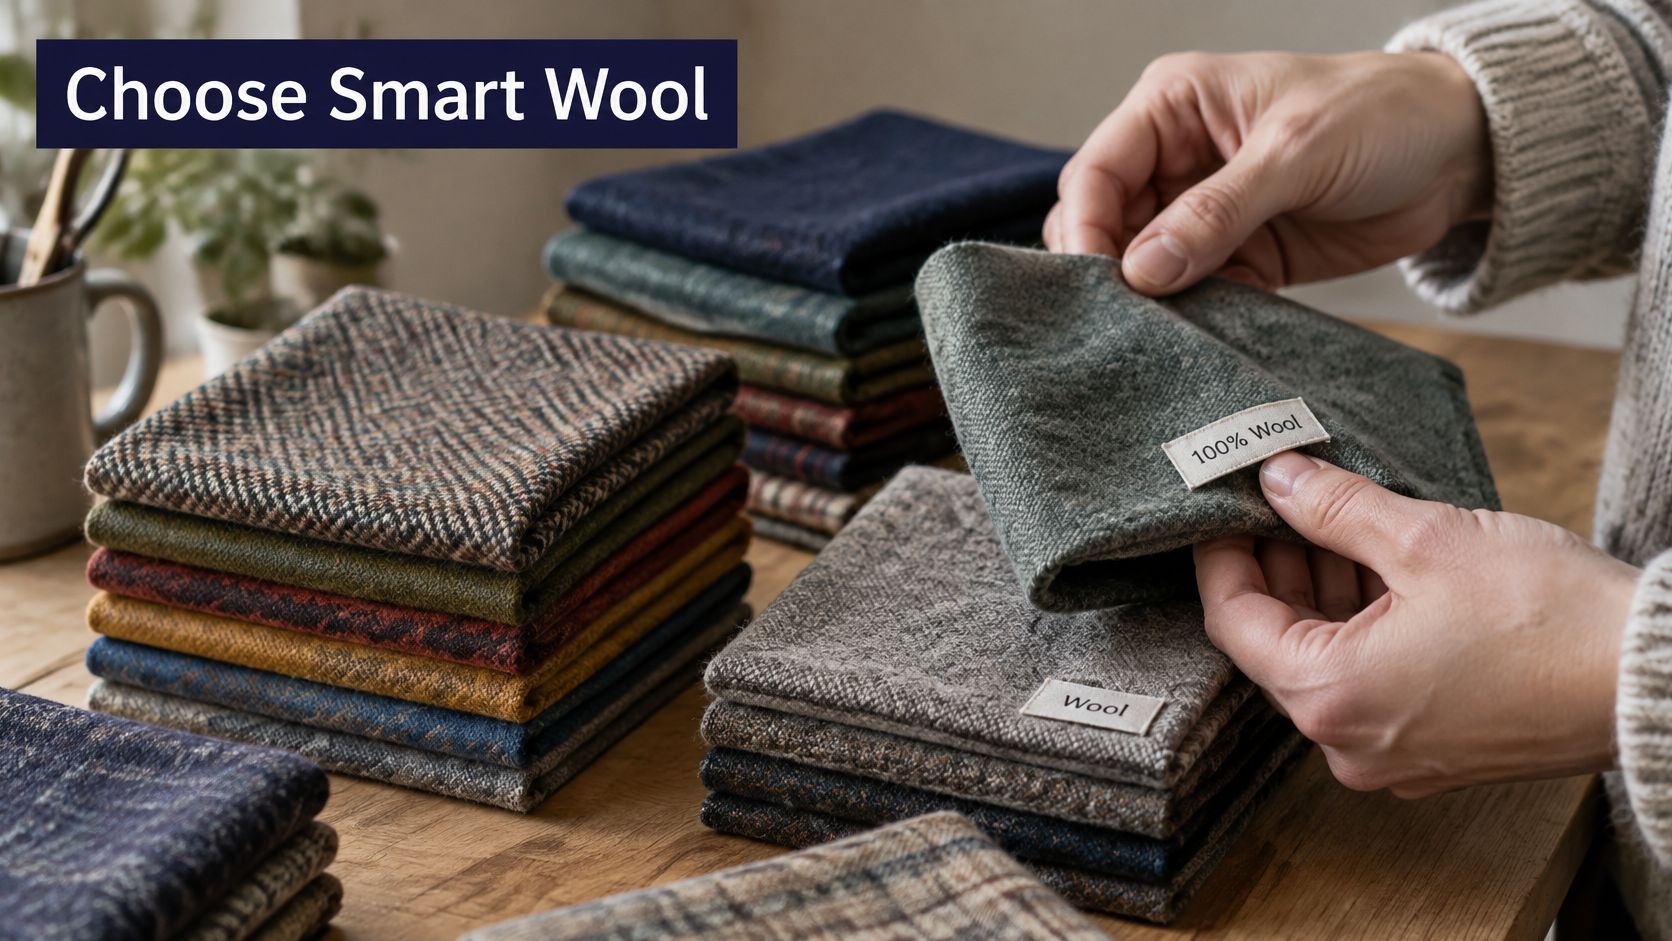
An 18 by 22 inch fat quarter provides roughly 396 square inches on paper. Wool offers less in practice. Once you square a wavy mill edge, avoid a thin spot, and allow for relaxation after pressing, usable area shrinks quickly. Judge a bundle by what you can cut from it, not by the package photo.
Photos also hide thickness and drape, which decide whether a piece needles cleanly or fights you around curves.
Shelf Checklist
- Fiber content: Read whether each piece is 100 percent wool, a wool blend, or wool felt. A blend changes how the fabric responds to heat and steam.
- Finish: Check for untreated, washable, or shrink-treated on the label. Don't accept the word wool alone as a care specification.
- Weight and thickness: Lightweight woven wool needles easily and drapes over curves. Felt is thicker, holds a crisp edge, and suits layered shapes.
- Color values: Look for one light, one medium, and one dark, plus a neutral. Motifs disappear when every piece sits at the same value.
- Dye consistency: Hand-dyed wool shifts from piece to piece, which adds depth but breaks matching. Buy enough from one lot for a single project.
- Brand and mill: Write brand names exactly as the seller lists them, and note whether the mill or dyer is named. That record helps when you reorder.
- Seasonal themes: Autumn rusts and Christmas reds suit ornaments and wall hangings. Buy seasonal bundles early enough to test before a gift deadline.
Our Springfield, Tennessee showroom lets you handle wool in person, so you can judge its hand and weight before buying. Lay two or three candidates over your background fabric and step back six feet. Value contrast reads clearly at that distance.
Before you cut, review how to prepare craft fabrics from Display Guru for general handling basics, then apply the wool specific test that follows in this guide. General prep advice assumes cotton, so don't copy a hot wash routine onto wool.
This short video shows how thickness and edge quality look in motion, which still photos often flatten.
Order a sample before you commit to a full bundle. One fat eighth or single fat quarter tells you whether the weight needles well and whether the color matches your background. Measure the pressed, cooled sample and scale that usable area to the full bundle. I'd rather spend on one test piece than stretch a short bundle across a finished quilt.
How to Test and Care for Wool Before Cutting
Felting shrinkage cannot be reversed. A Technical University of Sofia conference paper on wool felting explains that wool's overlapping surface scales can interlock when moisture, heat, friction, pressure, and alkaline conditions act together. Once those scales lock, the piece stays smaller and its hand changes for good.
A short pretest protects the whole bundle. Our general guide on how to preshrink fabric safely covers cotton well, but wool needs the gentler routine below.
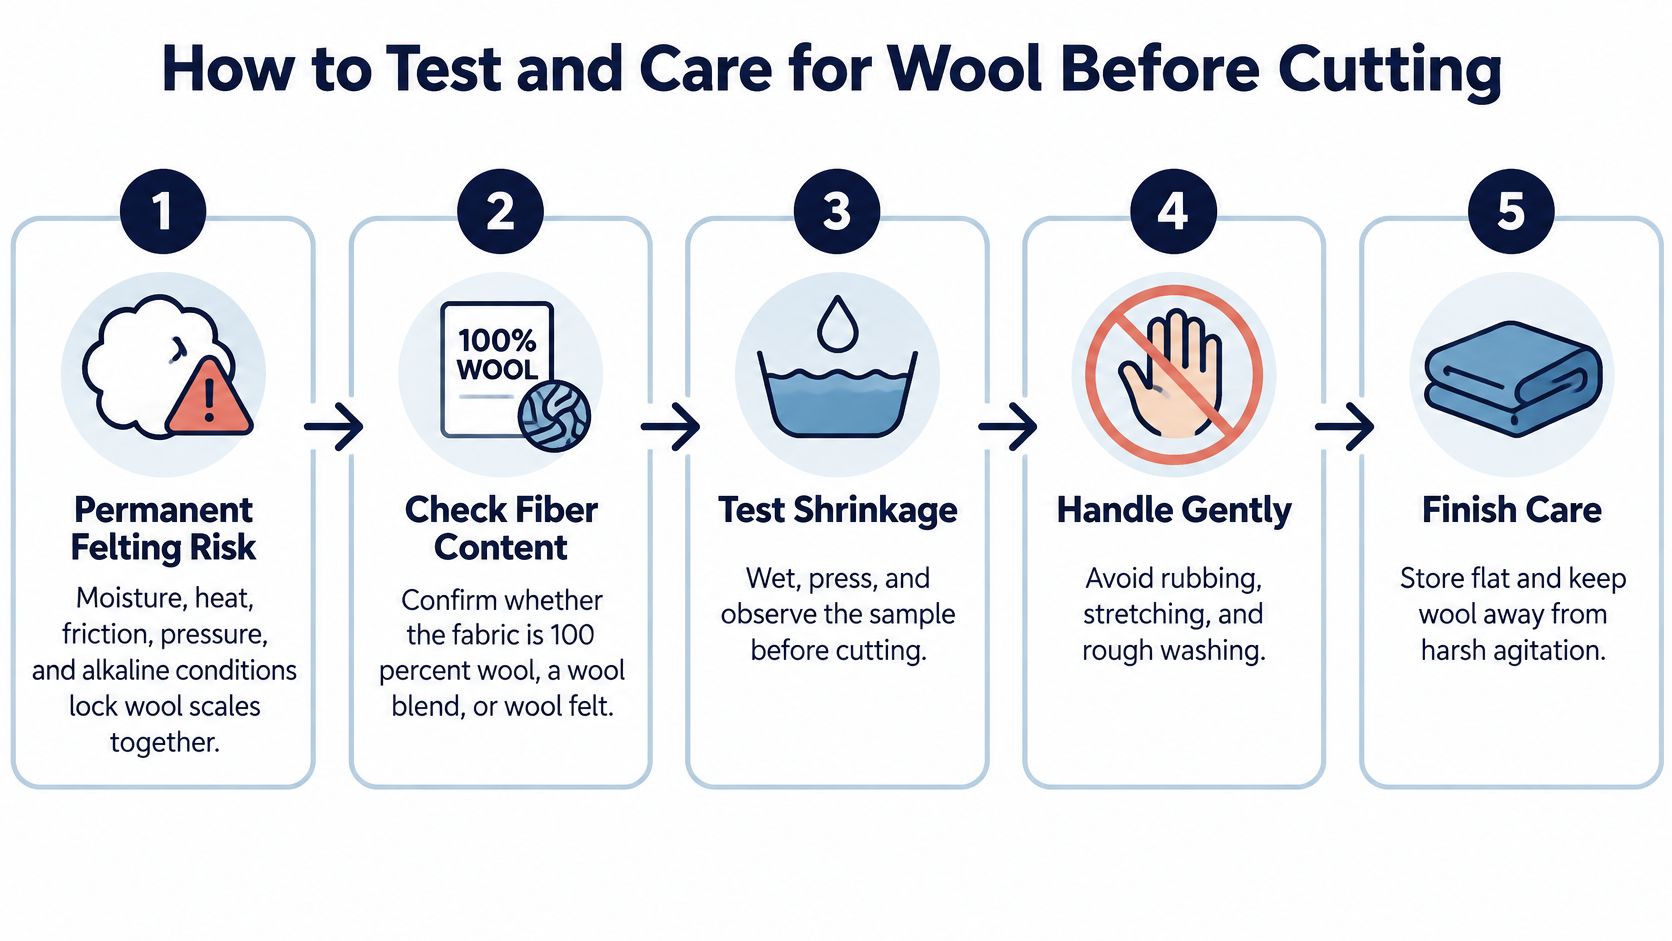
Six Step Pretest
- Read the label first. Confirm whether the wool is untreated, washable, or shrink-treated. That one line decides whether water belongs anywhere near your test.
- Cut a 4 by 4 inch swatch. Mark both diagonals with chalk or a removable pen and write down the measurements. Diagonals catch skew that a single edge measurement misses.
- Press with a press cloth. Use light, controlled steam and lift the iron instead of sliding it. Measure again once the swatch cools and dries.
- Wash only if the project will be washed. Soak the swatch in lukewarm water with neutral detergent, don't agitate it, roll it in a towel to remove water, reshape it while damp, and dry it flat.
- Avoid bleach and alkaline soaps. Alkaline chemistry raises felting risk, so keep strong detergents and free alkali away from the test basin.
- Cut only after the swatch holds size. If the test piece stays within a small tolerance you can live with, proceed. If it shrinks or thickens, change your care plan or your pattern allowance.
Wet wool is weaker wool. Never scrub, twist, or wring a test swatch.
That warning matters because damage during washing can look like shrinkage later. Support the wet piece with both hands, press water out gently, and let the towel do the work. Rough handling stretches some areas while felting others.
When Not to Wash
Some appliqué and decorative pieces are better left unwashed. Washing can flatten loft, soften a felt edge, and dull the surface you bought the wool for in the first place. If a wall hanging will never enter a laundry cycle, a dry press test may be enough.
Prewashing everything isn't a safe universal rule for wool. Match the test to the care the finished piece will get. A table runner that will meet spills needs a wash test. A framed ornament doesn't.
Pick your finish and wash method before you cut, then write both on the bundle label. That note stops you from treating two similar reds differently halfway through a project. It also helps anyone who helps you finish a charity or gift piece.
Storage That Protects the Test Result
Store wool bundles flat or loosely rolled, never folded hard along the same crease for months. Use breathable cotton bags instead of sealed plastic, which traps humidity and invites mildew. Keep bags away from direct light.
Separate wool from cotton so dyes and oils don't transfer in a crowded bin. Label each bag with fiber content, finish, and the wash method your test approved. Your next project then starts with facts, not memory.
Projects That Suit Wool Fat Quarters
Wool fat quarters suit projects built from small, layered shapes on a stable ground. They struggle when a pattern asks for long seams, sharp points across many blocks, or weekly washing.
These finished pieces show the scale where small wool cuts make sense.
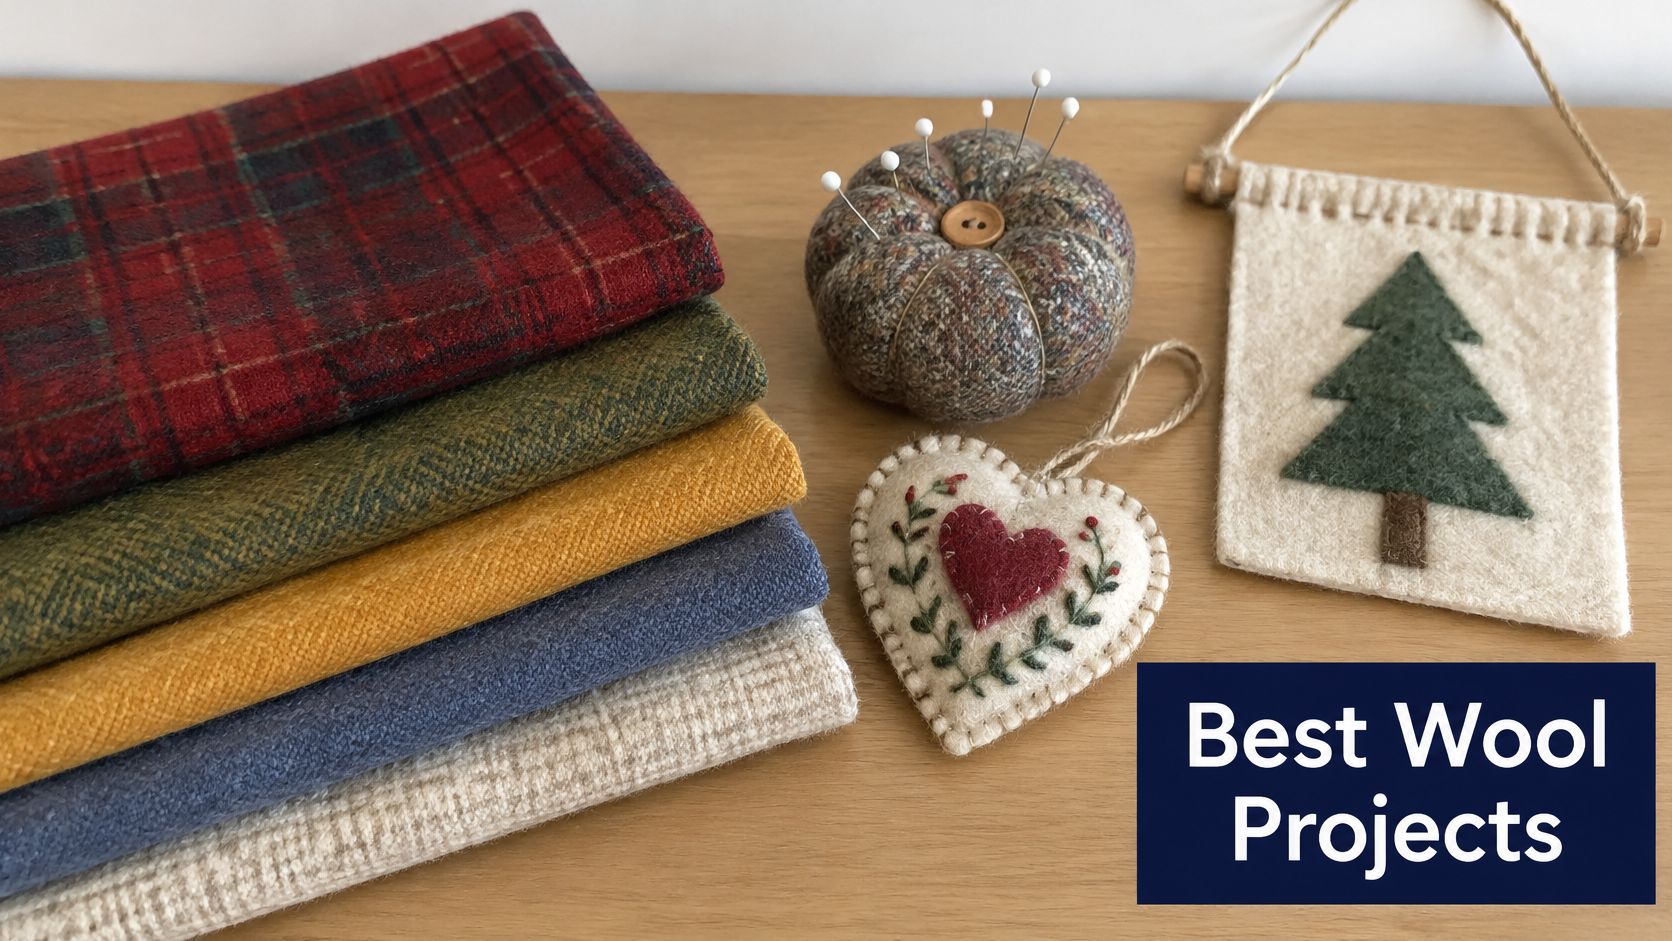
- Appliqué wall hangings: Wool motifs lift off a cotton background and hide raw edges under blanket stitch.
- Penny rugs: Stacked circles use many colors in tiny amounts, so bundle variety beats yardage.
- Ornaments: Felted wool holds a stuffed shape and won't fray at a narrow seam.
- Pincushions: Dense wool grips pins and gives the cushion satisfying weight.
- Small bags: Wool panels add structure and texture to a cotton lining and straps.
- Table runners: Wool accents sit on a washable cotton base that takes the daily wear.
- Mixed-media quilts: A few wool shapes add depth without changing the whole quilt's care routine.
Plan appliqué cuts larger than the finished motif. The Illinois State Museum appliqué instructions specify cutting the fabric motif with an additional one-quarter inch around the edges for a seam allowance. A shape that finishes at 4 inches therefore needs more than a 4-inch square of wool. If you're choosing motifs, browse our ideas for patterns for appliqué that fit small precuts and check each template against your actual bundle.
What to Gather
- Wool fat quarters: Pick these from Precuts and Kits once your test confirms fiber and finish.
- Cotton background fabric: A flat cotton gives contrast and keeps the piece square.
- Batting: Choose from Batting for loft, and pick needle-punched cotton when you want a flatter finish.
- 108-inch backing: A wide backing covers a quilt larger than lap size with no seam down the middle.
- Thread and needles: Use a sturdy hand needle that passes through wool without bending, plus thread that matches or deliberately contrasts.
Match wool and cotton by weight before you sew them together. A heavy felt motif on a thin cotton ground can pull the background out of shape. Pretest the pair with the same press and care method you'll use on the finished piece.
Start small. One ornament or pincushion teaches you how your bundle needles, presses, and holds an edge before you commit wool to a larger quilt.
How Many Bundles to Buy for Common Projects
Use the table as a planning estimate, then confirm it with a test layout. For quilt math beyond these small projects, see our guide on how many fat quarter bundles to make a quilt.
| Project | Finished Size | Estimated Fat Quarters | Background or Backing |
|---|---|---|---|
| Penny rug pillow | 16 x 16 inches | 3 to 4 | 1/4 yard backing |
| Table runner | 14 x 42 inches | 4 to 6 | 1/2 yard lining |
| Appliqué wall hanging | 24 x 30 inches | 8 to 10 | 1 yard background, 1 yard backing |
| Lap quilt with wool accents | 50 x 60 inches | 12 to 16 | Cotton top yardage plus 108-inch backing |
| Ornament set (6 pieces) | 4 inches each | 1 to 2 | Felt or cotton backing scraps |
Why Headline Size Overstates Yield
A bundle guide from Mrs. Quilty on fat quarter bundle planning notes that a standard fat quarter is approximately 18 by 21 inches, yet seam allowances, directional motifs, and layered construction make usable area substantially lower. Circles waste corners. Leaves waste the space between points. Directional weaves waste whatever doesn't face the right way.
Three Step Calculator
- Count every shape and add allowance. List each motif by color, then add one-quarter inch per edge where your method requires it. Total the area by color, not just for the whole project.
- Divide by usable area. Use a planning assumption of 60 to 70 percent usable for directional pieces and about 75 percent for simple motifs in your own worked estimate. Divide each color total by the usable square inches in one fat quarter.
- Add one spare per color. A spare fat quarter covers a miscut, a felted test piece, or a motif you decide to enlarge.
Say one color needs twelve 4-inch circles. With allowance and spacing, you might fit fewer circles per fat quarter than the raw area suggests. Lay paper circles on the wool and count real positions instead of dividing area alone.
Compare cost per usable square inch when you price a bundle against yardage. Divide the price by usable area, not by 378 square inches. A bundle may cost more per usable inch, but it saves cutting time and gives coordinated color you'd spend hours matching yourself.
A bundle is the wrong buy for large backgrounds, garment panels, and repeated blocks that need continuous fabric. Buy yardage for those parts. Remember that a coordinated bundle alone isn't project-ready, since backgrounds, linings, interfacing, and backings usually come separately.
Final Buying Check and Common Questions
Run this check before you order, while changing your mind still costs nothing.
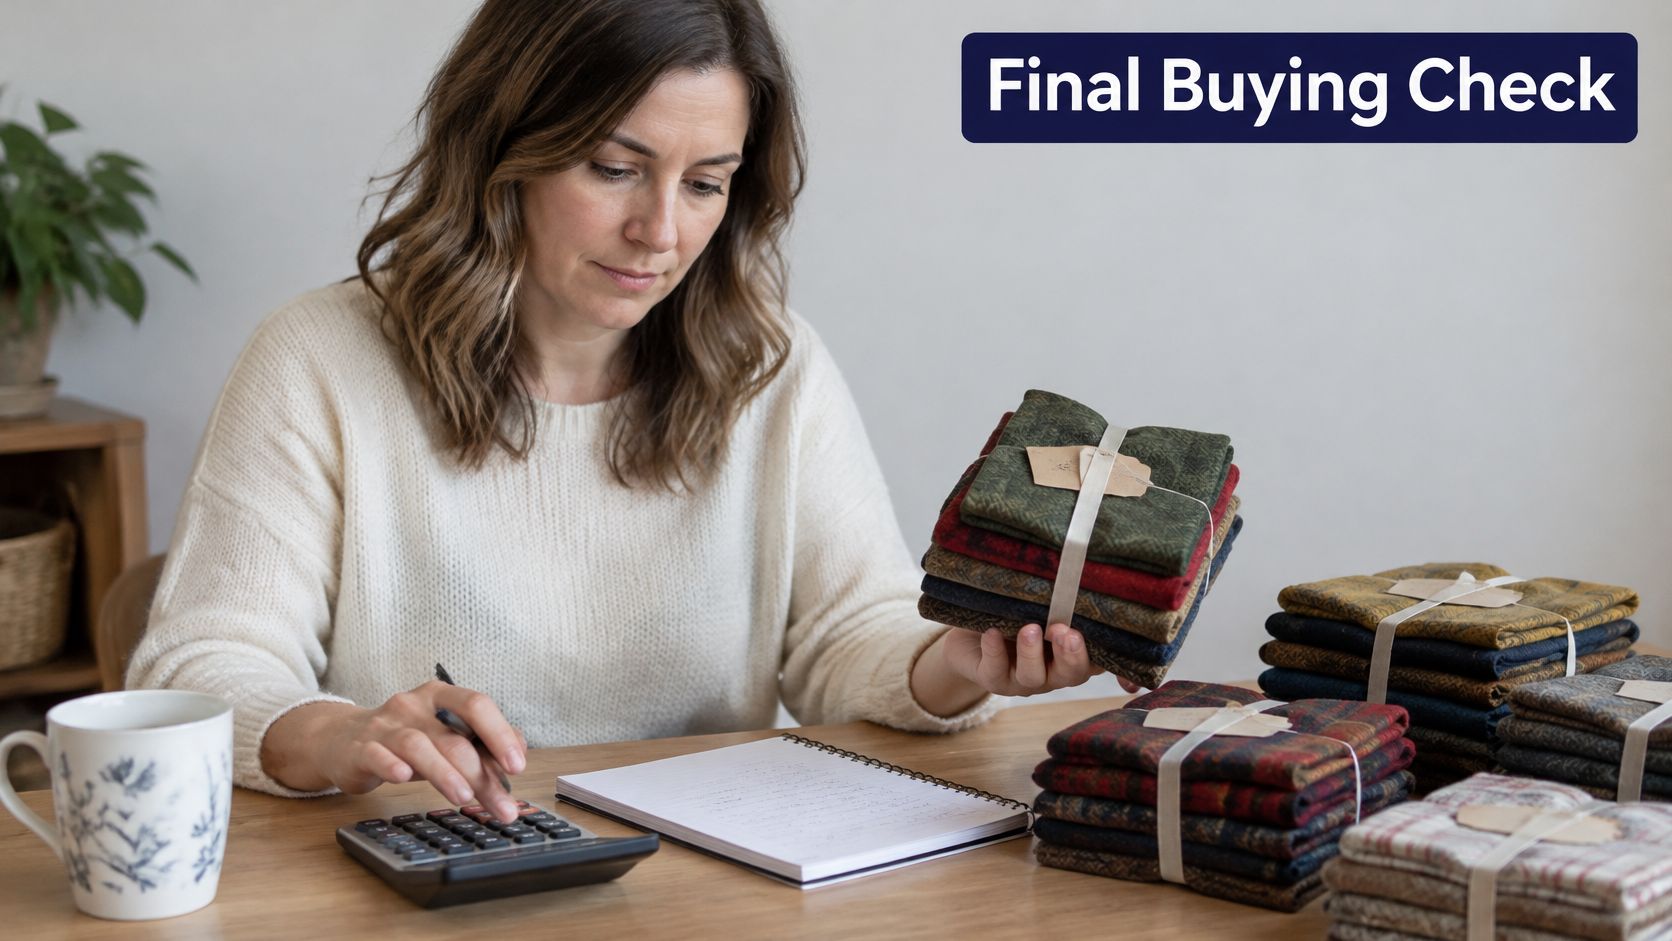
Wool rewards a short pause at checkout. Measure usable square inches by color, pretest one swatch for shrinkage and press response, then buy to that math.
- Run the calculator. Buy the fat quarters it returns, plus one spare per color.
- Confirm background and backing. Order those separately, because a bundle alone isn't project-ready.
- Order one bundle first. Learn how the wool presses and needles before you commit to a large quilt.
Our Springfield, Tennessee showroom gives you hands-on help with weight, color, and matching if you'd rather check in person. Online, our Precuts & Kits category includes 5" Squares, 10" Squares, Jelly Rolls, Fat Eighth, Fat Quarters, 3-Yard Packs and Quilt Kits, so you can pair wool accents with cotton precuts in one order.
Can I machine wash wool fat quarters? Only if the label says washable or shrink-treated. Use lukewarm water, neutral detergent, and no agitation.
Do I need to prewash? Prewash only when the finished project will be washed later. Otherwise, pretest one piece with pressing and keep the rest dry. That single test protects usable area and keeps edges true.
Is one bundle enough for a lap quilt? Usually not for the whole top. Run the calculator and plan cotton yardage for the main field.
Can I mix wool and cotton in one quilt? Yes, if you match pieces by weight and pretest them together with the same care method. Press both fibers as finished, then check size, hand, and seam behavior side by side.
Join The Weekly Thread for more tips and 10% off your first order.
A short test and a clear count prevent wasted wool.
Start your next wool appliqué, penny rug, or ornament project with tested fat quarters, a stable cotton background, batting with the right loft, and a backing that fits without extra seams. Browse precuts, batting, thread, and 108-inch backings at The Fabric Company, then order one bundle, run your swatch test, and cut with confidence.