

Does a bundle contain enough fabric for your quilt, or just enough square inches on paper? To work out how many fat quarter bundles to make a quilt, start with the pattern's cut list, check what fits on each piece, add a reserve, and round up to a complete bundle. The size guide below helps you budget before you choose a pattern, but the cutting chart makes the final buying decision.
Bundle Counts for Common Quilt Sizes
The quilt-top benchmarks from HC Quilts' fat-quarter guide give the following starting ranges; the bundle columns round each end of those ranges up to a whole bundle.
Fat quarter counts and bundles needed by quilt size
| Quilt size | Fat quarters (top only) | 10-piece bundles | 20-piece bundles |
|---|---|---|---|
| Baby quilt | 6–9 | 1 | 1 |
| Lap quilt | 12–16 | 2 | 1 |
| Twin quilt | 20–30 | 2–3 | 1–2 |
| Queen quilt | 32–42 | 4–5 | 2–3 |
Treat this as a shopping estimate, not permission to start cutting. Borders, sashing, block design, and the balance of prints to background fabric can all change the purchase.
For a baby quilt, a compact bundle can provide a coordinated palette without leaving a large pile of unused prints. Check that the design uses the bundle for the whole patchwork top rather than just the colored blocks.
A lap quilt is often a comfortable place to begin with precuts. Before choosing a pattern, use this lap quilt sizing guide to decide whether you want a chair quilt, a sofa throw, or more generous coverage.
Twin quilts need closer attention to layout. A design with generous background fabric can use fewer print pieces than a dense patchwork design of similar finished size.
Queen quilts make small estimating errors expensive. Check the border requirements before assuming that another bundle will supply everything missing.
Use the pattern to settle the count
The benchmark isn't a universal recipe. Alanda Craft's lap quilt tutorial gives a broader estimate of approximately 12–20 fat quarters for a lap quilt, which shows why the pattern matters more than the size label.
If you haven't chosen a pattern, budget toward the upper end rather than buying the smallest possible bundle. Better still, choose the pattern before choosing the fabric.
A purpose-designed fat-quarter pattern can use its cuts efficiently, leaving less waste than an improvised layout. A pattern with large feature blocks may also need fewer different prints than a sampler packed with small units.
Buying rule: Choose the smallest complete bundle purchase that meets or exceeds the pattern's requirement. An exact match doesn't need another bundle unless your cut plan needs a reserve.
Before paying, check these details:
- Bundle contents: Confirm whether the listing counts individual fabric pieces or distinct prints. Repeated prints may be useful, but they don't add variety.
- Largest cut: Make sure the biggest required rectangle fits the actual fabric after removing selvages.
- Color roles: Count lights, darks, backgrounds, and feature prints separately.
- Project scope: Keep backing, batting, binding, and any separate background yardage off the quilt-top bundle estimate.
A larger bundle isn't automatically better value. If you won't use several prints, a smaller coordinated selection plus useful blenders may suit the project better.
Why Four Fat Quarters Are Not One Yard
Separate rectangles and continuous yardage solve different cutting problems. Keep that distinction in mind when looking at a neatly folded stack.
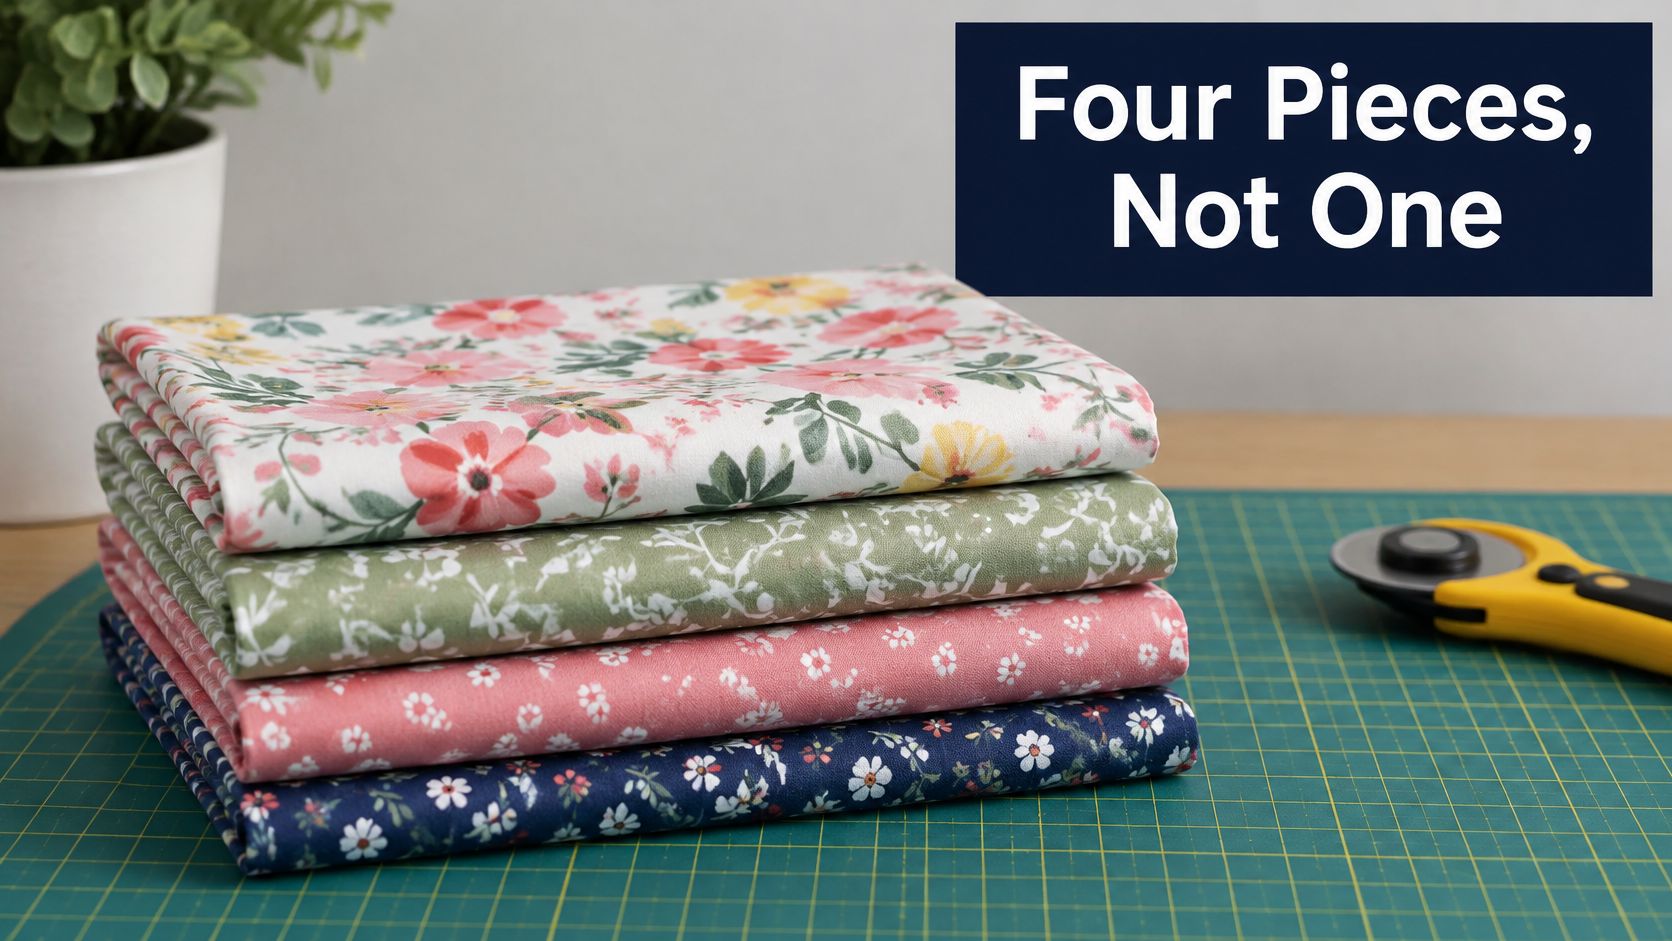
According to Quiltler's fat-quarter calculator, a standard fat quarter is approximately 18 × 22 inches, commonly reduced to about 18 × 21 inches of usable fabric after trimming. Its conventional quarter-yard comparison is approximately 9 × 42 inches, and its worked area example converts 24 fat quarters ÷ 4 to roughly 6 yards.
Those shapes aren't interchangeable. A wider, shorter rectangle accommodates block components well, but it can't supply a long, unpieced border strip.
The same problem appears when you compare fabric by total area. You might have ample cotton left over and still be unable to cut the rectangle the pattern needs.
Let the largest piece guide the purchase
Use the conservative usable rectangle when drawing your cutting layout, then measure your actual pieces before committing. The fat-quarter sizes guide is a useful companion when comparing cuts and planning backup fabric.
A workable cutting plan accounts for more than the outline of each patch:
- Cut size: Use the pattern's cutting measurements, not the smaller finished measurements after sewing.
- Grain: Keep grain direction consistent where the pattern requires it, especially along exposed block edges.
- Print direction: Decide whether flowers, animals, or lettering may turn sideways.
- Trimming: Leave room for squaring units and removing damaged or uneven edges.
If every required piece fits the usable rectangle, fat quarters may be a sensible choice. If the design calls for longer continuous strips, add yardage rather than assuming you can piece them invisibly.
This video offers another visual reference while you compare fabric cuts.
Where yardage earns its place
Yardage works well for borders, long sashing runs, large background pieces, and binding when you want fewer joins. Fat quarters work well when you want variety across block-sized cuts.
A pile of offcuts isn't proof that the next required piece will fit.
Don't force every project component out of the bundle just to avoid buying another fabric. A deliberate background or border can make the patchwork clearer and simplify cutting.
Keep usable Remnants for short sashing sections, cornerstones, labels, and scrappy binding. Label their dimensions so you can check them without unfolding the whole stash.
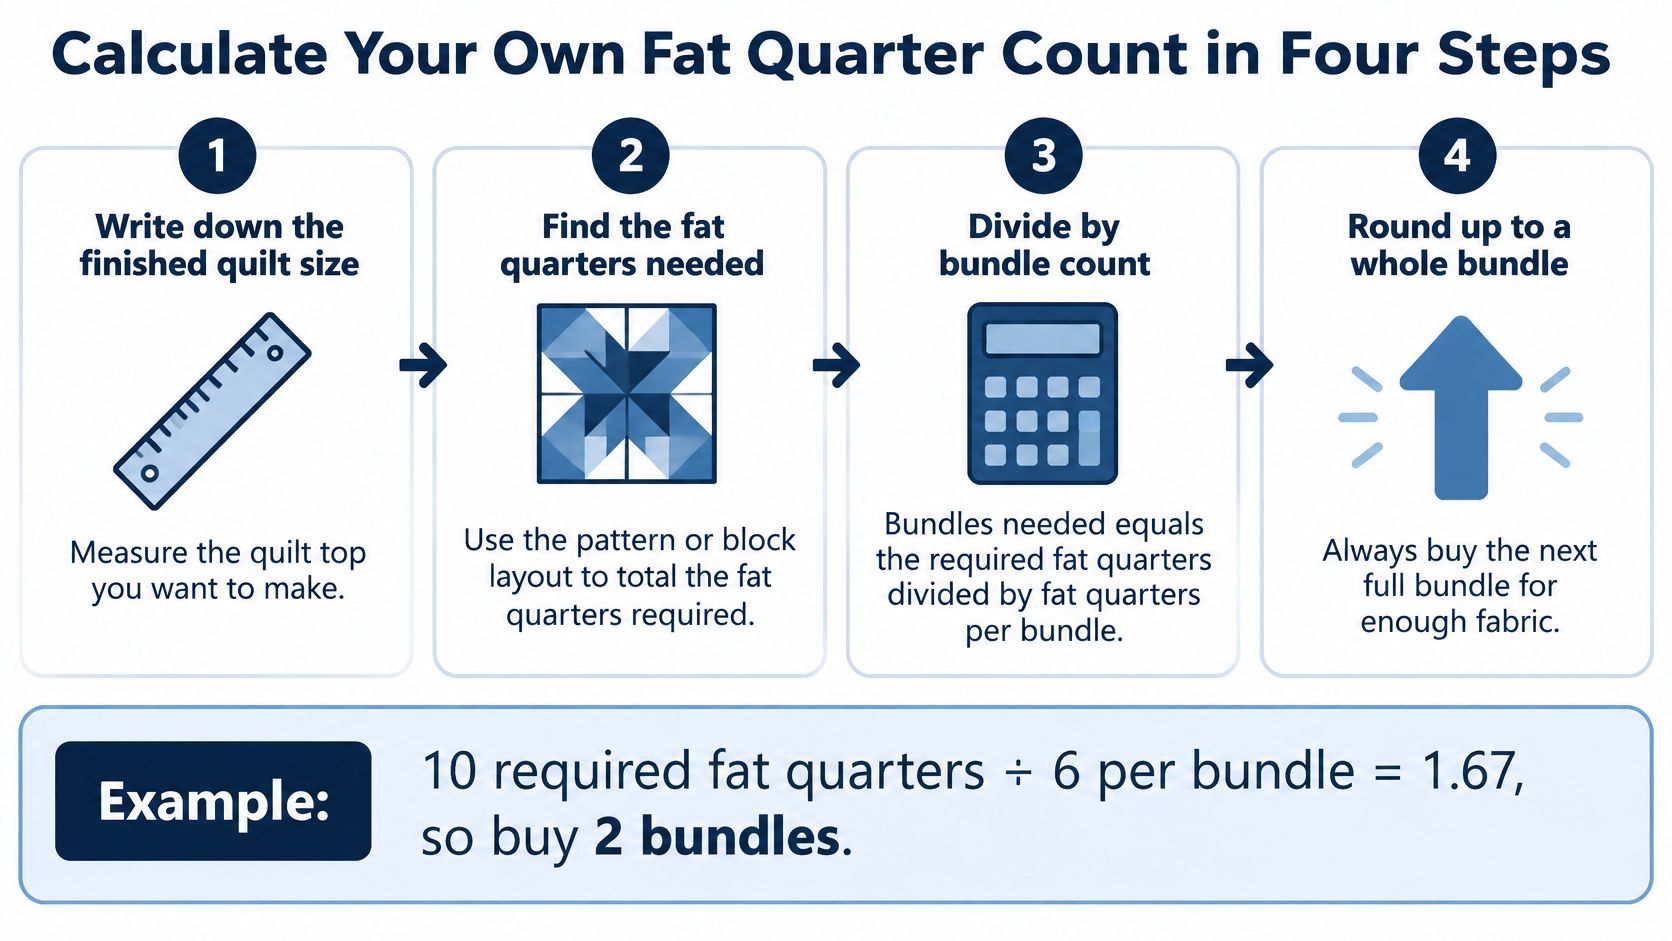
Calculate Your Own Fat Quarter Count in Four Steps
Bundles needed = required fat quarters ÷ fat quarters per bundle, rounded up. CalcCorp's quilt material calculator uses this rule and gives the example of a pattern requiring 36 fat quarters, covered by four 10-piece bundles or two 20-piece bundles.
The harder part is finding a trustworthy required count. If your pattern supplies a tested cutting chart, use it rather than replacing it with a total-area estimate.
Build the cut list first
- Record the quilt size and required cuts. Copy the cutting chart into a worksheet, keeping each fabric role separate. Include the cut dimensions and quantity for every square, rectangle, and strip.
-
Calculate yield from usable fabric. For each rectangular cut, use
floor(usable length ÷ cut length) × floor(usable width ÷ cut width). Test the rotated arrangement too, unless the print or grain prevents rotation. - Divide the required pieces by the yield. Round up when you reach a partial fat quarter, and keep incompatible color groups separate. Don't count the same fabric space twice when a fat quarter supplies several different shapes.
- Add a reserve, then choose complete bundles. Fabric Yardage Calculator's quilt chart recommends about 10% when the pattern doesn't specify an allowance. Apply that reserve to the unrounded requirement, round up to whole fat quarters, and then round up again only as needed for the available bundle size.
The process below is a useful reminder, but the fabric count should come from the cutting chart rather than quilt dimensions alone.
Work through a square-cut example
For a hypothetical project needing 240 squares, the table below uses the conservative usable rectangle described above. Each reserve total is calculated from the unrounded fabric requirement, which avoids adding a second layer of rounding.
Cut-plan yield and reserve for 240 pieces
| Cut size | Pieces per fat quarter | Fat quarters for 240 pieces | With 10% reserve |
|---|---|---|---|
| 4.5-inch squares | 16 | 15 | 17 |
| 5-inch squares | 12 | 20 | 22 |
| 2.5-inch squares | 56 | 5 | 5 |
The first row follows the chart's worked example: the required pieces divide evenly into the initial fabric count, but the reserve produces a fractional amount that must be rounded up. That final figure is the minimum number of usable fat quarters to purchase before considering bundle packaging.
The last row deserves attention. Its initial rounded purchase already contains enough spare cutting capacity to cover the reserve, so another fat quarter isn't automatically necessary.
These are cut squares, not finished squares. If your quilt design specifies finished patch dimensions, use its cutting instructions to account for seam allowances before calculating yield.
Check the plan against the fabric
A geometric yield assumes the entire usable rectangle is available for ordinary cutting. Fussy cutting a centered motif may leave large areas that can't supply another matching unit.
Draw a cutting map for the most demanding fabric before cutting the full stack. Place long strips first, then fit smaller pieces into the remaining space without changing required grain direction.
Use the fabric yardage calculation guide when your worksheet includes both precuts and continuous yardage. Keeping those purchases separate makes it easier to spot a missing background or border requirement.
Finish with a physical check:
- Every cut is assigned: Each required patch has a place on the cutting map.
- Color quantities work: Spare dark fabric can't replace a missing light background.
- A replacement is possible: Keep enough suitable fabric for a spare unit, not just miscellaneous scraps.
- The reserve is usable: Don't count selvages, damaged edges, or unsuitable motifs as backup fabric.
What You'll Need Beyond the Fat Quarters
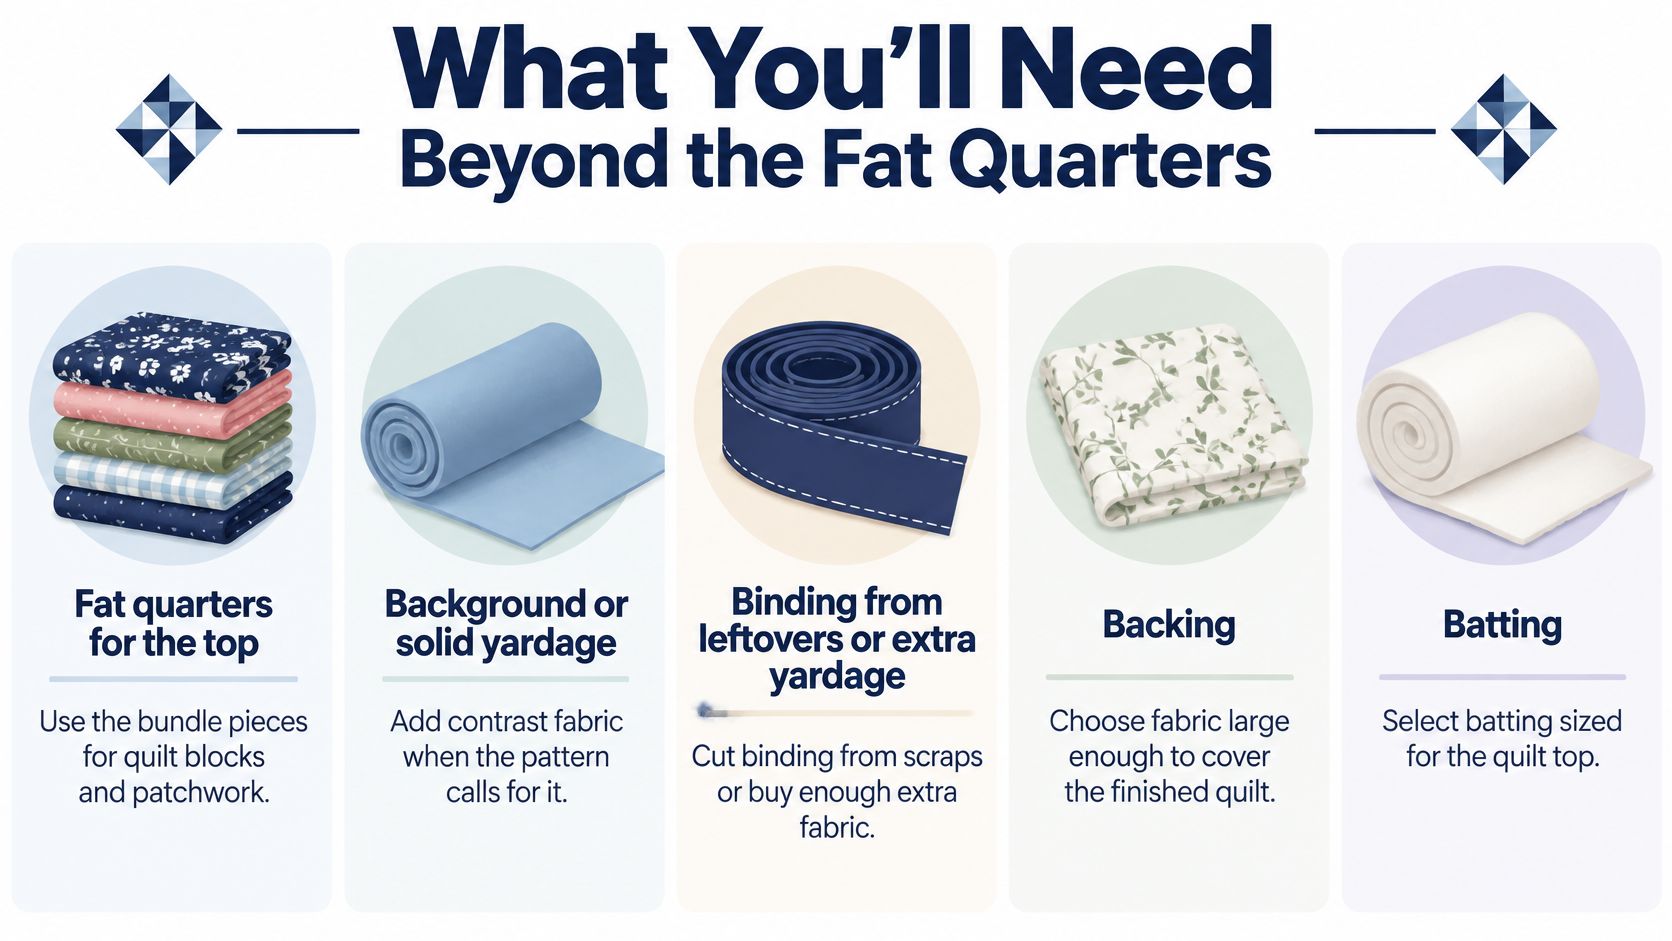
A fat-quarter bundle isn't a complete quilt kit. It can supply the patchwork top when its pieces and colors match the pattern, but the rest of the quilt needs its own materials list.
What You'll Need
- Fat quarters for the top: Match the pattern's fabric roles and your completed cutting worksheet.
- Background or solid yardage: Add contrast fabric where required. Robert Kaufman or Riley Blake solids are options alongside suitable fabrics already in your stash.
- Binding: Reserve useful leftovers for a scrappy finish, or choose separate yardage for a consistent frame.
- Backing: Choose standard-width fabric with a panel plan, or consider 108-inch backings when their usable width accommodates the quilt and quilting allowance.
- Batting: Select the fiber, loft, and construction to suit the finish and care you want.
- Thread: Choose piecing thread and quilting thread that work with your fabric, machine, and planned quilting.
- Cutting tools: Have a sharp rotary cutter, clear acrylic ruler, and cutting mat ready before opening the bundle.
Use this checklist while assembling the project supplies.
Size the quilt sandwich before ordering
The Crafty Quilter's backing and batting guide describes a common allowance of 3–4 inches on every side, so a 45 × 60-inch top needs backing and batting measuring at least 51 × 66 inches under the smaller allowance.
Ask your longarmer for their requirements before buying. Loading methods and quilting plans can call for more fabric than the basic home-quilting allowance.
For that hypothetical top, a 2-yard length of 108-inch backing covers the stated backing rectangle, assuming the fabric remains large enough after preparation. A wide backing can remove the need for joined panels, but it won't automatically fit every king-size quilt. Compare the actual quilt and loading allowance with the fabric's usable width.
Binding needs a separate check. For the same hypothetical quilt, the perimeter is 210 inches; allowing about 12 inches for joining and finishing gives a target of roughly 222 inches. Six 42-inch strips cut 2.5 inches wide provide a practical starting cut plan, with enough length to accommodate ordinary diagonal joins.
Match the batting to the quilting
Loft describes batting's thickness and the amount of dimension it gives the quilting. Lower-loft batting makes a flatter quilt; higher loft makes the stitched areas stand out more.
Needle-punched cotton has fibers mechanically held together. Some batting includes scrim, a supporting layer that helps stabilize it, while other products don't.
Read the package for quilting distance and care requirements rather than judging by fiber name alone. The quilting batting sizes guide helps you compare the finished top with available batting dimensions.
Batting rolls make sense for longarm studios and frequent makers who cut many projects. Packaged batting is easier to store when you finish quilts occasionally.
For complex designs, the Fat Quarter Flowers project notes discuss allowing 10–20% more fabric overall. Treat that as a complexity allowance, not a reason to add another blanket percentage after every component already has its own reserve.
Choosing Bundles That Build Your Stash
Compare bundles by what you'll cut and use, not just how appealing the folded stack looks.
Bundle types compared by fabric and use
| Bundle | Pieces | Approximate fabric | Best for |
|---|---|---|---|
| 10-piece fat quarter bundle | 10 | About 2.5 yards by area | Gifts, small projects, and trying a new color story |
| 20-piece fat quarter bundle | 20 | About 5 yards by area | Lap and twin quilts with one main palette |
| Layer Cake of 10-inch squares | 42 | Precut squares rather than continuous yardage | Patterns built from 10-inch squares, not fat quarters |
The fat-quarter area equivalents don't describe interchangeable yardage. A Layer Cake is a different shape again, so inspect its pattern requirements before substituting it for another precut.
A smaller bundle lets you try a palette without committing much storage space. A larger bundle can simplify coordination, but it may include prints that don't suit the project's contrast needs.
Buy the colors the pattern uses
A total piece count can hide a color shortage. In American Quilter's 2025 Christmas quilt, the 60-by-60-inch design requires 8–9 white or cream, 5–6 green, 6–7 red, and 1–2 gold fat quarters.
A festive bundle with plenty of red and green could still leave you short of the light fabrics. Sort the required colors into separate groups before deciding whether a bundle meets the pattern.
Use the curated fat-quarter sets for color matching guide to think beyond matching hues. You also need differences in value and print scale so the block design remains visible.
Consider coordinated fabric selections from Riley Blake, Cloud9, or Robert Kaufman, then check the specific listing for contents. Hobbs belongs on the batting side of the shopping list, not among cotton fat-quarter bundle choices.
A coordinated collection can still need a quiet blender. Matching colors alone won't make neighboring patches easy to distinguish.
Keep the useful leftovers
Build a stash that supports future projects rather than storing fabric without a role.
- Save identifiable selvages: Keep printed selvage information with the remaining fabric so you can identify a collection or color later.
- Sort Remnants by color: Separate usable binding lengths from tiny patchwork scraps.
- Protect directional prints: Reserve suitable matching pieces before cutting the rest of the bundle.
- Record remaining cuts: A note tucked into the fabric is faster to check than unfolding and measuring it repeatedly.
- Choose versatile blenders: Low-volume prints, tone-on-tones, and solids can connect fabrics from different collections.
Buying another full bundle for matching prints is sensible only when the project needs it. If individual coordinating cuts are available, they may solve the shortage with fewer unused pieces.
Compare purchases by usable value
Charity and guild makers should compare cost per piece, then remove unsuitable fabrics from that mental calculation. A bargain bundle loses its advantage if you must replace much of it to meet the project's color requirements.
Also check whether identical bundles repeat the same prints. Repetition can help a planned layout, while a scrappy quilt may benefit from more variety.
For a gift-driven beginner, a complete quilt kit can reduce uncertainty about matching fabric and quantities. Read the contents carefully, because kits don't all include the same finishing supplies.
Plan Your Quilt and Order With Confidence
Will every fat quarter in the order make the cuts your quilt needs? Start with the rounded-up total from your cut plan, not the quilt-size label. Keep the worksheet beside the product listing and compare its required pieces with the bundle's contents.
Make the final buying check
- Confirm the pattern's scope. Check whether its fat-quarter count covers all patchwork or only selected prints, and note any separate background fabric.
- Choose suitable bundle packaging. Match the required total while checking color balance, repeated prints, and directional fabrics.
- Complete the materials list. Include backing, batting, binding, thread, and any yardage assigned to borders or sashing.
- Compare useful cost per piece. For several quilts, favor fabric you can allocate across projects over surplus with no planned use.
Leave the bundle uncut until you have checked the fabric and cutting chart. Test the most demanding layout first, then batch-cut the remaining pieces. That catches a poor fit before it affects the whole bundle.
Keep the project fabric together until the quilt is finished. Borrowing a print for another project can leave a block short, even when the original order matched the cut plan.
Count pieces, not square inches. The order is sufficient only if it yields every required unit in the right color, size, and direction.
At The Fabric Company's Springfield, Tennessee showroom, you can compare fabric colors in person. Bring the pattern, worksheet, and any stash fabric you plan to match, so you can consider the full palette rather than a single swatch.
For online orders, read the listing details and write down anything you still need to confirm. A short pause can prevent an unnecessary bundle purchase.
Browse The Fabric Company's fat-quarter precuts online and choose them against your cut plan, with finishing supplies included in the project budget. The store also offers coordinating yardage, wide backings, batting, and quilting tools for planning the full project.
Join The Weekly Thread for tips and 10% off your first order. Visit The Fabric Company with your cut list to choose fabric for the blocks and supplies to finish your quilt.