

You've just finished a beautiful quilt block, and the points look sharp on the cutting table. Then the iron touches it, a seam shifts, and one corner develops a stubborn pucker. Ironing with steam can remove wrinkles quickly, but quilting often calls for controlled pressing instead of maximum steam. Use heat, moisture, pressure, and cooling with intention, especially around bias edges, batiks, linen, and densely pieced blocks.
Why Your Pressing Game Makes or Breaks the Quilt
A pressing mistake can hide until the quilt is assembled. I've seen a block that measured perfectly before pressing come out slightly skewed because the iron was pushed back and forth across the fabric. The seams looked flat, but the star points no longer met cleanly.
That's why pressing is more than smoothing wrinkles. Pressing sets the shape of each seam and supports the accuracy of the entire quilt. Instead of dragging the soleplate across the block, place it, apply gentle pressure, lift it, and move to the next area. This keeps the fabric from shifting while the seam allowance settles.
Quilting cotton, batiks, and linen each respond differently to moisture. A little steam can relax a stubborn crease, but too much moisture can soften the structure of a bias strip or leave a mark on a dark batik. The same iron with steam that helps a wrinkled fabric panel may work against you on a precise flying geese unit.
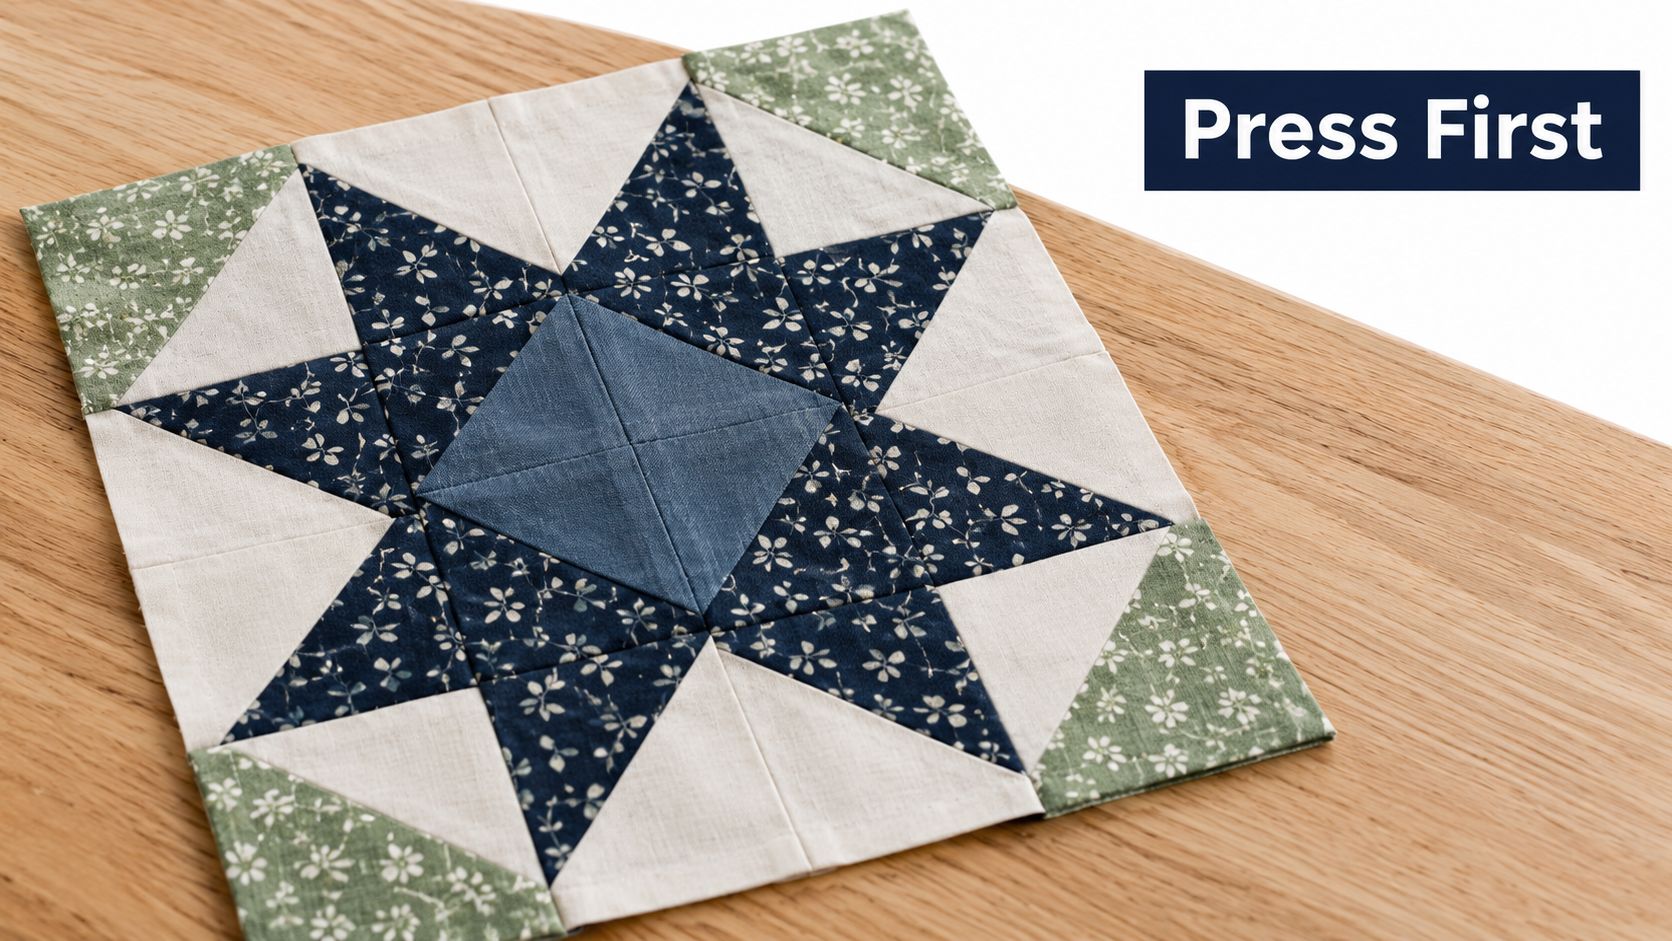
Pressing is part of the piecing process
Think of each seam as a small structural joint. If you press it carelessly, the next seam has to fight that distortion. If you set it cleanly, your rows align more easily, your points stay visible, and your finished quilt lies flatter.
A useful distinction is ironing versus pressing:
- Ironing usually means sliding the iron over fabric to remove wrinkles.
- Pressing means lifting and placing the soleplate to set a seam without moving the fabric.
- Steaming adds moisture to relax fibers, which can help with stubborn creases but can also change the fabric's shape.
For a deeper look at accurate seam preparation, use this quilt piecing guide. Your ironing station matters, too. A firm, heat-safe surface gives you better control than a soft board that allows blocks to bow under pressure.
Practical rule: If a block needs to remain square, start with dry heat or very light steam. Add more moisture only when the fabric needs help releasing a crease.
Setting Up Your Steam Iron for Fabric Safety
Good pressing starts before the soleplate reaches the fabric. A clean iron, suitable water, and a tested temperature protect your quilt from shine, scorching, water marks, and unwanted texture changes.
Follow the fabric before the iron
Read the care label or manufacturer guidance first. If you're working with a scrap-based project, test a seam, hem, or leftover piece from the same fabric before pressing the finished block.
For common natural fibers, published guidance places cotton at about 180 to 200°C and linen at about 185 to 215°C, with high continuous steam. Wool sits lower, at about 140 to 160°C, with moderate steam and a pressing cloth. See the published cotton and linen steam-ironing workflow for the full fabric-care guidance.
Use the test spot to look for three warning signs:
- Shine: The surface becomes glossy, especially on dark fabric.
- Scorching: The color changes or the fibers look damaged.
- Texture change: The fabric's hand, nap, or surface no longer feels the same.
If any of these appear, lower the heat, turn the fabric wrong side up, or add a pressing cloth. Don't assume a higher setting will solve a stubborn crease. More heat can make the problem permanent.
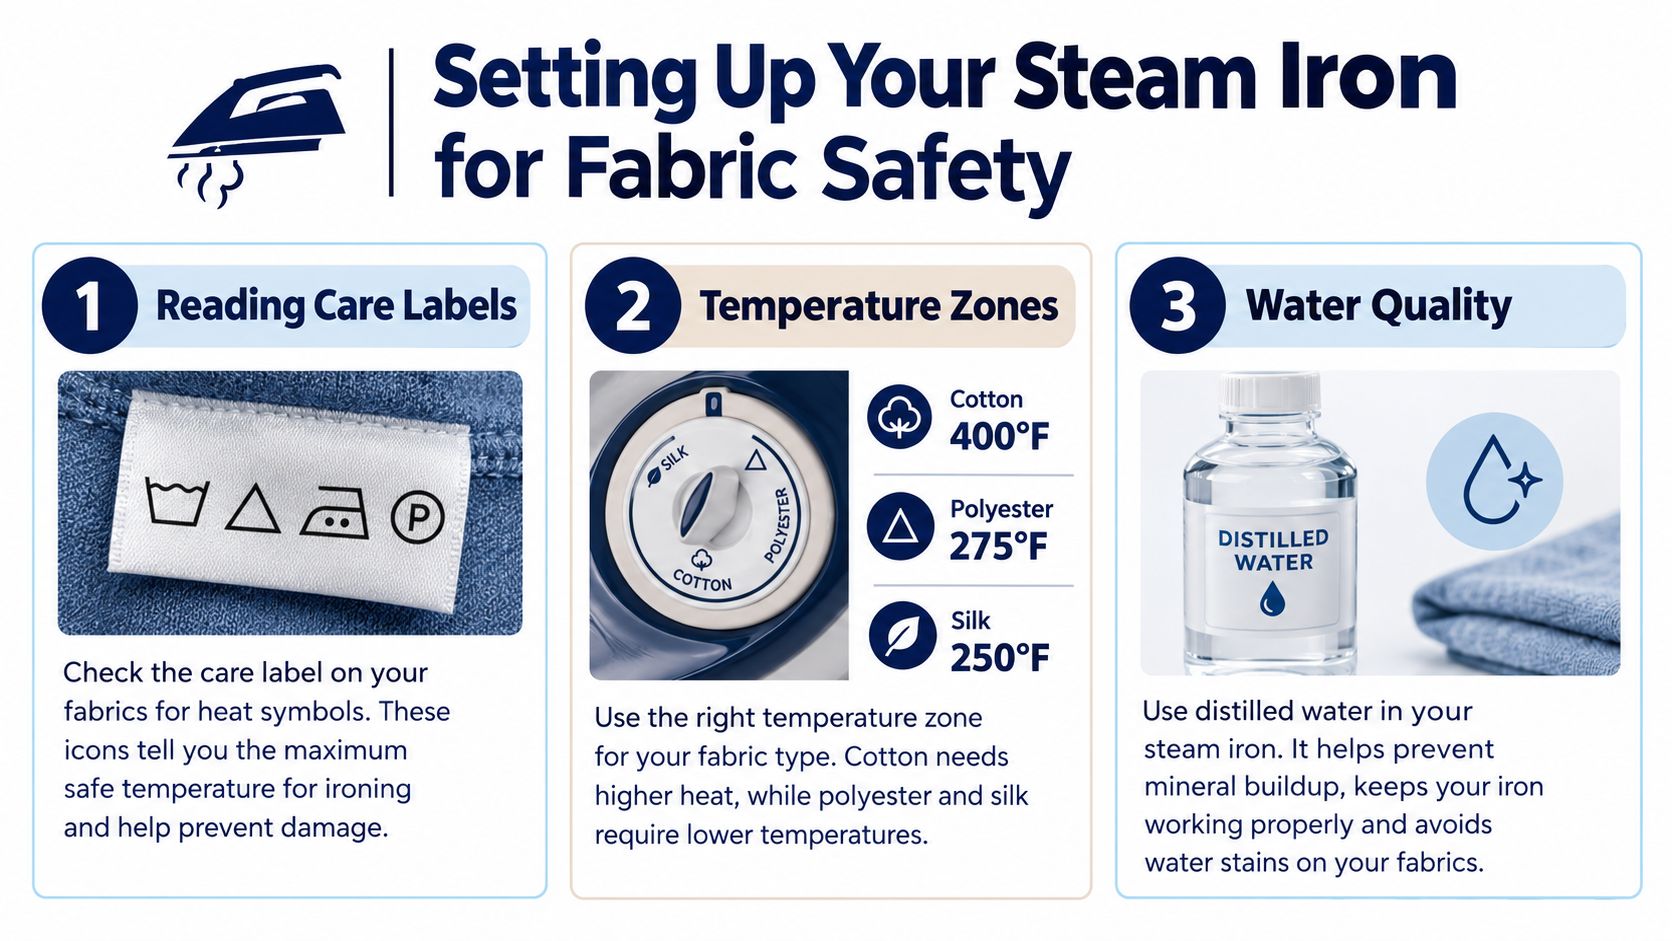
Choose water with maintenance in mind
Fill the reservoir with distilled or clean water, particularly if your home has hard water. Mineral buildup can affect steam performance and may eventually contribute to spotting or clogged vents.
Keep the soleplate clean before it touches quilting cotton. A residue from fusible interfacing, spray starch, or synthetic fibers can transfer to the next block. Fill the reservoir only to the recommended level, and don't add fabric softener or other household mixtures unless the manufacturer specifically permits them.
For quilt blocks, use steady forward strokes only when you need steam to move through a crease. Avoid grinding the iron into the fabric. A light pass, followed by a lift and cool-down, usually gives you more control than repeated aggressive pressure.
Here's a short visual demonstration to help you review the basic setup:
When you're comparing tools, this guide to choosing an iron for quilting and sewing can help you think through soleplate control, steam settings, and the demands of your projects.
Pressing vs Steaming Knowing When to Use Each
The most useful question isn't whether steam is good or bad. Ask instead, does this piece need relaxation, or does it need stability?
A wrinkled linen table runner needs relaxation. Moisture and heat can help the fibers release deep creases, and a controlled steam pass may save time. A bias-cut strip or a sharply pieced star block needs stability. In that case, a dry soleplate or a small burst of steam followed by careful pressing protects the measurements you worked to achieve.
Use pressing for precision
Pressing is the safer first choice when you're setting seams, matching points, or working with pieces cut on the bias. Place the iron over the seam, hold it briefly, lift it, and let the area cool before moving the block.
A pressing cloth adds another layer of protection for delicate prints, blends, and fabrics that show shine easily. Press from the wrong side when possible, and avoid pushing outward from the center of a block. That motion can stretch the edges and make the block grow.
| Situation | Better approach | Why it works |
|---|---|---|
| Bias edges | Dry pressing or minimal steam | Limits stretching and distortion |
| Dense piecing | Lift and press | Keeps small units aligned |
| Linen or a deep crease | Controlled steam | Helps relax the fibers |
| Delicate or dark fabric | Pressing cloth | Reduces shine and surface marks |
| Quilt sandwich alignment | Light, deliberate pressing | Helps preserve shape |
Use steam as a tool, not a default
Steam is useful when fabric refuses to release a crease, when you're shaping a curve, or when a natural fiber has become rigid from handling. It's less useful when the fabric is already flat and the task is setting a seam.
A maker-focused guide to quilting spray starch is helpful when you need extra body, but starch and steam should be tested together on a scrap. Too much moisture can leave water marks, stretch seams, or change the hand of cotton, linen, and blends. Product manuals also emphasize basic safety around hot soleplates, upright storage, unplugging, and keeping steam away from people and animals, but those warnings don't answer the more practical question of how much steam a precision block can tolerate. The answer depends on the fabric and the shape you need to preserve.
More steam is not always better. In precision sewing, controlled pressing often beats aggressive steaming.
Keeping Your Iron Clean and Descaled
A clean iron gives you predictable results. A dirty one can leave a faint brown mark, spit water onto a finished block, or drag residue across a pale background fabric.
Start with the water. Mineral-heavy tap water can contribute to limescale inside the reservoir and steam channels. Over time, that buildup may reduce steam output, clog vents, and increase the chance of water spotting. The effect varies by appliance and water supply, so follow the care instructions for your specific model instead of relying on a one-size-fits-all cleaning recipe.
Use the manufacturer's cleaning system
If your iron has a self-cleaning cycle, use it according to the manual. Some models include anti-calc collectors or other features that require removal and rinsing rather than a traditional cleaning cycle. Documentation from appliance brands continues to emphasize descaling and regular cleaning, which tells you that maintenance remains part of reliable steam performance.
Do not pour vinegar, commercial descaling liquid, or other additives into the tank unless the manufacturer expressly says you can. Recent manuals warn against using additives such as vinegar or descaling agents in some reservoirs because they may harm internal components or seals.
For a practical visual routine covering the exterior, soleplate, and interior, follow Canes Cleaners' laundry appliance care guide. It's a useful reference before you clean an iron that has started to spit or leave residue.
Keep the soleplate ready for fabric
Unplug the iron and let it cool before cleaning the soleplate. Remove visible residue with a method approved for your model, and never scrape aggressively with a sharp tool that could damage the surface.
Before returning to a quilt, test the cleaned iron on a scrap of light fabric. This catches leftover residue before it reaches a finished block. The soleplate cleaning guide offers another practical reference for this part of the routine.
If you're comparing irons, Our Springfield, Tennessee showroom can help you review model-specific maintenance for options such as Oliso and PFAFF. Newer appliances may also promote lower energy use through faster completion or optimized heating, but those benefits still depend on clean vents, suitable water, and regular care. A neglected iron can't deliver consistent steam just because it has newer features.
Troubleshooting Common Pressing Problems
When a block looks wrong after pressing, don't immediately unpick the seams. First, read the symptom. Fabric usually tells you whether the problem came from heat, moisture, movement, or pressure.
Start with a quick diagnosis
A shiny seam or glossy patch often means the soleplate was too hot, held in place too long, or pressed on the right side without protection. Turn the fabric wrong side up, lower the temperature, and use a pressing cloth for the next test.
A water ring or damp mark points to excess moisture, a dirty reservoir, or an iron that wasn't fully ready to steam. Empty standing water when the model's instructions call for it, clean the appliance as directed, and test on scrap before returning to the quilt.
A stretched bias edge usually needs less sliding and less steam. Place the iron rather than pushing it, support the piece on the pressing surface, and let the fabric cool in its intended shape.
A soft point or distorted block may have shifted while you pressed outward from the center. Stop adding heat. Square the block gently, press in small sections, and use dry heat until the shape is stable.
Match the remedy to the quilt layer
Thicker layers can change how heat and moisture move through the project. A standard cotton batting layer behaves differently from a loftier batting, and a dense needle-punched cotton with scrim may need slower, more deliberate passes. If you're using a Hobbs batting, test the exact combination of batting, backing, and top fabric before pressing the whole quilt.
Use this decision sequence:
- Check the fabric: Look for shine, moisture, pulling, or a changed texture.
- Return to a scrap: Test the same heat and steam settings on matching material.
- Reduce one variable: Lower the temperature, reduce steam, or remove pressure.
- Switch direction: Press from the wrong side or add a pressing cloth.
- Let it cool: A seam can continue settling after the iron leaves it.
If steam keeps distorting a precise unit, turn it off. A dry iron can be the better tool for that particular step, even when the appliance's steam function works well elsewhere.
Building Your Quilter's Pressing Routine
A reliable pressing routine begins with the project, not the appliance. Before cutting, gather the fabric, thread, batting, pressing cloth, and a scrap for testing. If you're working from Precuts such as Charm Packs, Layer Cakes, Fat Quarters, or 2.5-inch strips, keep the selvage and a few trimmings nearby for temperature checks.
Give every stage a job
At the piecing stage, press each seam with the next seam in mind. Press open when bulk needs to be reduced, or press to one side when nesting will help the units meet. Don't choose one method out of habit. Consider the block design, seam intersections, and the direction that keeps the fabric flat.
For a quilt sandwich, use a clean surface and avoid forcing the iron across multiple layers. Batting loft, scrim, and the thickness of the backing affect how easily the layers move. If you're using a 108-inch backing, lay out enough room to support the fabric rather than letting the edge pull against the board.
A good pressing routine should make the next seam easier, not merely make the current seam flatter.
A station with room for the iron, cutting tools, and folded pieces helps prevent rushed movements. Our Springfield, Tennessee showroom is a practical place to see pressing accessories and quilting equipment in person, while online shoppers can browse supplies from irons and batting to premium thread. The Fabric Company carries quilting materials from brands including Robert Kaufman, Cloud9, Riley Blake Designs, and Hobbs, along with sewing equipment from brands such as PFAFF and SINGER.
Finish with restraint
After assembly, inspect the quilt top before reaching for maximum steam. Press sections from the wrong side where possible, use a cloth on sensitive fabrics, and let each area cool before shifting it. A final light steam set may help a natural-fiber top relax, but it shouldn't replace careful handling during piecing.
Keep your project list simple:
- Fabric: Precuts, Fat Quarters, Jelly Rolls, or yardage suited to the pattern.
- Structure: Batting with the loft and scrim appropriate for the quilt.
- Finishing materials: A 108-inch backing, quality thread, and a clean pressing cloth.
- Station tools: An iron with steam, a stable board, and a safe resting place.
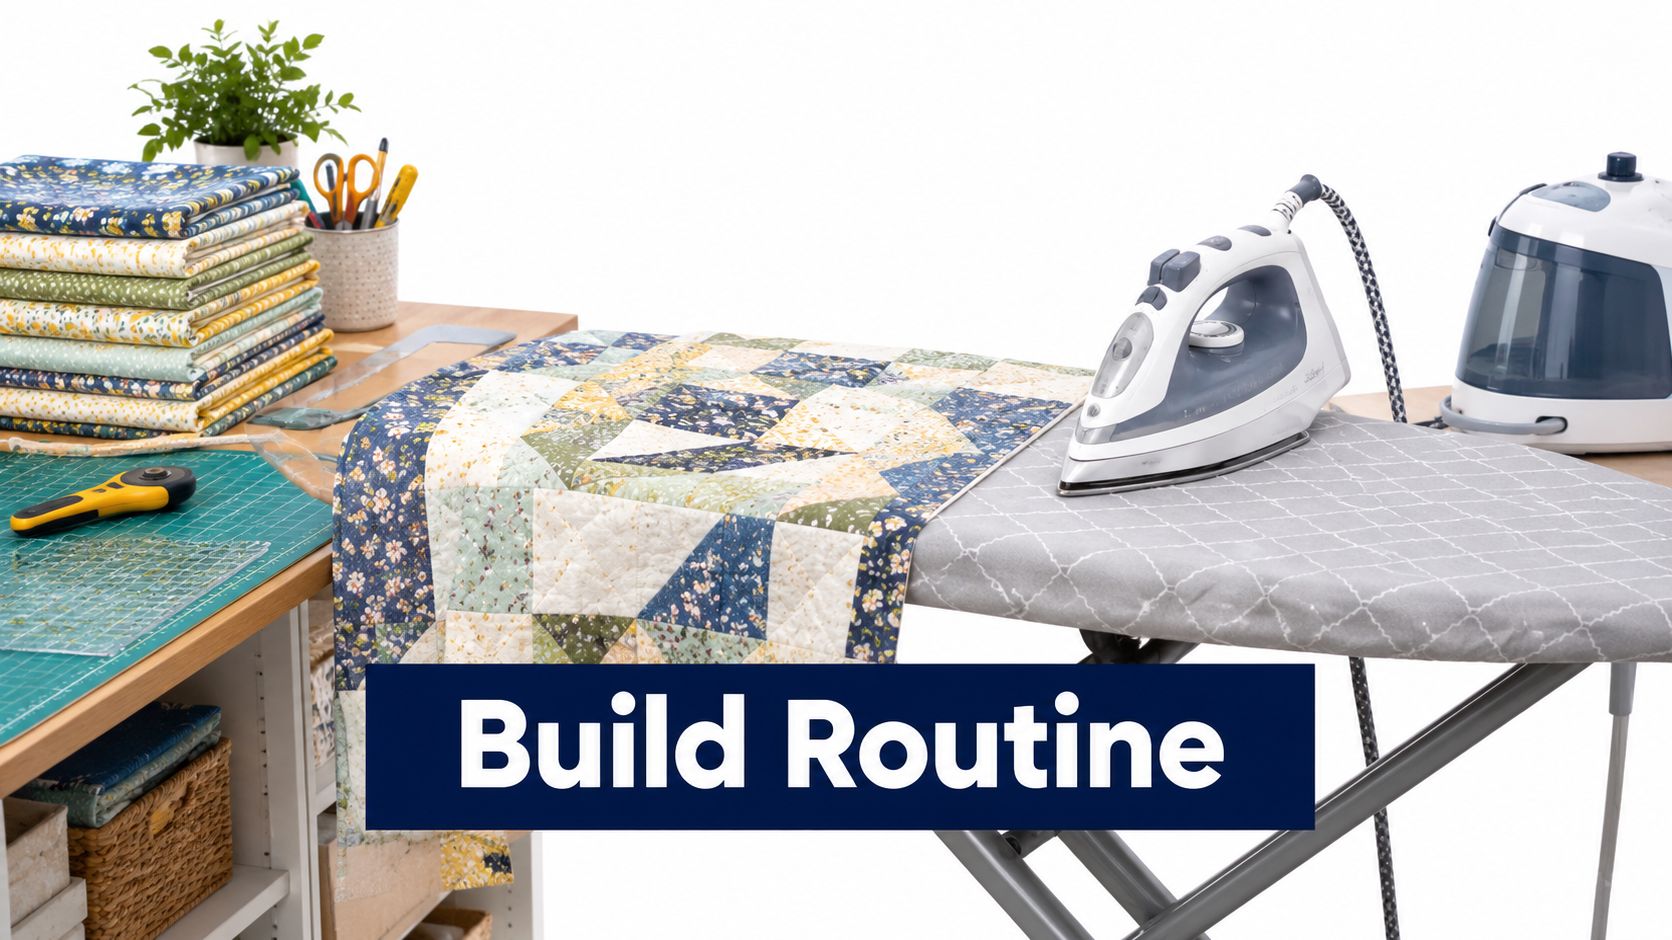
For ideas on arranging a practical setup, use this steam ironing station guide. The aim isn't to use steam at every opportunity. It's to know when moisture helps the fibers relax and when controlled heat protects the geometry of your quilt.
The Fabric Company offers quilting cottons, Precuts, batting, 108-inch backings, irons, and sewing tools to support careful pressing from first seam to finished quilt. Visit The Fabric Company online or stop by Our Springfield, Tennessee showroom, then join The Weekly Thread for more practical tips and 10% off your first order.