

One jelly roll usually makes a small lap quilt, about 50 by 60 inches. Plan on two rolls for a larger throw, and roughly three to four rolls for many queen-size quilt tops, but the pattern, finished dimensions, and cutting waste can change the count.
You're standing at the cutting table with a beautiful bundle of coordinated 2.5-inch strips, trying to decide whether one is enough. The right answer isn't a universal chart. It's a calculation based on the quilt top you want, the way the pattern uses each strip, and how much fabric disappears into selvages, seams, trimming, and directional layouts.
The reliable rule is simple: buy by finished size and construction, not by roll count alone. A strip-pieced lap quilt can use one roll efficiently, while a block pattern with triangles, sashing, borders, or strong color placement may need another roll or supporting yardage.
What a Jelly Roll Gives You
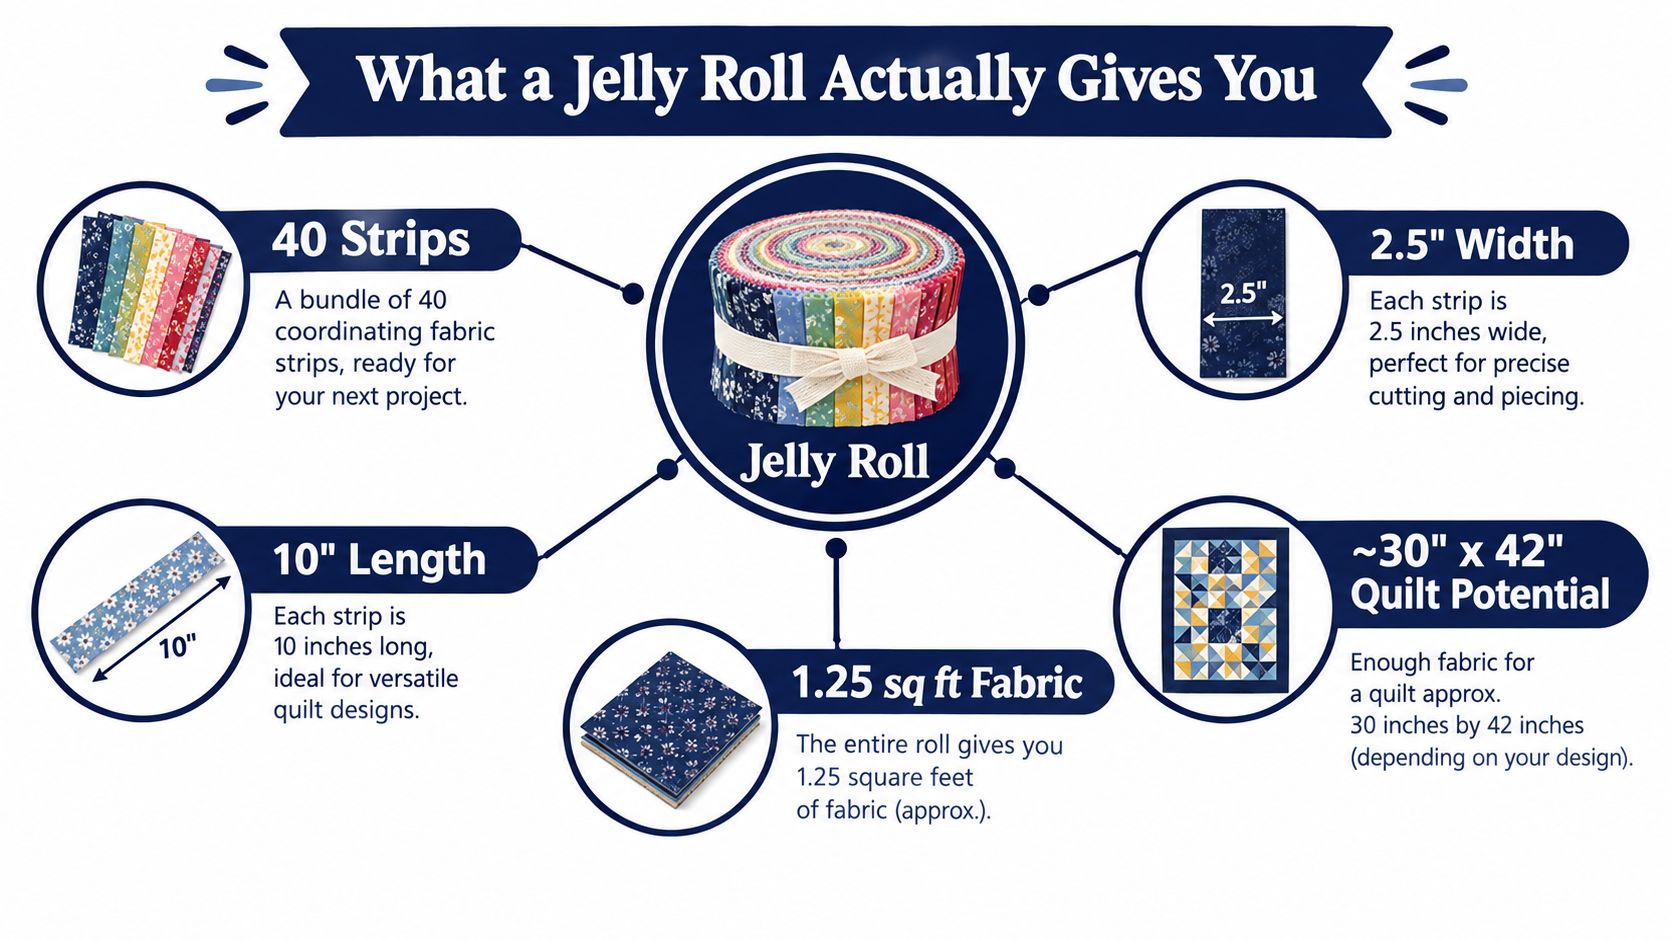
At the cutting table, start with the bundle in front of you, then work backward from the quilt top you want. A standard jelly roll gives you 40 coordinated strips, each cut 2.5 inches wide and approximately 42 to 44 inches long. That fixed inventory makes planning easier, but it does not determine the finished quilt size. For a clear explanation of the precut format, see this guide to what jelly roll fabric is.
Start with the strip inventory
Your first calculation is simple: 40 opportunities to cut usable units. Together, the strips provide roughly 100 inches of total strip width before seam allowances and trimming, or roughly 2 7/8 yards of equivalent fabric. Use those figures to compare patterns, then check the actual cutting diagram. Unit shape determines how efficiently the roll becomes a quilt top.
A full-width strip generally finishes at about 2 inches wide after sewing with quarter-inch seams on both sides. Long strip sets, such as a rail-fence design, use that width efficiently. Stars, triangles, and half-square triangles create angled waste and smaller pieces, so the same roll produces less finished coverage.
Cutting-table rule: A jelly roll is a standardized starting point, not a guaranteed quilt top.
Know what the roll does not include
One roll normally supplies only the visible precut strips. Plan separate fabric and materials for:
- Background fabric or sashing, especially for block-based designs.
- Borders, when the pattern adds width or length around the pieced center.
- Binding, unless the instructions reserve strips for it.
- Backing, calculated from the finished top dimensions.
- Batting, selected for the desired loft, scrim, and needle-punched cotton type.
Selvage edges reduce usable strip length, and shrinkage can change the finished dimensions. Directional prints may require rotated or discarded cuts. A carefully balanced color sequence also limits how freely you can use every strip, unlike a scrappy layout.
A single roll suits a small lap quilt top designed around one roll. For a throw or larger project, check the pattern's units, borders, and supporting yardage before buying. The roll is not a complete quilt kit, and it does not automatically cover the backing or binding.
Jelly Roll Race Math From Target Size to Strips
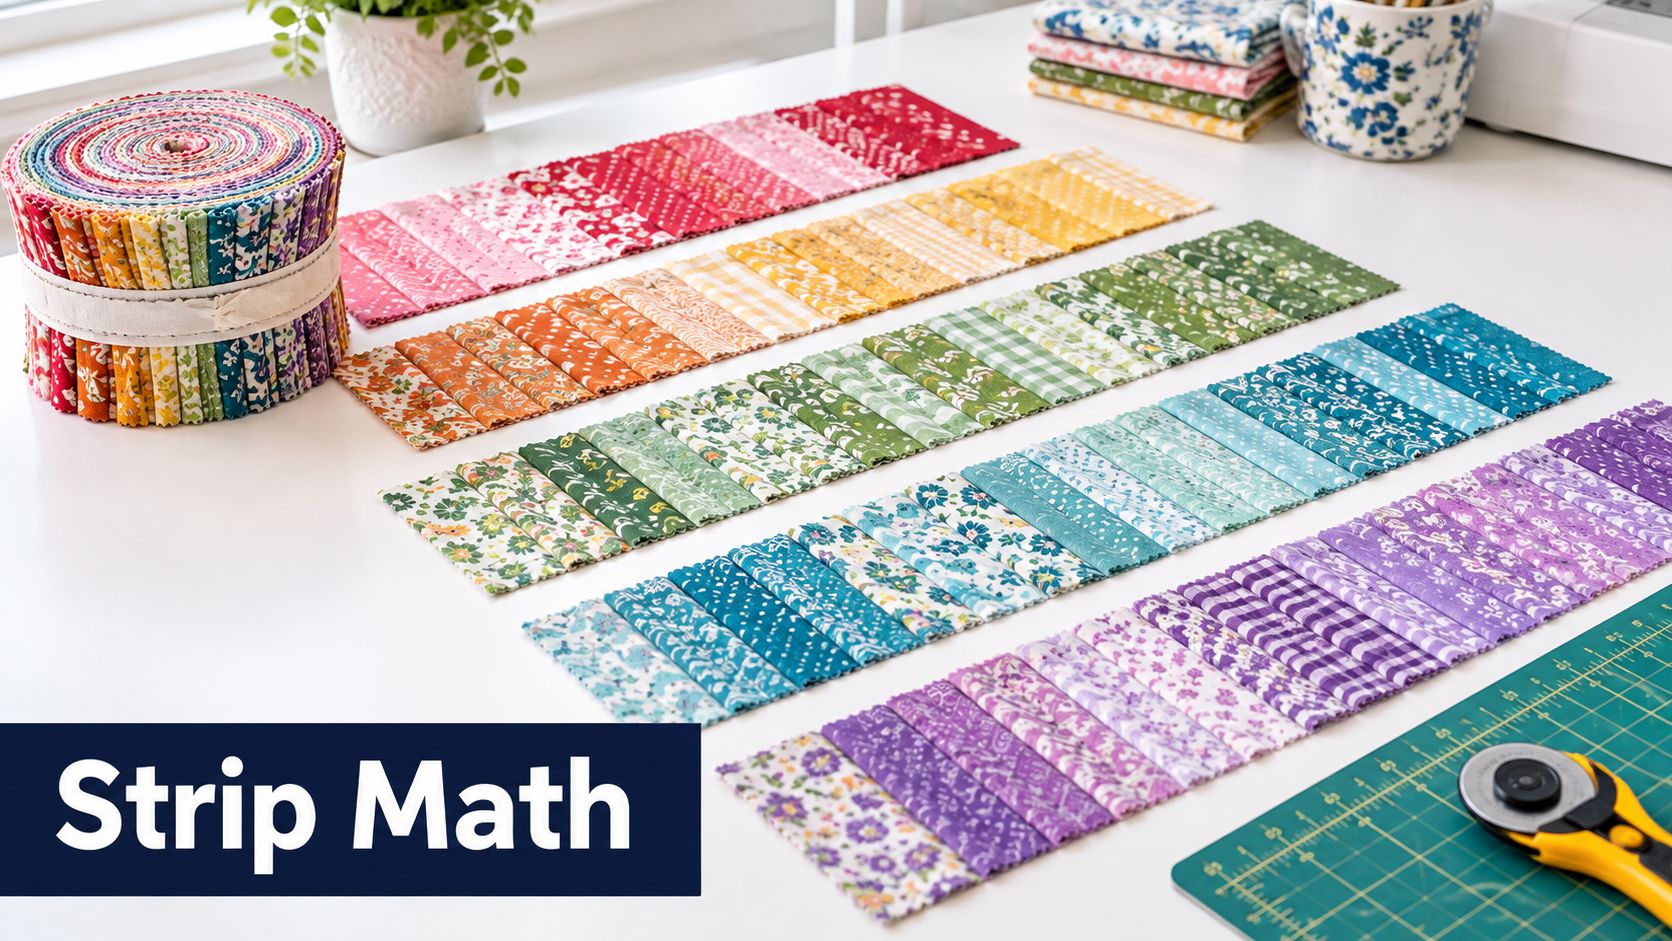
The Jelly Roll Race layout is a good place to learn the planning math because the construction uses long joined strips. After sewing quarter-inch seams on both sides, each 2.5-inch strip produces an approximately 2-inch finished row. That gives you a practical formula instead of a guess.
Use the finished dimensions first
For a target quilt top, calculate:
Finished length ÷ 2 = finished rows
Then calculate:
Finished rows × finished width = total linear inches
Finally:
Total linear inches ÷ usable strip length = strips required
Use about 40 inches as the safer usable strip length after removing selvages and trimming. The nominal strip may measure 42 to 44 inches, but planning with the full length leaves too little room for uneven ends, shrinkage, and piecing errors. The free rail fence quilt pattern uses the same basic idea of organizing strips into repeatable sections.
Work through a larger example
Suppose you want a top measuring 72 by 90 inches. The 72-inch finished length requires about 45 finished rows, because 90 divided by 2 equals 45. Multiply 45 rows by the 72-inch finished width, and you need 3,240 linear inches.
Divide 3,240 by 40 usable inches per strip. The result is 81 strips, or just over two 40-strip jelly rolls. That is the point where buying one roll and hoping for the best becomes a poor plan.
For a conventional 50 by 60-inch Jelly Roll Race quilt, one 40-strip roll is generally adequate. It produces approximately that finished size, although seam accuracy, squaring, trimming, and shrinkage can reduce the safety margin.
Round up before you start sewing
Don't treat the formula as permission to buy the exact minimum. Add several spare strips when the project has long seams, a directional print, or a layout that depends on a specific color order. It's much easier to set aside unused strips than to match a collection after the original roll is gone.
Block-Based Quilts and the Units Per Strip Method
Block-based patterns require a different calculation because the strips become smaller units. One jelly roll can make very different numbers of blocks depending on whether you cut rectangles, squares, half-square triangles, or diagonal pieces.
Use this method:
- Determine the usable strip length.
- Divide it by the cut length for one unit.
- Round down to find units per strip.
- Multiply units per strip by the number of strips.
- Divide by the number of units required per block.
- Round down to complete blocks, then compare that yield with the pattern requirement.
The key word is floor. If a strip gives you part of another unit, that partial unit doesn't count as a finished piece.
A concrete half-square-triangle example
A documented calculation uses 40 strips, cuts 16 pieces per strip, and produces 640 pieces. At 16 pieces per block, that supports up to 40 blocks, with a finished block size of 6.5 inches. The jelly roll calculator provides the planning framework for this type of yield calculation.
The finished block size matters. A cut square is larger than the finished unit because the quarter-inch seam allowance is included before sewing. If you confuse the cut size with the finished size, your block count may look correct while the completed quilt measures differently from the pattern.
Four errors cause most shortages
- Cut size versus finished size: Track both measurements separately. The pattern's cutting chart usually lists the larger pre-sewn measurement.
- Seam allowance: A quarter-inch seam changes the finished width of strips and block units.
- Partial units: Round down during strip yield calculations, then round up only when determining how many whole blocks the pattern requires.
- Reserved fabric: Borders, binding, directional placement, and background fabric need their own allowance.
Buy a second roll at the start when the calculated requirement approaches the contents of one roll, especially if the design uses triangles, diagonal cuts, fussy placement, or multiple color groups. For a first project, a spare roll is cheaper and less frustrating than stopping with an incomplete quilt top.
Matching Roll Counts to Common Quilt Sizes
The most useful chart is a starting point, not a substitute for the pattern's cutting list. The table below compares common project sizes with the roll count I'd use at the cutting table.
| Finished Size | Approx. Roll Count | Best Project | Suggested Backing |
|---|---|---|---|
| 50 by 60 inches | One | Small lap quilt or simple Jelly Roll Race top | Pieced or appropriately sized quilt backing |
| 50 by 64 inches | One | Conventional Jelly Roll Race top | Fabric planned separately from the roll |
| Larger throw | Two | Generous throw or more elaborate lap quilt | Backing sized to the actual finished top |
| Queen, around 90 by 90 inches | Three to four | Efficient queen-size top with limited waste | Wide backing or joined backing |
| Queen, around 90 by 108 inches | Three to four | Many queen-size block or strip designs | Backing calculated from finished dimensions |
A 50 by 60-inch lap quilt covers approximately 3,000 square inches, while a queen top around 90 by 90 inches covers approximately 8,100 square inches. That area comparison explains why a queen project needs substantially more strip inventory than a lap quilt. The queen estimate still moves upward when the pattern includes borders, angled blocks, sashing, or significant cutting waste.
One roll for a small lap quilt
Use one roll when the pattern is designed specifically for a single roll and uses long strips efficiently. A rail-fence quilt, simple strip layout, or conventional Jelly Roll Race can make good use of the complete bundle. Keep the background, binding, batting, and backing separate in your shopping plan.
Two rolls for a larger throw
Two rolls give you about twice the strip inventory. That makes them useful for a larger throw, a more detailed lap quilt, or a design that uses one collection for the main blocks and another for contrast. Mixing two coordinated collections can also help you create a broader color range, provided the pattern allows it.
Three to four rolls for a queen
A queen-size quilt has much more surface area than a 50 by 60-inch lap quilt. Three rolls can be a starting point for a highly efficient queen top, but four may be the sensible purchase when the pattern has borders, triangles, diagonal layouts, or a controlled color arrangement.
Don't calculate backing from the roll count. Use the finished top measurements and a dedicated quilt backing yardage chart. A 108-inch backing can simplify a larger project by reducing the need for a center seam, but the required amount still depends on the top's dimensions and the backing layout.
Mixing Precuts and Using Your Stash for Contrast
A jelly roll rarely works alone in a finished quilt. The visible strips may come from one coordinated collection, while the design gets its shape from a neutral background, sashing, borders, and binding. Treat those supporting fabrics as separate line items instead of assuming the roll can cover everything.
Build a supporting cast
Pair the roll with another precut when the pattern calls for controlled contrast. A Layer Cake can supply larger squares, while a Charm Pack can add small accent units. Fat Quarters are useful for backgrounds, appliqué, binding, or sections that need more width than a 2.5-inch strip provides.
A neutral from your stash can be the best choice for sashing. Look for a fabric that separates the roll's prints rather than competing with them. If the roll contains strong contrast already, a quiet background can keep the block geometry readable.
Budget separately for:
- Sashing and background yardage
- Borders
- Binding
- Backing, including 108-inch quilt backing when appropriate
- Batting, with the loft and scrim suited to the finished use
A coordinating jelly roll project guide can help you decide whether another precut should support the original collection or introduce a deliberate contrast.
Answer the leftover questions
Can you mix partial rolls? Yes, if the pattern is scrappy or the collections share a compatible color range. For a tightly curated design, partial rolls can create uneven color distribution, especially when the pattern places fabrics in a planned sequence.
What should you do with leftover strips? Save them for binding, a coordinating pillow, a small pouch, or a future scrappy block. Don't force every strip into the quilt if one print fights the layout.
Will one collection provide enough contrast? Not always. A collection may be beautifully coordinated but too similar in value for a pattern that needs strong light and dark separation. Pull a neutral or a second collection before cutting, not after the blocks look muddy.
For charity and gift quilts, visual consistency matters. Matching dye lots and keeping several extra strips can prevent a last-minute substitution that changes the character of the quilt.
Common Counting Mistakes and How to Avoid Them
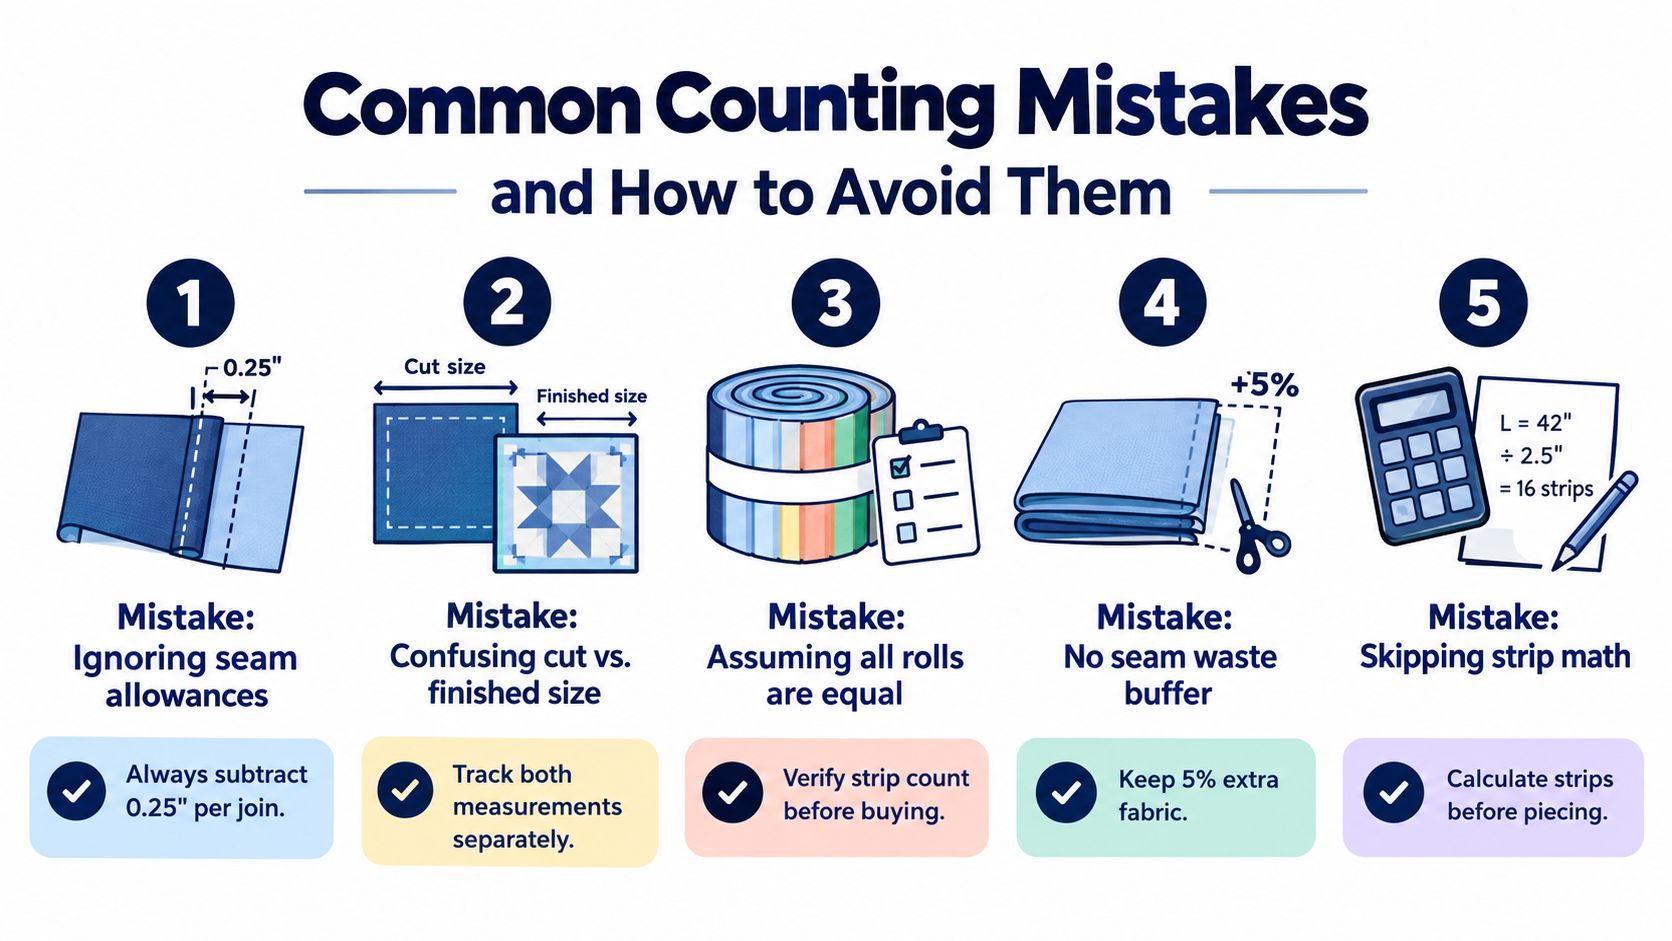
Most jelly roll shortages come from one overlooked variable. The roll count isn't usually the problem. The problem is treating nominal fabric measurements as fully usable fabric.
The mistakes I see most often
- Using the full strip length: A strip may measure 42 to 44 inches, but selvage removal and end trimming make 40 inches a safer planning length.
- Ignoring direction: Directional prints may not work when rotated, so some cuts produce more waste than a solid or non-directional print.
- Forgetting the seam allowance: A 2.5-inch strip doesn't remain 2.5 inches wide after sewing. Track finished width separately from cut width.
- Rounding partial units upward: A fraction of a unit doesn't become usable just because the calculator displays it. Count only complete pieces.
- Skipping support fabric: The roll doesn't normally include binding, borders, batting, or backing.
The fabric yardage calculation guide is useful when the pattern moves beyond simple strip piecing and adds background or border requirements.
Use a disciplined workflow
Confirm the actual strip count and usable length on the package. Then calculate the required strips from the target dimensions or pattern cutting chart, and add several spare strips for errors, directional placement, and trimming.
Join strips with consistent quarter-inch seams and press systematically. Before cutting or quilting, measure the assembled strip or pieced panel. That measurement tells you what the fabric produced, rather than what the package label suggested.
Measure the pieced panel before you commit to borders. A small correction at that stage is easier than rebuilding the quilt after quilting.
Your Shopping List and Next Steps at the Counter
Use this quick rule:
- One roll for a small lap quilt.
- Two rolls for a larger throw or more elaborate design.
- Three to four rolls for many queen-size tops.
Before checkout, confirm:
- Finished quilt dimensions
- Pattern cutting chart
- Usable strip length
- Background and sashing needs
- Binding and border yardage
- Backing width, including 108-inch options
- Batting loft and finished use
- Whether a contrast roll or Layer Cake belongs in the design
Bring the pattern to Our Springfield, Tennessee showroom and compare the roll count with the actual cutting chart before you buy. The same math also works for charity quilts, gift quilts, and scrappy stash projects.
Shop the latest Jelly Rolls collection at The Fabric Company, then add the backing, batting, and supporting precuts your finished dimensions require. Visit Our Springfield, Tennessee showroom for help at the cutting table, and join The Weekly Thread for more tips and 10% off your first order.