

A queen size quilt kit typically produces a finished top around 90 by 108 inches, designed to drape over a 60-by-80-inch mattress with about 15 inches of side drop. The right kit still depends on your mattress depth, preferred overhang, pillow tuck, and quilting method.
You may be standing at the kitchen table with a newly opened kit, admiring the coordinated fabrics while wondering whether the finished quilt will reach the sides of your bed. That uncertainty is common because “queen” describes the mattress, not one fixed quilt size.
A 90-by-108-inch finished quilt provides about 15 inches of drop on each side of a standard queen mattress, and its length allows for the mattress, foot drop, and possible pillow tuck. The finished surface equals 9,720 square inches, or 67.5 square feet (Fibrecalcs explains the relationship between mattress size and finished quilt dimensions).
The safest way to shop is to read the measurements before the color story. Check the finished top, backing width, batting dimensions, binding quantity, and whether the pattern already accounts for seam allowances. Later, you'll use those details in a simple fit worksheet that turns “queen” from a guess into a practical buying decision.
Why Queen Size Quilt Kits Deserve a Second Look
You can spread two quilts labeled “queen” across the same bed and get two very different results. One may skim the mattress like a coverlet. The other may drop lower at the sides, cover more at the foot, and leave room for pillow tuck. That is why a queen kit deserves a closer look before you fall for the fabric bundle.
The useful question is not “Is this for a queen bed?” It is “How do I want this quilt to fit my queen bed?” Mattress depth changes the side drop. A tall mattress eats up width fast. Pillow tuck uses extra length at the head. Dense quilting can draw a finished top in a bit, especially on a larger project. Published size charts also show that queen quilts are sold in more than one finished range, not as a single fixed measurement (Fibrecalcs outlines these queen-size variations).
At our Springfield, Tennessee showroom, this is the gotcha that trips up first-timers most often. They shop by bed label first and measurements second. A kit can still be the right choice, but only if the numbers match the fit you want.
Practical rule: Buy by the kit's stated finished dimensions, not by the word “queen” alone.
A quick pre-purchase check clears up most surprises:
- Finished top size: Use the actual quilt measurement, including borders.
- Backing width: Confirm the listed width and length, not just “queen backing.”
- Batting size: Make sure it gives you enough extra for basting, quilting, and trimming.
- Binding quantity: Check that the included amount fits the quilt's perimeter.
This works like measuring for curtains before you buy fabric. Color matters, but fit decides whether the project works. If you want a simpler starting point before taking on a larger bed quilt, these easy beginner quilt kits can help you practice reading finished sizes, cutting directions, and supply lists with less risk.
What's Actually Inside a Queen Size Quilt Kit
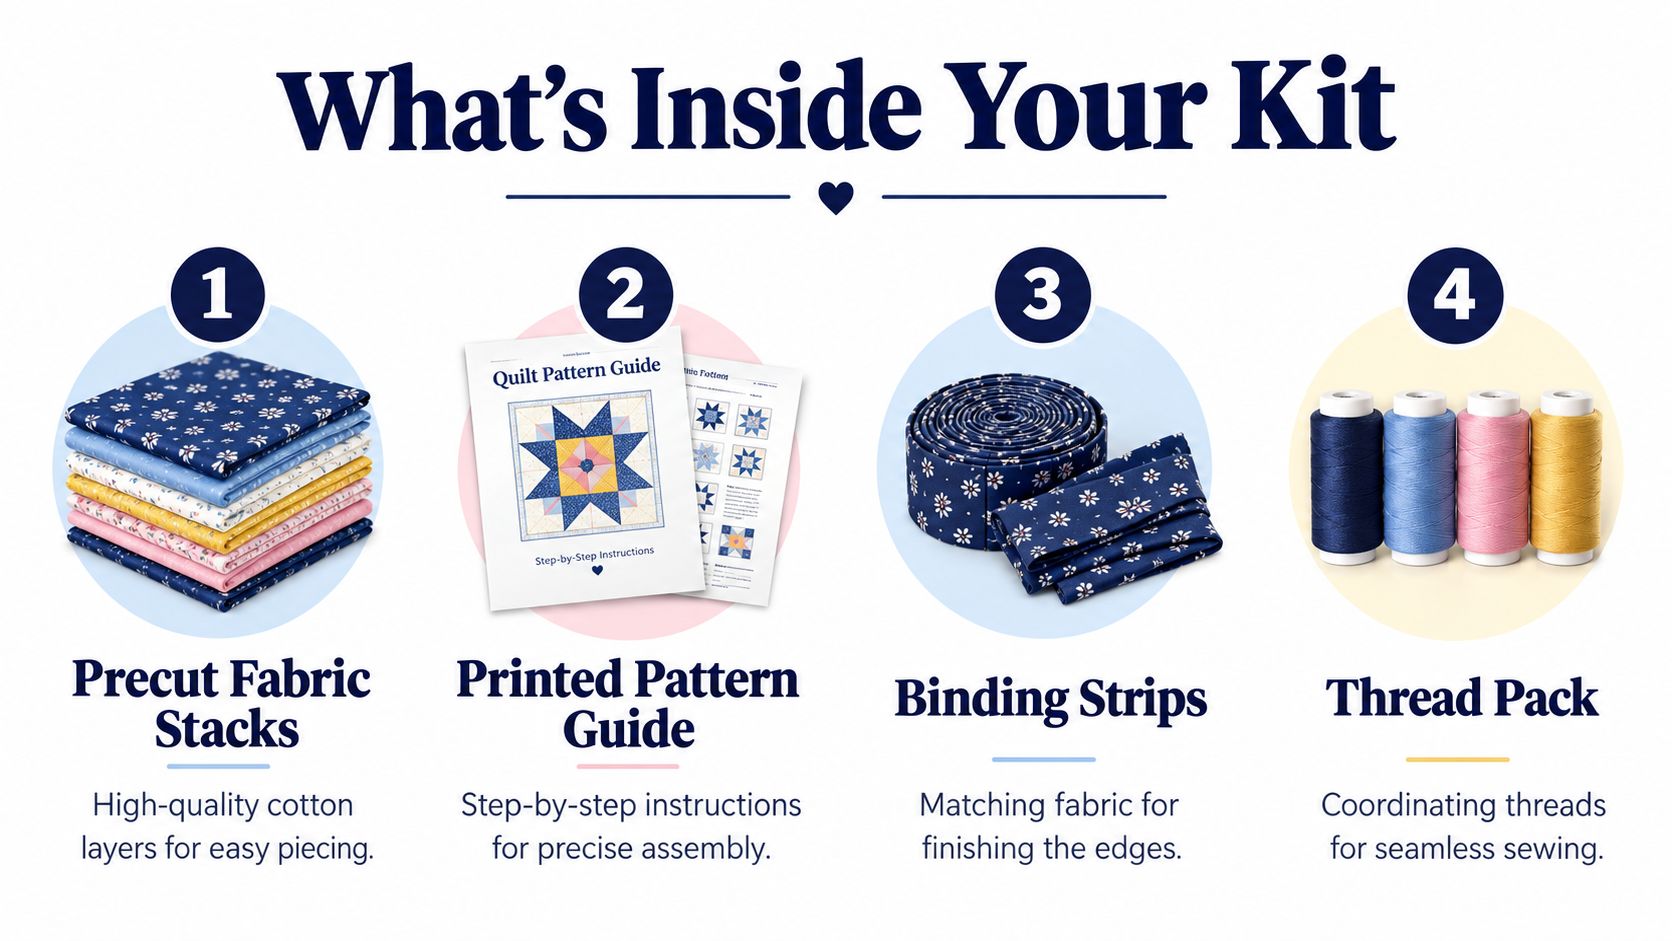
A complete kit should be treated like a pattern supply list. Open the box in the order you'll use the contents, then compare every piece with the product listing.
Start with the quilt top
The top fabrics may arrive as fat quarters, Charm Packs, Layer Cakes, Jelly Rolls, 2.5-inch strips, or yardage. Confirm what the kit includes and whether the listed finished size assumes every piece is used.
The printed pattern should identify cutting sizes, seam allowances, block assembly, borders, and the finished measurement. Pay close attention to whether seam allowances are already reflected in the cutting instructions. A beginner can lose confidence quickly when a block seems too small only because finished and unfinished measurements were confused.
Check the finishing supplies
Binding strips may be precut or may need to be cut from included yardage. Backing can be a single wide panel or standard-width fabric that requires piecing. Batting may be included, sold separately, or listed only by a nominal bed size.
Use this inspection list before buying:
- Top fabrics: Identify the precut format and total quantity.
- Pattern: Confirm the finished dimensions and seam allowance.
- Backing: Find the usable width and length, not just the word “queen.”
- Batting: Compare measured dimensions with the top and your quilter's overage requirement.
- Binding: Check the strip width, total quantity, and whether it matches the perimeter.
A kit that includes the top but not the finishing layers is better described as a quilt-top kit. For a more time-saving format, compare the construction approach used in Jelly Roll quilt kits, especially if you enjoy sewing organized strip sets.
Choosing Fabrics and Patterns That Match Your Skill Level
Fabric choice affects more than appearance. The hand, weave, print scale, and consistency of the cotton influence cutting, pressing, seam matching, and how the quilt behaves under the needle.
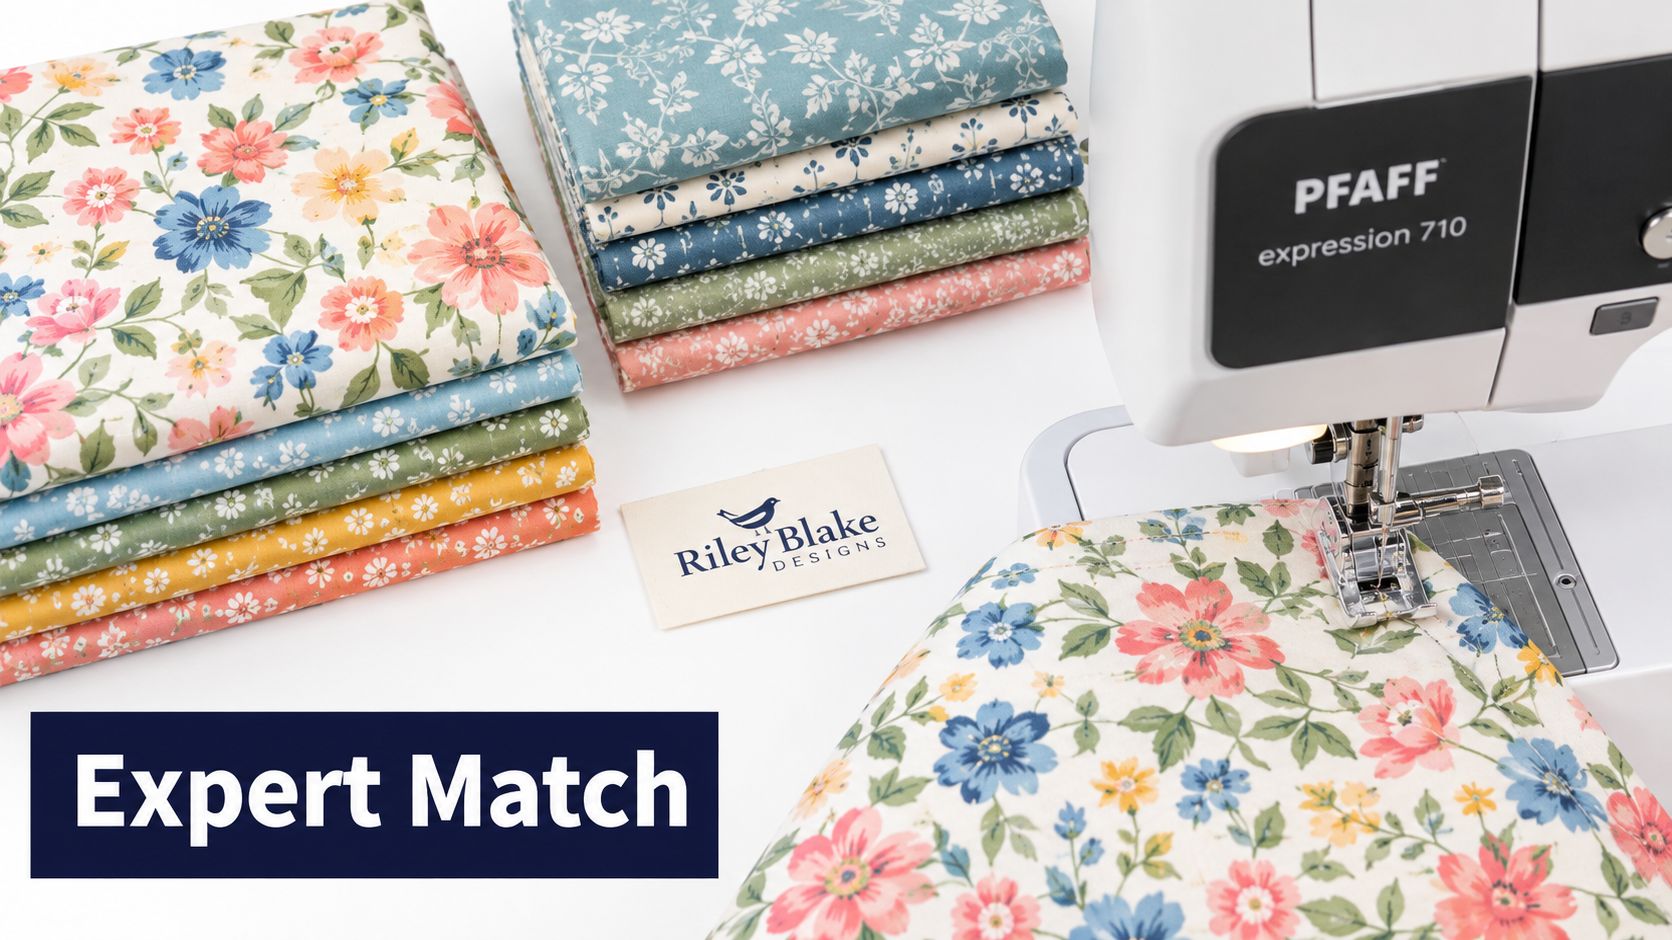
At The Fabric Company's Springfield, Tennessee showroom, I encourage first-time buyers to handle a swatch whenever possible. Robert Kaufman fabrics are useful when you want smooth, dependable yardage and clear prints. Cloud9 offers a softer, modern feel for makers who care about hand and visual texture. Riley Blake Designs brings statement florals, blenders, and coordinated precuts that can make a kit feel complete before you begin.
A product photo can't show every detail of hand or thread construction, so check the fabric description and ask about the collection if you're unsure. You should also confirm whether the kit uses 2.5-inch strips, 10-inch squares, fat quarters, or one-yard bundles. Those formats determine the cutting plan.
Match the pattern to your confidence
Use the pattern format as a skill check:
- Charm Pack layouts: Small, repeatable units can be approachable for a first pieced quilt.
- Layer Cake arrangements: Ten-inch squares give you larger shapes, but diagonal settings and matching points can increase the challenge.
- Jelly Roll designs: Strip piecing speeds up cutting, though long seams still require accurate pressing.
- Appliqué or detailed sampler designs: These reward patience and careful marking.
Choose a design you'll enjoy repeating. A straightforward pattern with fabrics you love is more likely to reach the quilting stage than an ambitious design that overwhelms your sewing space.
Your machine matters, too. A large queen top can build bulk under a domestic machine, especially during basting and quilting. A smaller finished queen design may be more comfortable for a home setup, while a longarm quilter may prefer generous loading margins.
For additional fabric-selection guidance, see how to choose quilt fabric.
Backing, Batting, and Basting Math Made Simple
A queen kit can look complete right up to the moment you spread the layers out on the table and realize the top fits, but the backing and batting do not. That happens because the quilt top is the finished target, while the layers underneath need extra fabric for clamping, shifting, smoothing, and trimming after quilting.
The math is simple once you separate the finished size from the working size. Start with the top measurement. Then add your quilting allowance to all four edges, not just the width or the length. For a 90-by-108-inch top, adding four inches on each side gives you a backing and batting target of about 98 by 116 inches, or 11,368 square inches. The size formula behind that example is outlined by Fibrecalcs provides the underlying size calculation. If you quilt on a home machine, the extra space may be smaller. If you send it to a longarm, many studios ask for more margin, often in the 4 to 6 inches per side range, while home setups often work in the 2 to 4 inches per side range, as Sewing With Ease compares these overage needs.
Backing is where queen projects often get tricky.
Regular quilting cotton usually gives you only about 42 inches of usable width after the selvages come off a 44- to 45-inch bolt, so a queen backing usually means piecing panels together. Wide backing changes that calculation. A 108-inch-wide backing can cover many queen tops in a single piece, but only if your top size plus overage still fits inside that usable width. For example, a 90-by-100-inch top with four inches added all around comes to about 98 by 108 inches, which is right on the line and depends on the true usable width of the fabric. Fibrecalcs details the effect of backing width on the calculation.
Batting needs the same kind of check, which is where many first-time kit buyers get tripped up. A package labeled queen may match a common finished top size, yet still fall short once quilting allowance is added. A 90-by-95-inch top, for instance, needs at least 98 by 103 inches of batting if you want four inches of extra coverage on every edge, as shown by Binding Calculator Quilt explains this batting check.
After size, compare the fiber itself. Cotton, wool, polyester, and blends can vary in loft, scrim, drape, and shrinkage behavior, so the label tells you only part of the story. For a clearer batting comparison, use this quilting batting size guide.
Build Your Fit Worksheet in Five Quick Steps
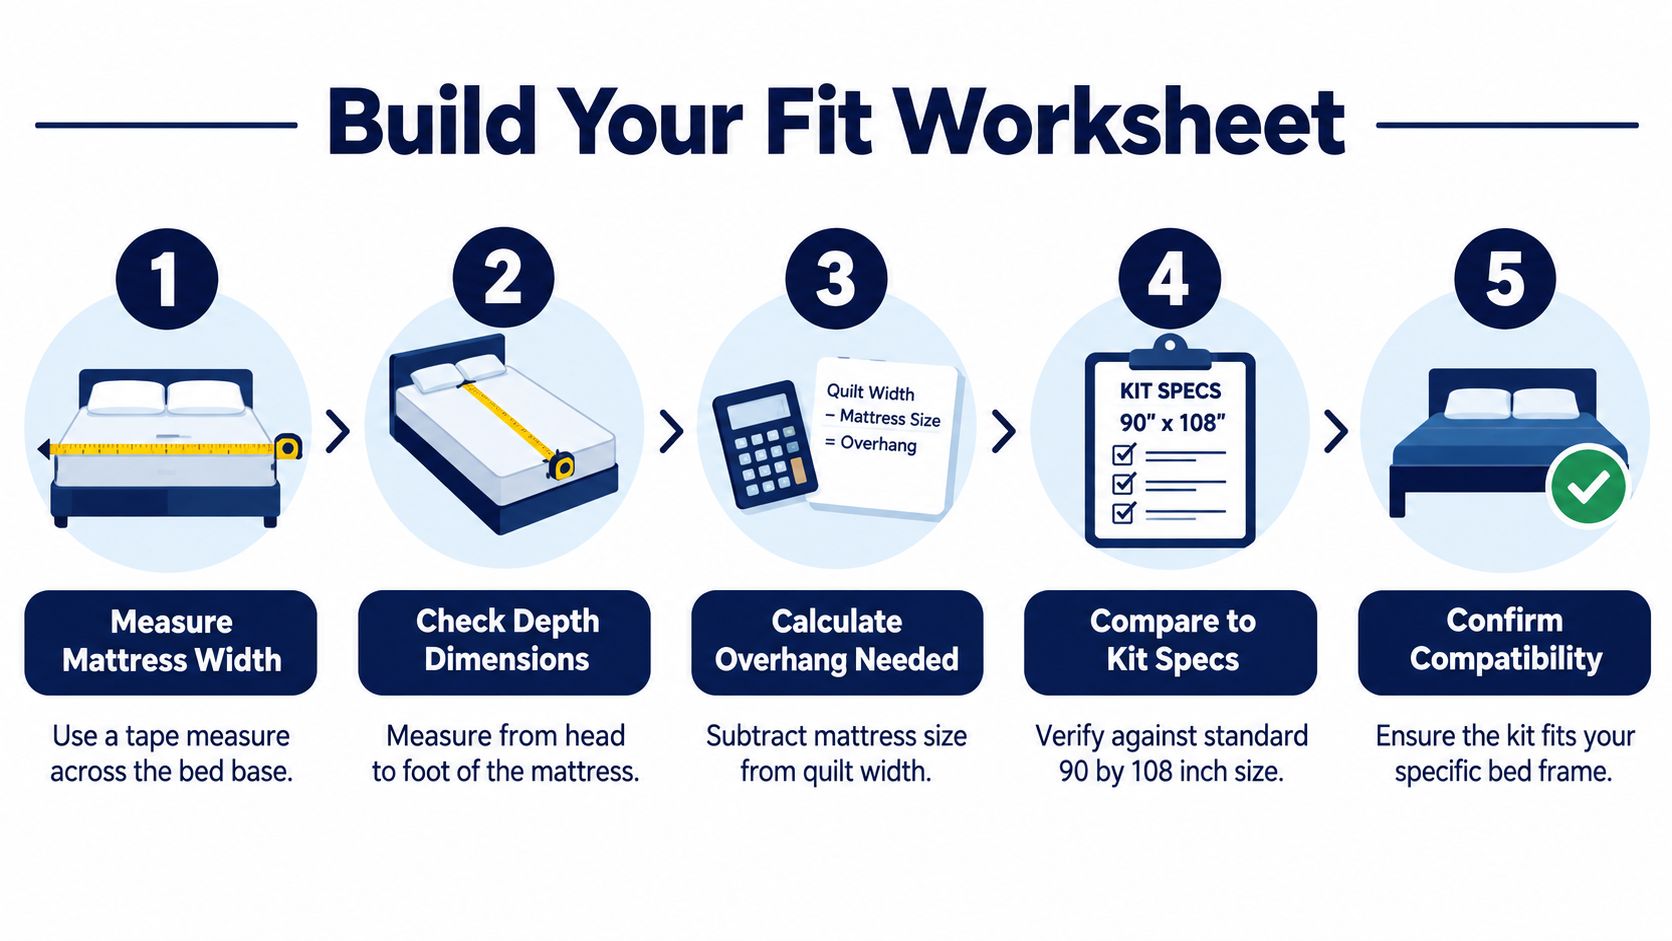
You get the clearest answer with the bed in its real, everyday state. Leave the topper on. Leave the pad on. If the pillows usually stay tucked under the quilt, keep them there too. A queen kit is a fit decision, not a single fixed size label.
1. Measure the bed you actually sleep on
Start with width and length across the top of the mattress. Then measure the depth from the top edge down to the point where you want the quilt to finish on the sides. That last number matters more than many first-time buyers expect. A pillow-top or thick topper can change the way the same “queen” quilt hangs.
2. Pick the side drop before you shop
Side drop sets the look of the whole bed. A shorter drop reads more like a coverlet. A deeper drop gives fuller coverage and can hide more of the mattress side.
Use your preferred look as a checkpoint:
- 12 inches: A tidier, coverlet-style finish.
- 15 inches: A balanced drape for many queen setups.
- More than 15 inches: Better for deep beds or anyone who wants more coverage at the sides.
The worksheet formula is simple: finished width equals mattress width plus twice the desired side drop. For a 60-inch mattress with 15 inches of drop on each side, the target width is 90 inches.
3. Add the length with pillow tuck in mind
Length works a little differently. Record the mattress length, then add the drop you want at the foot and any extra fabric you want at the head for pillow tuck. If you skip that pillow tuck line on your worksheet, the quilt can look long enough in the package and still come up short once the bed is made.
4. Note your quilting method
Before you compare kits, write down whether you plan to quilt at home or send it to a longarm studio. That choice affects the backing and batting requirements. Refer to the backing and batting math in the previous section for the detailed allowances and formulas, then copy your final target numbers onto this worksheet.
5. Compare the kit listing line by line
Set your worksheet beside the product page. Check the finished top size, the included fabric, the backing plan, the batting size if provided, and the binding amount. If one line is vague, ask before cutting.
For a broader bedding reference when comparing proportions, you can browse our comforter size guide from Lucas Furniture & Mattress. Use it as a room-planning aid, then rely on your own mattress measurements for the quilt.
Three Project Stories That Show the Kit in Action
One queen kit can serve very different makers. The difference comes from the finished goal, the way the fabric is allocated, and the quilting setup.
The gift-driven beginner
A beginner selected a Riley Blake Layer Cake bundle and made a 90-by-100-inch throw-style top rather than aiming for the fullest bedspread. A single-piece 108-inch-wide backing simplified the sandwich, and a SINGER machine handled the home quilting.
The important choice wasn't the brand or machine. It was reducing bulk to make basting, turning, and stitching manageable. A smaller queen-format top can be a thoughtful bed gift without forcing a new quilter into the largest possible project.
The slow-fashion sewist
Another maker divided the kit's yardage before sewing. Part became an apron, part became a child's dress, and the remaining coordinated fabric formed a modern sampler quilt.
This approach requires careful inventory control. Set aside the quilt fabric first, reserve the pieces needed for borders and binding, and only then decide what can become apparel. Quilting cotton can work beautifully for structured garments, but the pattern must account for the fabric's body and drape.
The charity and guild quilter
A guild member purchased a queen precut bundle in quantity, added Hobbs 80/20 batting by the roll, and worked with a longarm studio. The studio's 4-to-6-inch margin on every side shaped the backing and batting order before the top was pieced.
Bulk buying makes sense when the same block design will be repeated, but it doesn't remove the need to confirm usable widths. For donation quilts, ask whether the recipient needs a bed-ready size or a lighter coverlet, then choose the kit accordingly.
At The Fabric Company's Springfield, Tennessee showroom, these project types are easy to discuss in person because the same precut categories can support gifts, apparel experiments, and repeat charity work.
Five Myths That Trip Up First-Time Kit Buyers
A first-time buyer stands at the counter holding a kit labeled “queen,” relieved that the hard decision seems finished. Then the real fit questions start. Queen is not one fixed size. It is a fit choice that depends on mattress depth, side drop, pillow tuck, and how much room your quilting method needs.
Myth one, every queen kit finishes at 90 by 108 inches
That size is common, but it is not a rule. Published queen quilts can land anywhere from roughly 80 to 96 inches wide and about 90 to 110 inches long (Hancock's Paducah discusses the range and the need to choose by fit). Read the finished size on the pattern, then compare it to your bed the way you would compare a dress pattern to body measurements, not just the size printed on the envelope.
Myth two, included backing always fits
Matching the top size is rarely enough. Backing needs extra fabric for centering, basting, shifting, and trimming, so a kit can look complete on paper and still come up short on the table. If you quilt on a longarm or want a generous safety margin, confirm the backing measurement before you cut anything.
Myth three, a precut count guarantees the finished size
Precuts tell you what pieces are in the bundle, not how large the quilt will end up. Seam allowances eat space. Sashing changes the math. Borders can rescue a too-small top or turn a comfortable throw into a bed quilt. Check the block size and final layout before you assume the kit will cover a queen bed the way you want.
Myth four, all Hobbs batting behaves the same
It does not. Hobbs options vary in fiber, loft, scrim, and shrinkage, and those differences affect drape, warmth, and finished measurement. Read the package dimensions and care notes.
Myth five, more fabric is always better
More drop can be nice. More bulk under a domestic machine is not always nice. Many home quilters enjoy a slightly smaller queen top because it is easier to baste, turn, and stitch well.
Finishing, Pricing, and Where to Shop Next
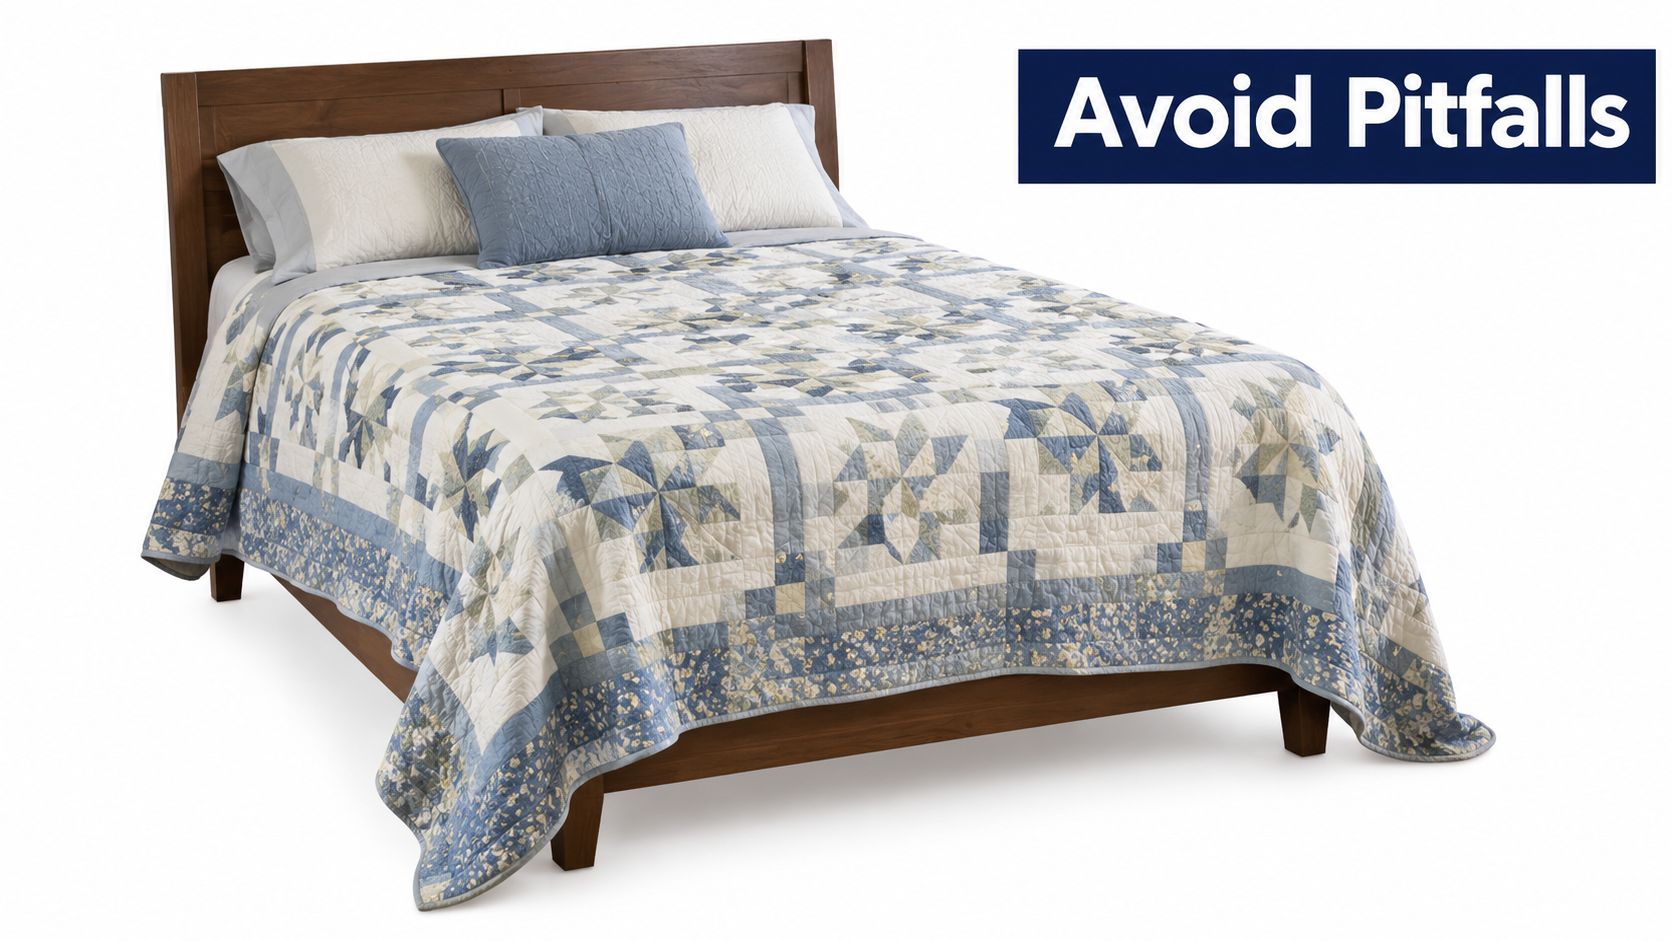
A queen quilt can look right on the cutting table and still miss the bed once it is washed, quilted, and tucked around a deeper mattress. The finish matters as much as the fabric pull. Work in order, and check the quilt against your fit worksheet before each big step.
Start by squaring the top so the corners are true and the side edges do not bow. Then prep the backing with the grain running the right way and enough extra width for the quilting method you chose. Baste from the center outward so little ripples do not get trapped where you cannot see them. Quilt with the setup that matches your machine and your comfort level, whether that is a walking foot at home, free-motion, or a longarm with the required loading margin. After that, trim carefully and bind with a steady seam.
If binding is the part that makes you hesitate, this guide to finishing binding on a quilt walks through the last edge clearly. Corners are the usual snag point. A rushed turn can make a neatly squared quilt look wavy, even when the piecing underneath is accurate.
Price the kit as a whole project. A precut-bundle queen top commonly falls between $80 and $220, backing may add $30 to $60, and batting may add $25 to $70, depending on fiber and loft. Those figures are planning ranges, not a promise of what every listing includes. Check whether the kit covers only the top, or also includes backing, batting, and pattern pieces, because queen size is a fit decision, not a single fixed package.
Shop with the finish in mind
The Fabric Company carries queen quilt kits, precuts, 108-inch-wide backings, batting packages and rolls, Hobbs products, thread, patterns, and sewing equipment. At Our Springfield, Tennessee showroom, you can compare fabric hand, backing width, and bulk in person, which helps when you are deciding between a quilt with more side drop and one that is easier to manage under a domestic machine.
If you are checking bed height before you finalize drop, a resource about a memory foam mattress in Norwich CT can help you picture how mattress construction changes the way a quilt hangs. Your own tape measure still decides the fit.
A queen kit is ready to buy when the finished top suits your planned drop and pillow tuck, the backing and batting give your quilting method enough room, and the pattern matches your skill level.
Shop the latest queen quilt kit collection for coordinated tops, precuts, 108-inch backings, and Hobbs batting to finish your project. Visit The Fabric Company online or at Our Springfield, Tennessee showroom, and join The Weekly Thread for more tips and 10% off your first order.