

You've cut a beautiful applique shape, pressed it carefully, and still ended up with a piece that bubbles, warps, or starts peeling after washing. The problem often isn't your stitching. It's the match between the fabric, the adhesive product, and the way the motif will be used.
TL;DR: Choose fusible interfacing for applique when the fabric needs body or controlled stretch, fusible web when you need to bond a shape directly to a background, and a non-fusible stabilizer when heat-activated adhesive would change the hand of the project. Test the combination, press in short firm sections, let every layer cool flat, and stitch the edge for dependable long-term support.
Choosing the Right Fusible Interfacing for Applique
A floral applique can look perfect on the cutting table and disappointing after the first wash. The petals may ripple, a curved stem may stretch, or the edge may lift where the adhesive didn't fully bond. Those failures feel personal because the design work is personal, but they usually come from a material decision made before the iron ever touches the fabric.
Fusible interfacing for applique matters because it changes how the fabric behaves before you stitch. Interfacing can add body, limit distortion, and help a small shape hold its outline. Fusible web adds adhesive to the equation, allowing the applique fabric to attach to the background. A non-fusible stabilizer supports the work without permanently bonding the layers.
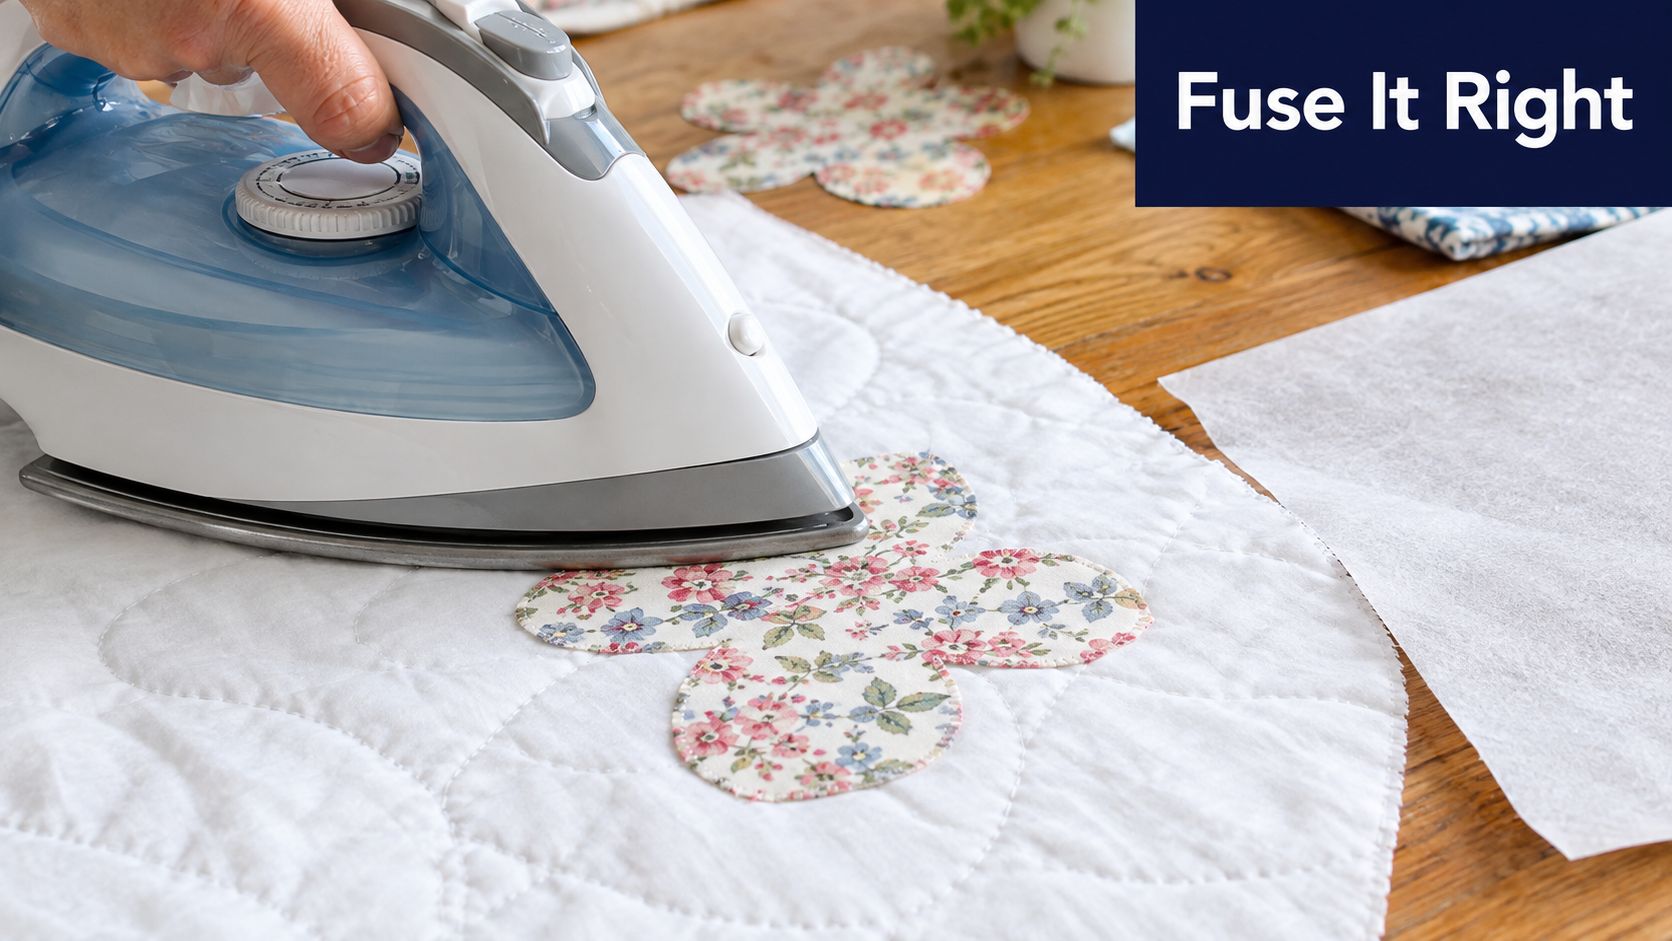
Start with the finished project
A quilt block, a children's garment, and a decorative wall hanging don't place the same demands on an applique. A quilt block can accept a firmer layer if the motif must stay crisp under dense quilting. Clothing needs more flexibility and a softer hand, especially around a curved hem or a child's moving sleeve. An heirloom piece may call for a turned edge and a sew-in stabilizer rather than a visible adhesive film.
The broader technology behind today's fusible products developed through garment manufacture. A 1937 U.S. patent focused on sewing interlining to help garments keep their shape, while a 1969 patented method described fusible interlining made by adhering an adhesive thermoplastic net to a base fabric. A review of fusible interlinings identifies 1969 as the point when localized, heat-activated bonding entered this form of textile production (historical overview of fusible interfacing development).
That history explains why fusible products can save so much preparation time. Instead of hand-basting or densely pinning every shape, you can stabilize the fabric first and preserve curves and corners while cutting. Fusible support isn't a recent novelty. It grew from structural garment engineering and later adapted to quilting and applique.
Build a decision path before shopping
Use the project's stress level as your first filter:
- Soft clothing applique: Choose a light, flexible fusible or a sew-in stabilizer if the garment needs maximum drape.
- Raw-edge quilt applique: Use fusible web when the shape needs to stay aligned while you add satin stitch, zigzag, or blanket stitch.
- Detailed motifs: Select a product that supports clean cutting without making narrow stems brittle.
- Large quilt motifs: Consider a woven or weft-backed option when bias stretch could distort the outline.
- Heirloom or turned-edge work: A non-fusible stabilizer may suit the project better than a permanent adhesive layer.
The Fabric Company's sewing notions and supplies guide is useful when you're building a project list around rotary cutting, pressing, stabilizing, and finishing tools. For shoppers near Our Springfield, Tennessee showroom, bringing a fabric swatch can make the choice more practical than guessing from a package label.
Understanding Weft and Nonwoven Fusible Options
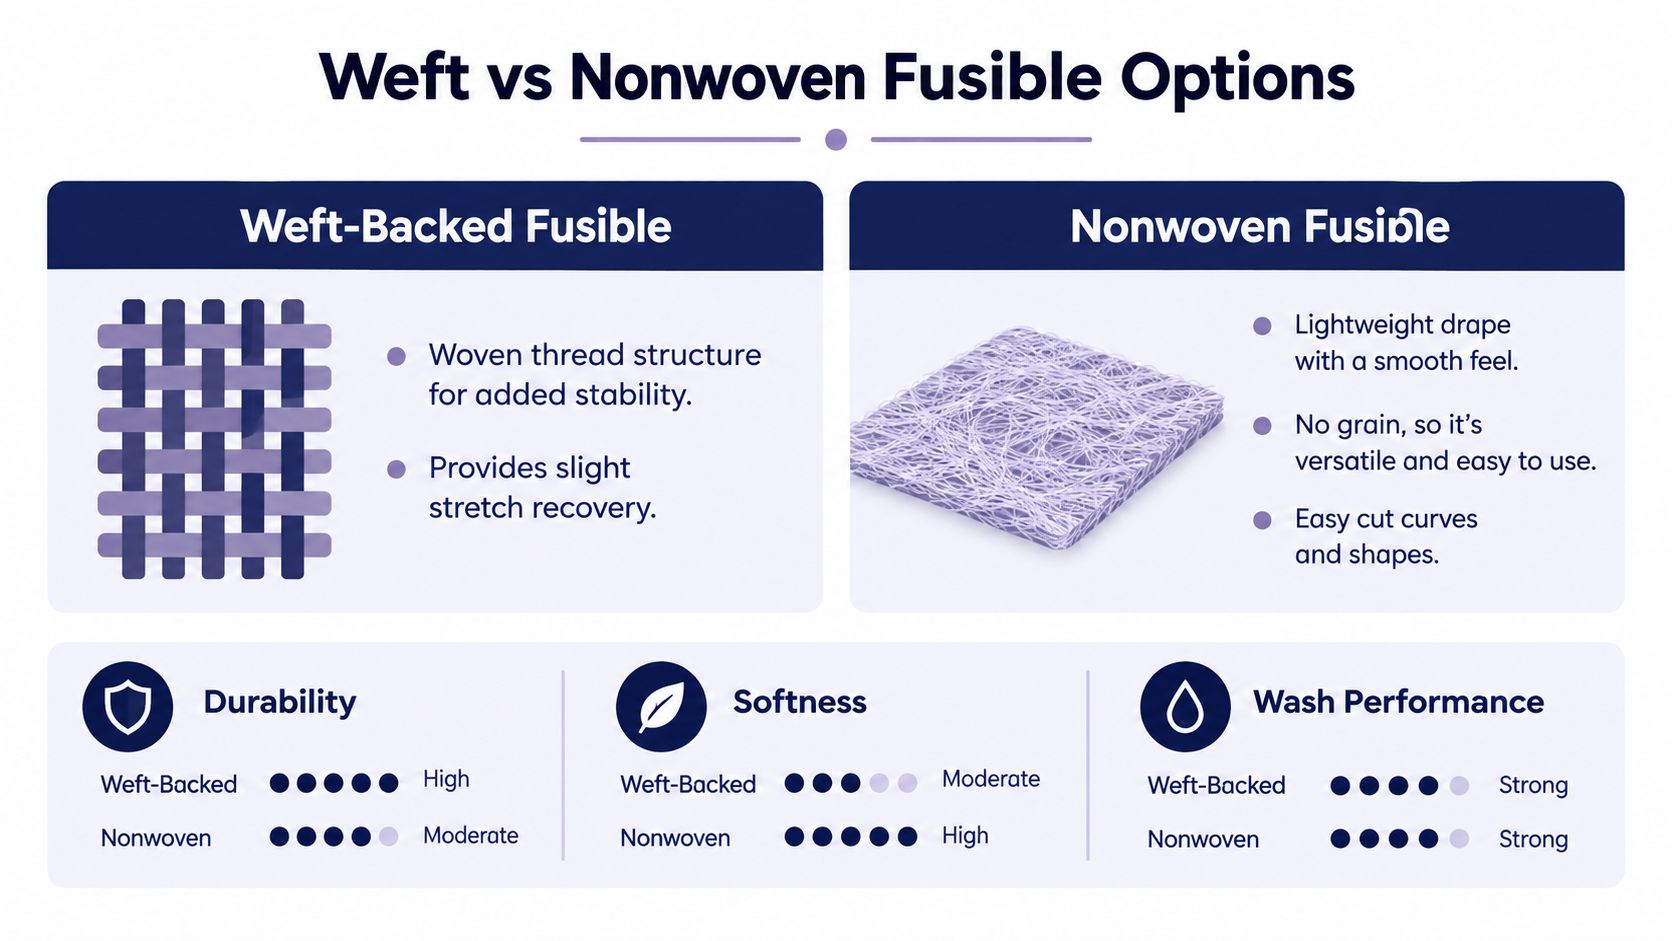
The base of the interfacing affects the way an applique bends, stretches, and holds its edge. Two broad choices appear often in quilting and sewing supplies: weft-backed fusible interfacing and nonwoven fusible interfacing. Neither is automatically superior. They solve different problems.
Weft-backed support
A weft-backed product has a woven thread structure. That construction gives the fabric a more predictable grain and can help prevent a curved applique from stretching unevenly. It's a strong candidate for larger leaves, long stems, geometric shapes, or motifs placed on fabric with a noticeable bias direction.
The trade-off is feel. A woven support may add more structure than you want in a soft shirt or a flexible baby quilt. It can also make a tiny shape harder to turn if you're using it as part of a turned-edge method.
Practical rule: If the applique must resist distortion along a specific grain direction, start by testing a woven or weft-backed option.
Nonwoven flexibility
Nonwoven interfacing is made from bonded fibers rather than a regular woven grid. It has no conventional grain, so you can cut curves in any direction without planning around warp and weft. That makes it convenient for leaves, petals, rounded motifs, and mixed scrap applique.
It often provides a softer drape and can be easier to cut around detailed curves. The downside is that it may not control directional stretch as well as a woven base. For a large motif or a shape that will be handled heavily, a nonwoven product may need perimeter stitching and a suitable background fabric to keep it stable.
Match construction to the motif
| Project need | Weft-backed fusible | Nonwoven fusible |
|---|---|---|
| Curved motif with directional stretch | Strong starting point | Test carefully |
| Soft clothing applique | Use a light version | Often a comfortable choice |
| Large quilt block motif | Useful for added stability | Works when softness matters |
| Tiny, free-form curves | May feel too structured | Easy to cut and position |
| Washable project | Test the complete sandwich | Test the complete sandwich |
Product labels usually tell you more than the word “fusible.” Check whether the item is woven, nonwoven, sewable, lightweight, or intended for garments, quilting, or craft work. The Fabric Company's iron-on stabilizer information can help you distinguish stabilizing products from materials intended primarily to bond applique shapes.
Reading Weight Ratings and Adhesive Types
Weight ratings are practical descriptions, not decoration on a package. A light interfacing can preserve the softness of a quilting cotton, while a heavier product can make a shape stand proud and firm. That extra body may be useful for a structured block, but it can look clumsy on a soft garment.
Think about edge behavior
Lightweight products suit delicate motifs, children's clothing, and projects where the applique should merge with the background. They're less likely to create a stiff ridge, but they may not control fraying or distortion as strongly.
Medium-weight products offer a useful middle ground for many quilt blocks. They can steady cotton shapes without making every layer feel board-like. Test them on narrow stems and tight inside curves, because extra body can make detailed pieces harder to handle.
Heavy products belong in projects that need firm structure. They can support bags, organizers, or very stable decorative panels, but they're usually a poor fit for soft raw-edge applique where the stitched edge should remain flexible.
The adhesive layer matters just as much. Polyamide, polyester, and ethylene-vinyl acetate formulations can behave differently across cotton, polyester, and blended fabrics. Package labels may identify the fiber content, intended use, pressing method, and whether the product is sewable. Those details are more useful than choosing by brand alone.
Choose bond strength with the fabric
Cotton quilting fabric generally tolerates many fusible products, but printed surfaces, coated fabrics, and cotton-spandex blends deserve a scrap test. A stronger adhesive may hold well while making the applique stiff. A softer adhesive may preserve drape but need a closer stitch line and more careful laundering.
For raw-edge applique, use a sewable fusible web when the adhesive is there to hold the shape in place while the thread secures the edge. For turned-edge applique, a light interfacing or non-fusible stabilizer can help maintain a clean fold without creating a plastic-feeling layer.
Studio check: Bond a scrap, wash it using the care method you expect for the finished project, and inspect the edge, hand, and background. The best choice is the one that still looks and feels right after that test.
Steam and temperature also affect the result. Many projects use low to medium heat, while some guidance recommends a wool setting for medium-to-heavy fabric and interfacing. One temperature guide lists 80°C to 110°C for low heat and 121°C to 127°C for standard heat, showing why the fabric and product instructions must control the setting (fusible interfacing temperature guidance).
Robert Kaufman fabrics, Cloud9 cottons, Pellon products, and Hobbs batting can all behave differently depending on the specific fabric finish and project layers. Read the care label, use a pressing cloth when the surface is sensitive, and keep a scrap of the exact fabric beside the iron. The Steam-A-Seam 2 Lite guide is a useful reference when a lightweight, sewable adhesive web is part of the plan.
Preparing and Fusing Applique Shapes Correctly
A motif can look perfectly positioned before washing and still bubble later if the fabric shrinks while the interfacing stays stable. Pre-wash or preshrink both materials when the finished quilt, table mat, or garment will be laundered repeatedly. The preshrinking advice for interfacing explains why matching shrinkage behavior matters.
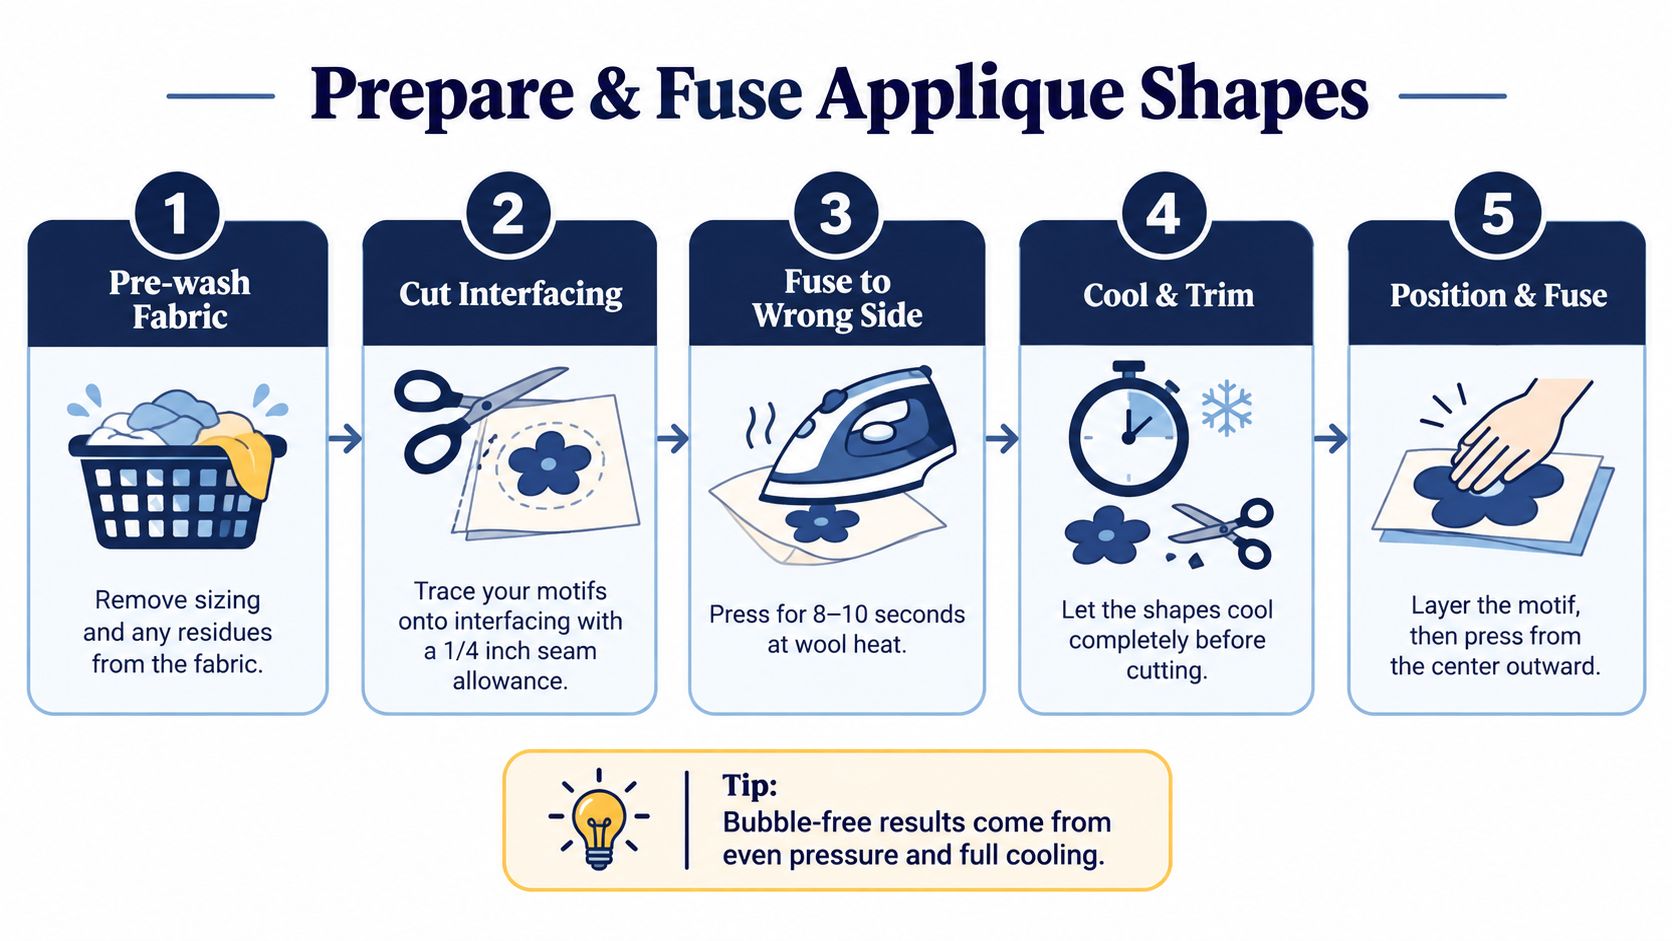
Fuse in two stages, cut in five steps
The process has two bonding stages: attach the fusible web to the applique fabric, then attach the prepared shape to the background. Those bonds are completed through five practical steps.
- Reverse the motif. Trace the design as a mirror image on the paper side of the fusible web. Skipping this step reverses lettering, directional birds, and asymmetrical leaves.
- Fuse the web to the wrong side. Place the adhesive against the wrong side of the applique fabric. Use a pressing cloth if the fabric surface needs protection. This first bond supports the fabric while you cut and handle the shape.
- Cut the shape. Cut after the web is attached, following the traced outline accurately. Detailed motifs are easier to turn and stabilize when their narrow elements are at least 1/2 inch wide, as shown in this turned-edge applique guidance.
- Remove the paper backing. Peel it away carefully so narrow points do not stretch. Mark the background temporarily on its right side, then position the shape with its adhesive facing down.
- Fuse the completed shape. Press from the center toward the outer edge, working in sections. This second bond secures the prepared motif to the background.
Press, don't slide
Hold the iron for roughly 10 to 15 seconds per section, applying firm downward pressure instead of moving it back and forth, following this fusible interfacing technique guidance. Sliding while the adhesive is warm can shift the motif, smear the bond, or cause puckering. Let the fabric cool flat before lifting it.
Turned-edge shapes need controlled bulk. Clip curved seam allowances every 1/8 to 1/4 inch, and trim them to about 1/8 inch when the method calls for a reduced allowance. Do not clip through the stitching line. Raw-edge applique usually needs accurate cutting and an even web bond instead of seam-allowance trimming.
Test the bond after the piece cools. Lift one corner gently. If it peels easily, repress that area with the product's recommended heat and pressure before stitching.
Keep the soleplate clean after using adhesive products. Residue can mark fabric or drag the layers, so review this guide on how to clean the soleplate on an iron before pressing a large set of motifs.
Finishing Techniques for Durable Applique Projects
Fusing holds the motif in place, but stitching gives the project a longer working life. A raw-edge applique can use a narrow zigzag, satin stitch, blanket stitch, or decorative machine stitch. A turned-edge piece may need a closer hand stitch that catches the folded edge without showing heavily on the background.
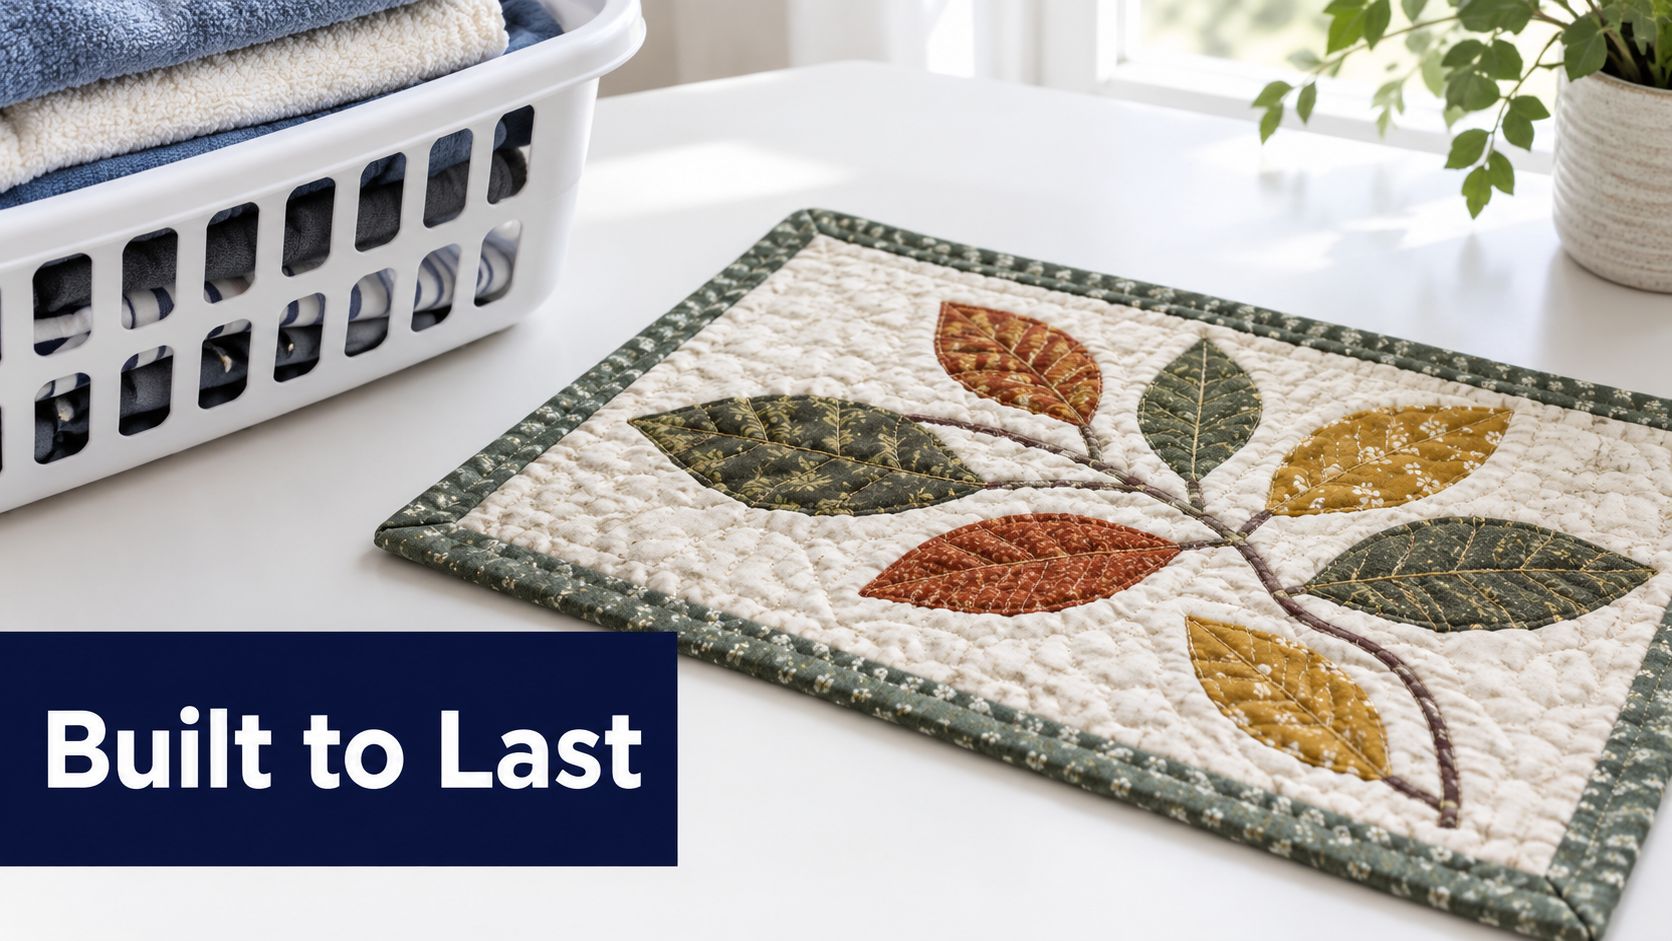
Let the stitch support the shape
Match the stitch to the edge you want to keep visible:
- Narrow zigzag: Good for a soft, controlled raw edge without a dense satin finish.
- Satin stitch: Gives strong visual coverage, but dense stitching can stiffen a small motif.
- Blanket stitch: Adds a handwork look and works well around leaves, petals, and folk-style shapes.
- Straight stitch: Useful for a deliberately frayed edge or a simple outline, but it won't cover exposed fabric as fully.
- Hand applique stitch: Suits heirloom work and turned edges where a quiet finish matters.
Curves and overlapping layers deserve extra attention. Start and stop securely, reinforce narrow points, and avoid packing dense stitches into a tiny corner. If the background puckers, check thread tension, needle size, and whether the fusible layer is too heavy for the fabric.
Plan for washing
A properly fused project may tolerate machine washing at 30°C to 40°C, depending on the product, fabric, stitching, and care instructions (fusible applique care guidance). That range isn't a guarantee for every combination. Fusible web can wear away with repeated use and washing, even when the first bond feels strong.
Use the expected wash life to choose the construction:
- Occasional-wash wall quilt: Fusible web with perimeter stitching may be sufficient.
- Frequently washed children's clothing: Choose a soft, sewable product and stitch the entire edge.
- Table mat or kitchen textile: Preshrink compatible materials and use a durable edge stitch.
- Heirloom block: Consider a turned edge with non-fusible support if long-term adhesive aging is a concern.
Bubbling usually points to incomplete bonding, fabric shrinkage, or uneven pressure. Edge fraying can mean the shape was cut too close to the stitch line or the product doesn't provide enough control. Peeling often means the iron didn't reach the adhesive evenly, the piece was handled before cooling, or the fabric and adhesive weren't compatible.
The applique quilting guide offers another project reference for combining motif placement, stitching, and quilt construction. If you're close to Our Springfield, Tennessee showroom, bring your fabric and a sample shape for a practical conversation about interfacing, batting, thread, and wash expectations.
The Fabric Company carries fabrics, interfacing and stabilizers, batting, precuts, threads, tools, and sewing equipment for projects that need careful support from first cut through final stitch. You can compare options online or visit The Fabric Company, then shop the latest Interfacing & Stabilizers collection for materials suited to your applique method. Join The Weekly Thread for more tips and 10% off your first order.