

You've sewn the first long seam of a baby blanket, and the minky has shifted, stretched, or bunched into a wavy line. That moment is frustrating, but it isn't a sign that you chose the wrong fabric. How to sew minky fabric successfully comes down to controlling stretch, pile, and feeding, then using gentle settings instead of forcing the layers through your machine.
Start with a ballpoint or stretch needle, a longer stitch length around 3.0 to 3.5 mm, and clips placed close together. Add a walking foot if you have one, but a basic machine can still handle minky with the right seam and a slow, steady approach.
What Makes Minky Tricky and How to Beat It
Minky creates trouble because it behaves unlike quilting cotton. Its surface has a deep, slippery pile, its polyester base is a knit that stretches more than it first appears, and it doesn't offer the stable grain you rely on with woven fabric. Each trait creates a different problem at the sewing machine.
The pile can slide beneath the presser foot or catch near the feed dogs. The knit backing can stretch as you sew, leaving a seam that looks gently waved instead of straight. Because the fabric has little grain stability, pulling the layers into alignment usually makes the distortion worse.
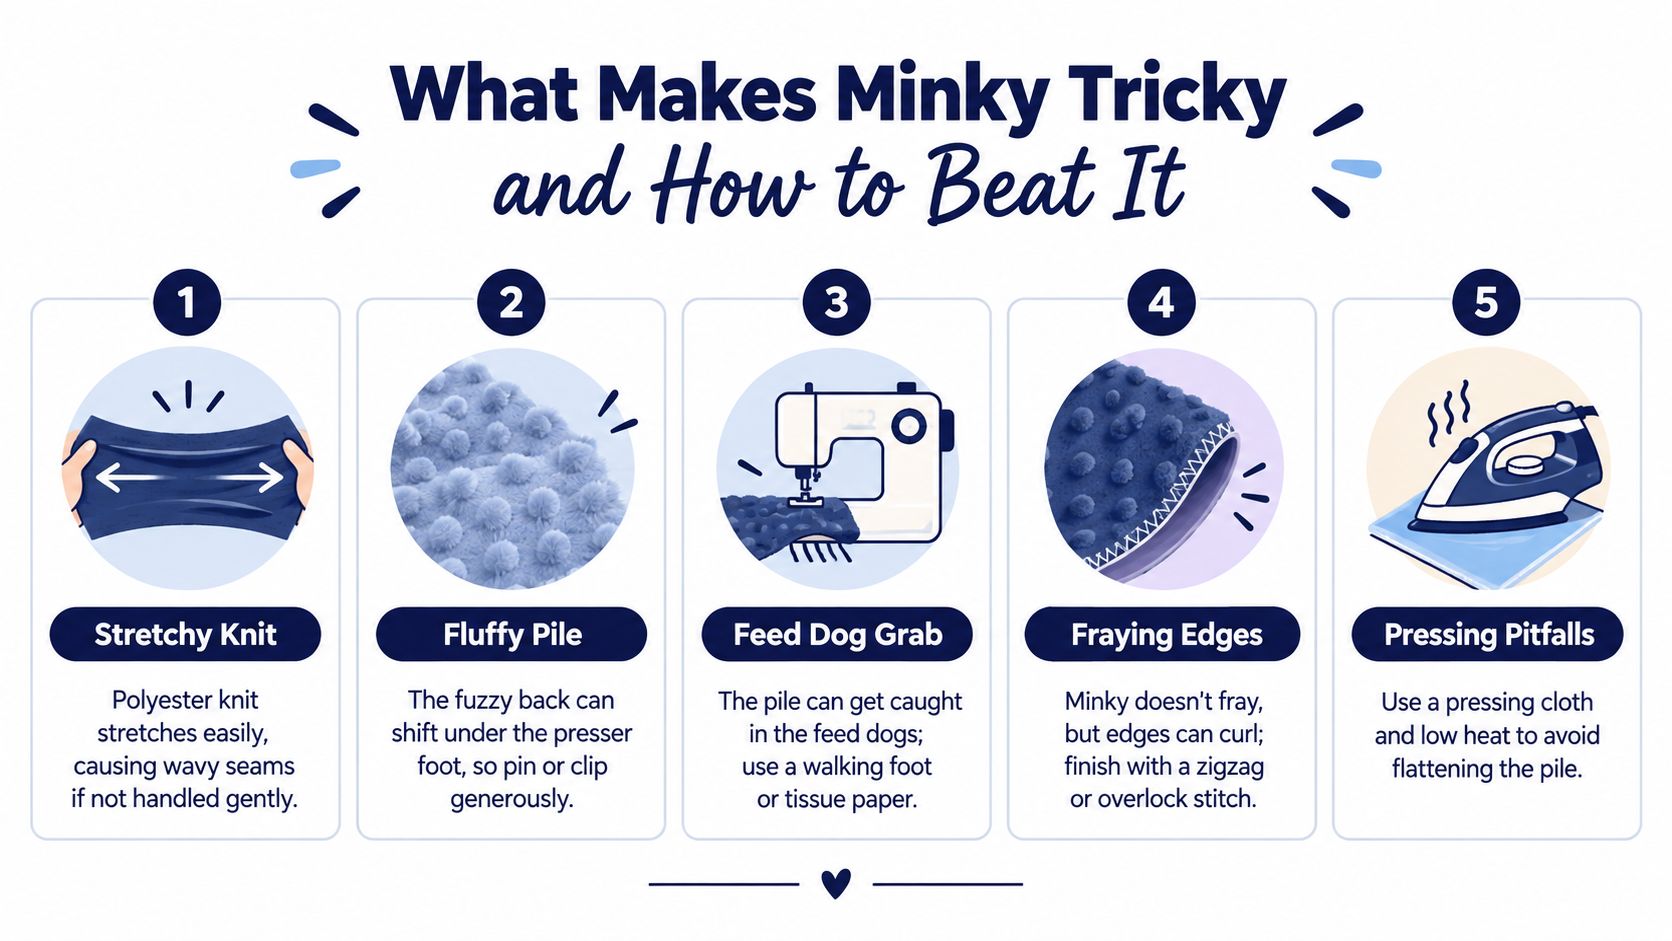
The four changes that matter first
Before you change every dial on your machine, make these adjustments:
- Use a longer stitch: A stitch length around 3.0 to 3.5 mm gives the knit room to move and helps reduce puckering, as repeated sewing guidance explains in this minky sewing guide.
- Reduce presser foot pressure: If your machine allows it, loosen the pressure slightly so the foot doesn't compress and drag the pile.
- Choose a ballpoint or stretch needle: These needle types are designed to move through knit structure with less risk of skipped stitches.
- Use clips instead of relying on pins: Clips hold the layers without burying sharp points in the pile or distorting the nap.
Practical rule: Let the machine feed the fabric. Your hands should guide the seam, not stretch it.
Place the minky on the bottom when joining it to cotton or flannel. The feed dogs can grip the smoother companion fabric more effectively while the pile stays controlled. For background on the material itself, see what minky fabric is made of.
Once you understand those behaviors, minky becomes predictable. It still needs care, but it no longer needs guesswork.
Tools and Supplies You Actually Need
Gather your supplies before cutting. A prepared workspace prevents the most common mistake, starting a seam with a dull blade, universal needle, or too few clips and then trying to fix the result with force.
The essential kit
A sharp rotary cutter or fabric scissors comes first. A fresh rotary blade cuts the knit backing cleanly instead of pushing the pile forward. If you prefer scissors, use sharp fabric shears and make long, controlled cuts.
Choose a size 90/14 ballpoint or stretch needle for the machine. Guidance commonly lists 80/12 or 90/14 ballpoint or stretch needles for minky, so a needle sampler can help you test the fit on your particular machine. Replace the needle if it starts skipping or making a tapping sound.
Use polyester or cotton-wrapped polyester thread. Coats & Clark and Gütermann are practical choices for a stable seam. Match the thread weight to the rest of the project rather than using a heavy decorative thread that adds bulk.
Fine clips are more useful than a pincushion full of straight pins. Place them close together along a difficult seam. Minky shifts, and the closer support keeps the top and bottom edges aligned.
A basic machine can sew a simple minky seam without specialty equipment. A walking foot is a helpful upgrade, not a requirement. It moves the upper layer along with the feed dogs, which limits creeping when minky is paired with cotton, flannel, batting, or a pieced quilt top.
Supplies that make the project easier
Keep a long ruler, a clean cutting mat, a lint brush, and a small vacuum nearby. Minky sheds loose fibers during cutting, and removing them before they collect around the bobbin area makes cleanup easier.
If you're making a quilted blanket, select polyester batting with a drape similar to the minky. A stiff batting can make the sandwich harder to feed and can reduce the soft movement that makes minky appealing. The Fabric Company carries minky, batting, thread, rotary tools, and sewing notions, so you can compare the fabric and support layers in one place.
For a project involving costumes or washable utility pieces, Caddie Uniform costume tips offers useful construction context for thinking about durability, seams, and repeated wear. You can also review the sewing setup in sewing notions and supplies before choosing your tools.
The mandatory items are a sharp cutting tool, an appropriate needle, suitable thread, and enough clips. A walking foot, specialty feet, and extra stabilization are worthwhile when you're making a large quilt or joining slippery layers.
Prepping, Cutting, and Pinning Minky
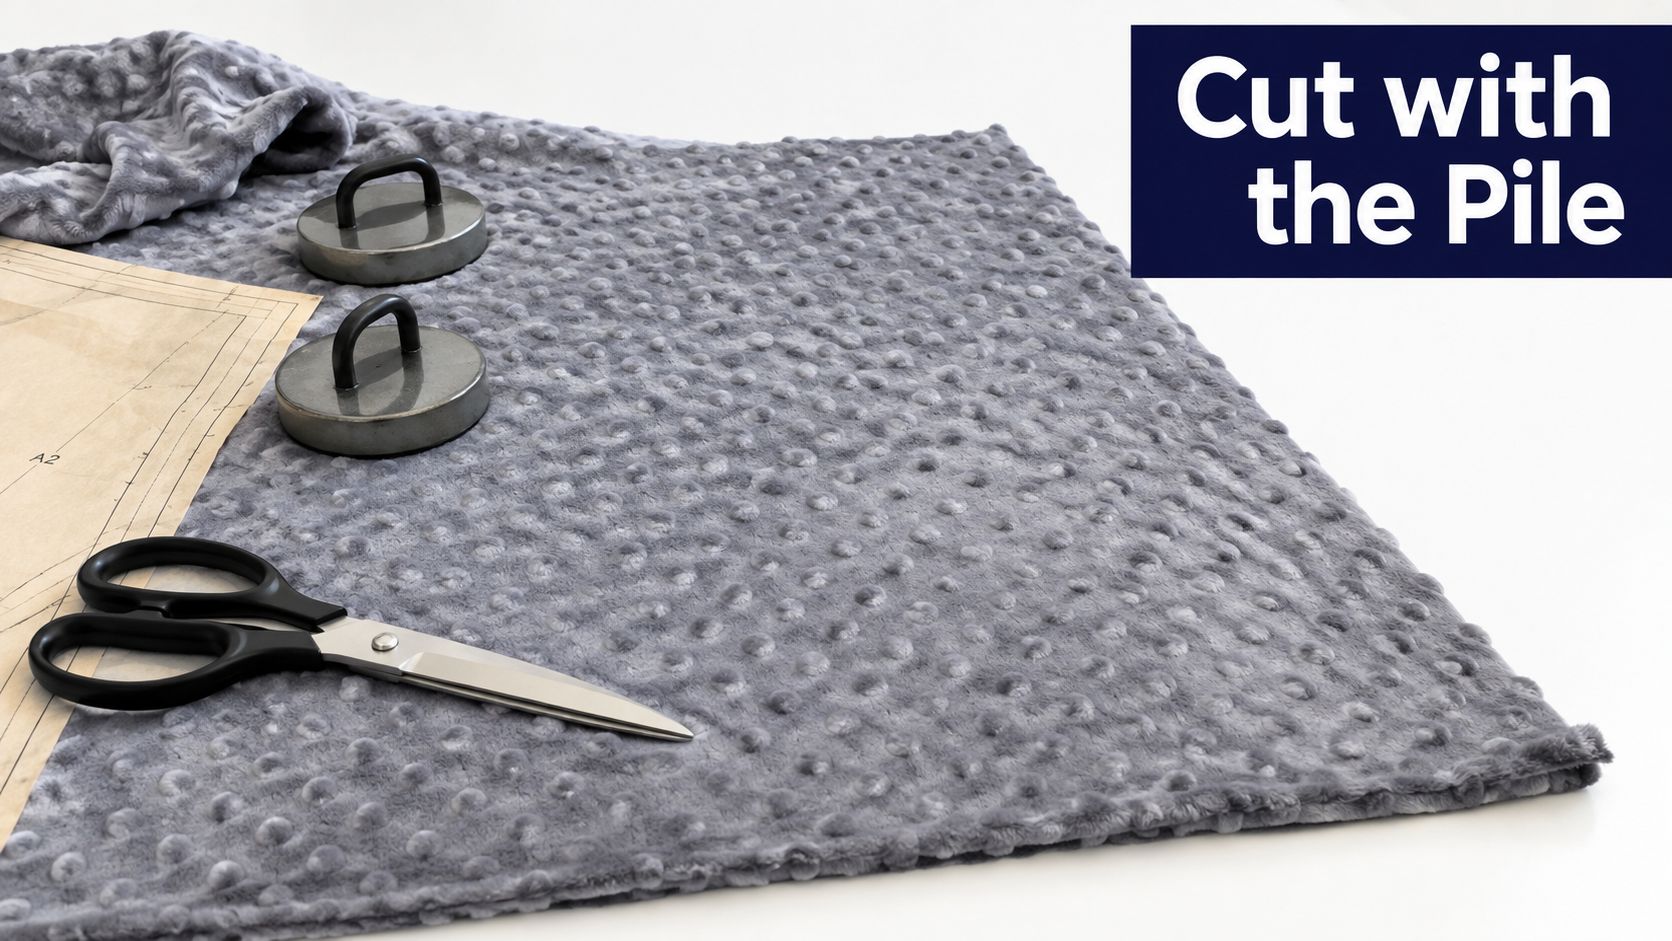
Begin with a clean, flat cutting surface. Lay the minky pile-side down when the project allows, then inspect the nap from the backing side and mark an arrow showing its direction. Smooth the fabric with an open palm, not a hard sweep that stretches the knit or crushes the pile.
Minky itself doesn't need prewashing before cutting. If you're combining it with cotton or another fabric that may shrink, prewash that companion fabric instead. The different care behavior matters after construction, because polyester minky doesn't shrink in the same way as many woven fabrics. The Fabric Company's guide to how to preshrink fabric can help you decide which project layers need preparation.
Keep every piece facing the same way
Minky has a nap, even when the surface looks nearly uniform. Brush the pile in one direction, then against it. The surface can appear lighter or darker depending on how the fibers lie.
Cut every piece with the nap arrow pointing the same way. If one section is rotated, the finished blanket can show a visible change in shade at the seam. Nap layout also uses more fabric than a careless layout, so plan your yardage around direction rather than trying to force every pattern piece into the smallest space.
Cut one layer at a time with a rotary cutter and long ruler. Move the cutter away from your body, and lift or reposition the mat between cuts so the pile isn't compressed under the fabric as you work. If you're cutting a printed piece, follow the pattern's orientation while keeping the nap consistent.
A clean cut edge makes pinning easier, but minky can still creep. Place fine clips every 1 to 2 inches along a seam when the layers are especially slippery. For corners, fold the pieces together, check that the edges and markings meet, and clip across the seam allowance rather than into the stitching path.
If the project is large or the join is badly behaved, hand-baste or add a second row of clips inside the seam allowance. A short basting line stabilizes the perimeter before the presser foot reaches it. For work that includes embroidery or decorated fleece, custom fleece embroidery guidance provides helpful ideas about stabilizing soft fabric without flattening its surface.
The cutting video below shows the kind of slow, supported handling that keeps plush fabric from shifting.
Machine Settings and Seam Techniques
Think of each machine setting as an answer to one question: How can the machine move both layers without stretching the minky?
Start with a size 90/14 ballpoint or stretch needle, then thread the machine with polyester or specialty minky thread such as Coats & Clark or Gütermann. Set the stitch length around 3.0 to 3.5 mm, or within the broader 3.0 to 4.0 mm range recommended by sewing guidance for minky from I Can Sew This. If the seam puckers, loosen the upper tension by one or two numbers from its default setting and test again on scraps.
Use a 1/2-inch seam allowance for a secure join. A straight stitch works when the pieces are stable and the seam won't need much stretch. A narrow zigzag is a useful alternative, especially on a basic machine. A practical substitute for a serger is a zigzag about 1.0 mm wide and 3.0 mm long, while a four-thread overlock is an option when a serger is available, as described in this Threads Magazine minky guide.
Backstitch at both ends, but don't sew rapidly over the edge. Let the needle enter the fabric cleanly, and keep your hands flat near the seam rather than pulling the minky toward you.
Choose the foot your machine supports
| Setting / Habit | Standard Presser Foot | Walking Foot or Dual Feed |
|---|---|---|
| Layer control | Use clips closely and guide gently | Feeds upper and lower layers together |
| Stitch length | Keep it around 3.0 to 3.5 mm | The same longer setting usually works |
| Seam choice | Straight stitch or narrow zigzag | Straight stitch, narrow zigzag, or overlock |
| Fabric position | Place minky on the bottom when joining cotton | Still useful, especially on bulky sandwiches |
| Speed | Sew slowly and pause to realign | Sew steadily, without stretching the seam |
| Upgrade value | Works for small or simple projects | Helps with quilts, batting, and long seams |
The standard-foot path costs nothing beyond the right needle, longer stitch, close clipping, and patience. The walking-foot path is easier when the project has several layers or a long perimeter. If your machine accepts a compatible foot, compare models carefully before buying. The Fabric Company's guide on how to use a walking foot for quilting explains the feeding principle without assuming that every machine uses the same attachment.
Test a scrap first. Sew a short sample, inspect both sides, and wash the sample if the finished project will be washed. That small test tells you more than changing several settings at once.
Finishing, Pressing, and Caring for Minky
Minky doesn't need aggressive finishing because its knit edges don't fray like woven cotton. The edge can still curl, shed, or shift, so finish it in a way that supports the fabric without crushing the pile.
For a simple edge, fold the raw edge inward, clip it in place, then fold it again for a 1/4-inch double fold. Stitch slowly with a straight stitch or narrow zigzag. If you prefer an overcast finish, use a wide zigzag or a serger to cover the edge without stretching it.
Finger-press seams first. If you need an iron, use low heat, a dry setting, and a pressing cloth. Hovering the iron or pressing from the wrong side protects the raised fibers. Direct high heat can damage polyester, flatten the pile, or melt it permanently, so never place a hot iron face-down on the plush surface.
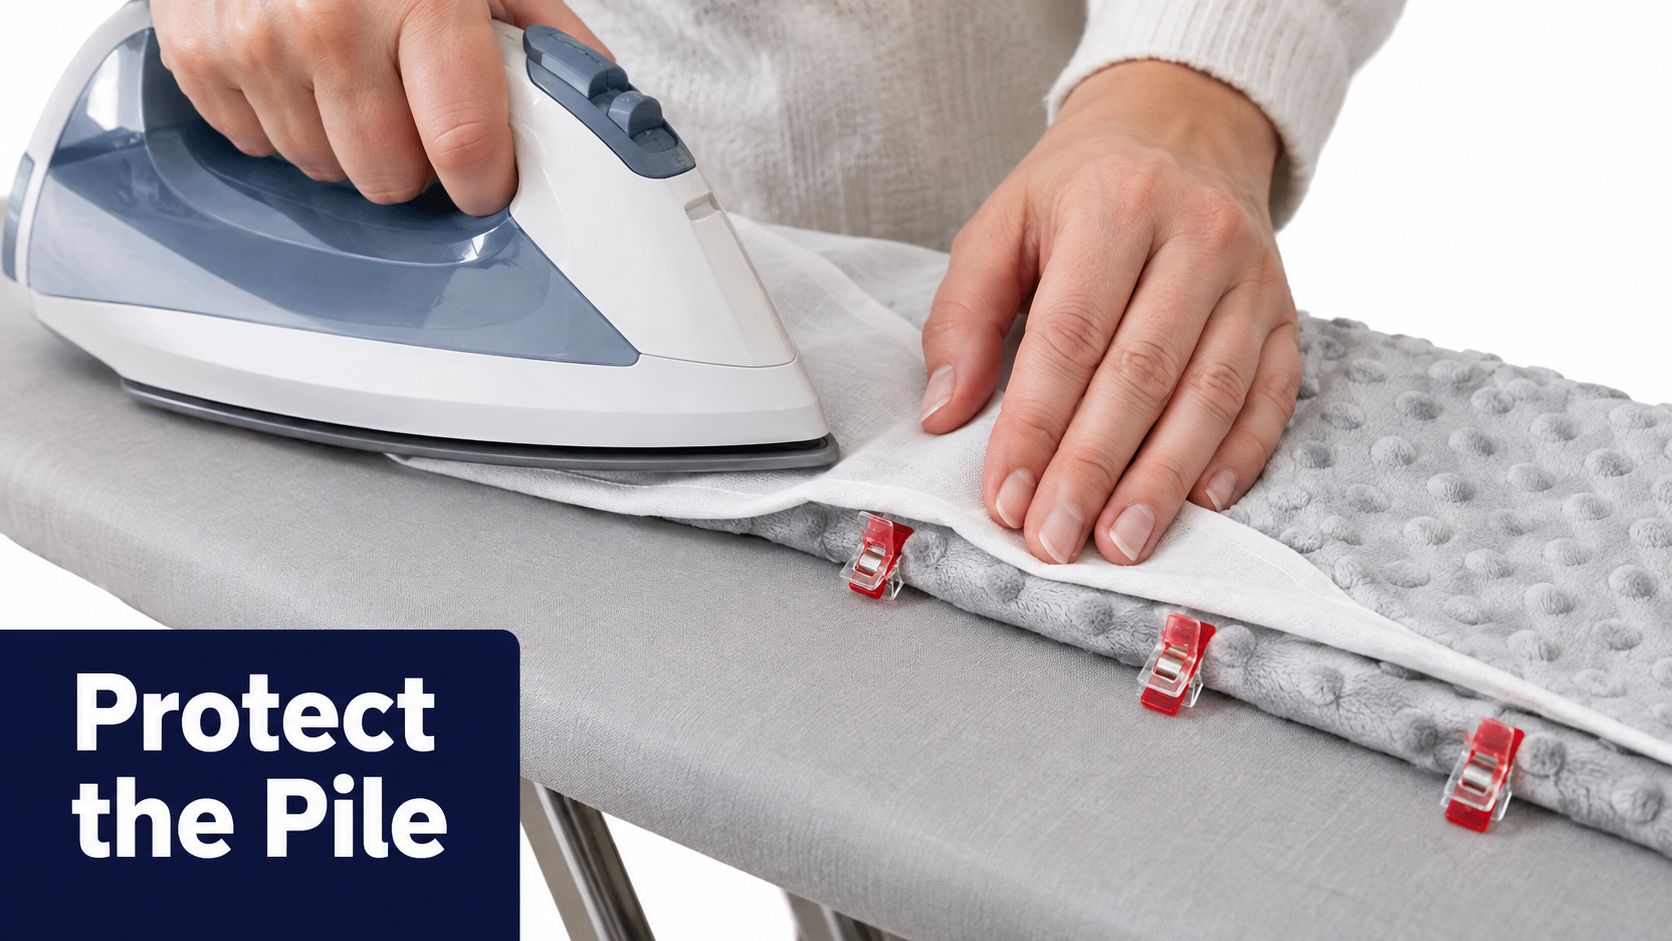
Protect the texture: If a seam needs shaping, use your fingers first. Heat should be the last tool, not the first.
Wash for softness, not speed
Wash a finished minky blanket in cold water on a gentle cycle. Tumble dry on low or air-dry it flat. Skip fabric softener sheets, which can coat the fibers and make the surface feel matted.
Avoid stretching the blanket while it's wet. Support the full piece when moving it from the washer, especially if it includes a cotton top or batting. For more fabric-care guidance, see how to prevent pilling.
These habits protect the pile during regular use. A soft baby blanket stays pleasant when the stitching, drying, and pressing methods all respect the fabric's structure.
Troubleshooting Common Minky Problems
Don't guess based on the fabric's reputation. Look at the symptom on the seam, then change the setting or handling habit most likely to have caused it. A skipped stitch points to a different problem than a seam that ripples, and treating both with extra tension usually makes one of them worse.
Minky Problem Diagnosis Chart
| Symptom on the Seam | Most Likely Cause | Quick Fix |
|---|---|---|
| Skipped stitches | Wrong needle type or a worn needle | Install a ballpoint or stretch needle and test again |
| Wavy or stretched seams | The fabric was pulled while sewing or the foot dragged the pile | Stop pulling, sew slowly, reduce presser foot pressure, and use a walking foot if available |
| Puckered seams | Stitch length is too short or tension is too tight | Lengthen the stitch toward 3.0 to 3.5 mm and loosen tension slightly |
| Visible needle holes | Pins or an unsuitable sharp needle disturbed the knit | Use clips and change to a ballpoint or stretch needle |
| Pile lays flat or sheds | Iron heat was too high or the surface was pressed aggressively | Use low heat with a pressing cloth and finger-press whenever possible |
A four-thread overlock can give a stable seam when you own a serger, while a narrow zigzag remains a workable basic-machine option. The Santa Rosa Quilt Guild's minky reference also emphasizes seam allowance, gentle pressing, and stabilization for difficult joins.
If the seam still shifts, add clips or hand-baste rather than increasing speed. If the machine jams, remove the project, clean away loose fibers, replace the needle, and begin again on a scrap. Don't pull the fabric backward from the needle, because that can stretch the seam and damage the knit.
The three rules worth remembering are simple: use a ballpoint or stretch needle, lengthen the stitch, and keep your hands gentle. Once those habits become automatic, your first minky project can move from a frustrating experiment to a soft, finished gift.
The Fabric Company offers minky fabric, batting, thread, cutting tools, and sewing notions for projects that need a soft, stable finish, with online shopping and our Springfield, Tennessee showroom available for quilters who want help choosing supplies. Visit The Fabric Company to select your minky project materials, then shop the latest minky collection and join The Weekly Thread for more tips and 10% off your first order.