

You've pulled last year's holiday tote from the closet, found a beautiful bundle of Christmas cottons, and now you're wondering whether it's enough for the throw quilt in your head. A Christmas fabric layer cake gives you a coordinated starting point, but it isn't automatically a complete quilt kit. The smart approach is to plan the usable squares, accent yardage, backing, batting, and leftovers as one project.
What a Christmas Fabric Layer Cake Actually Is
A Christmas fabric layer cake is a coordinated bundle of uniformly cut 10-inch by 10-inch quilting-cotton squares, typically containing 42 squares. The format was popularized by Moda Fabrics, which trademarked “Layer Cake” as a brand-specific name. Other manufacturers use names such as 10-inch squares, stackers, or tiles for comparable precut bundles. You can also review what a layer cake means in quilting before choosing a collection.
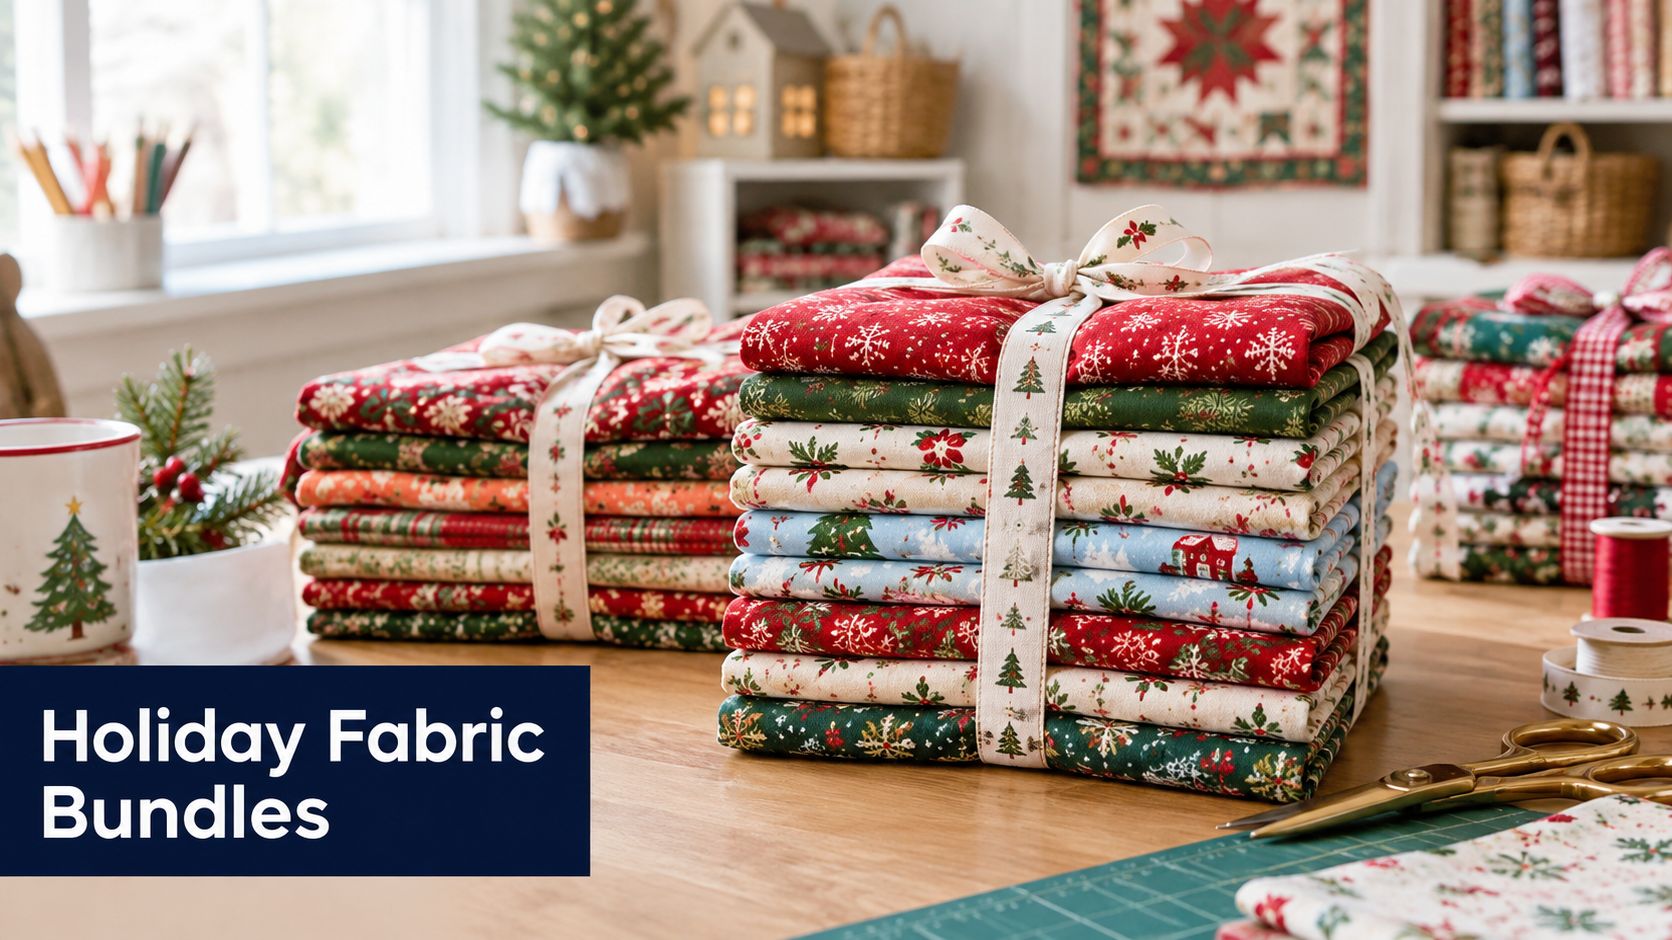
The word precut matters. Instead of measuring and rotary-cutting every piece from yardage, you begin with ready-to-sew squares. That saves preparation time and gives you a consistent starting size. Coordinated prints also reduce the color-matching challenge, which helps beginners and anyone making a quick holiday gift.
Why 10-inch squares suit Christmas prints
A layer cake is larger than a charm pack. Charm packs generally contain 5-inch squares, while layer cakes use 10-inch squares, so the larger format gives Christmas motifs more room to show.
That scale works well for:
- Ornaments, which can become the focal point of a block
- Poinsettias, especially in bold red and cream prints
- Snowflakes, stars, and winter motifs
- Holiday panels or larger scenic designs
- Directional prints where a tiny cut would hide the pattern
A 10-inch square also has useful construction math. With a 1/4-inch seam allowance on each side, the nominal unit becomes approximately 9.5 inches after piecing, while a simple patchwork block can finish at approximately 9 inches, depending on how the pattern defines the block and trims it. The important idea is simple: the square you buy isn't the same size as the unit you'll see in the finished quilt.
When shopping, check whether the bundle is a manufacturer-branded Layer Cake or a collection of hand-cut 10-inch squares. Comparable names may describe the same general format, but factory-cut pieces usually offer more consistent edges and squareness.
How Many Squares You Really Get
A complete 42-square layer cake contains approximately 2 3/4 yards of fabric by area, or about 2.78 square yards of face fabric. That figure helps with early planning, but it describes the fabric before cutting and sewing. It doesn't promise a finished quilt of a particular size.
Start with the simplest layout. Place the squares in 6 rows by 7 columns, using one square for each position. After allowing for the conventional 1/4-inch seam allowance, each square contributes a nominal 9.5-inch finished unit. The theoretical pieced field is therefore about 57 by 66.5 inches, before borders, quilting, and dimensional shrinkage.
Layer cake yield at a glance
| Bundle Spec | Number of Squares | Approx. Face Yardage | Pieced Field Before Borders |
|---|---|---|---|
| Coordinated layer cake | 42 | Approximately 2 3/4 yards | About 57 by 66.5 inches in a 6-by-7 layout |
These figures come from the practical calculations described by Shabby Fabrics' layer cake fabric guide and Fat Quarter Shop's layer cake information. Treat them as a planning baseline, not a pattern guarantee.
The layout changes as soon as you add design features. Sashing takes fabric between blocks. Borders expand the top but require long, carefully planned cuts. Binding needs its own strips, and backing is separate from the pieced face. Half-square-triangle blocks and diagonal layouts can sacrifice substantial corner area, especially when you trim the units into accurate shapes.
Directional prints create another kind of waste. If you want every Santa, tree, or stripe facing the same way, you may not be able to rotate every square for the most efficient layout. Fussy cutting can use even more of the available area because you're positioning a specific motif rather than taking the easiest cut.
Planning rule: Count usable pieces after the pattern's cuts, not just the number printed on the bundle label.
Use one layer cake as a throw-size starting quantity when the pattern uses whole squares efficiently. A larger quilt, a design with many triangles, or a top with wide borders may need two or more bundles, or one bundle supported by background and accent yardage.
Planning a Holiday Quilt From a Single Bundle
A layer cake becomes much easier to plan when you separate the project into two inventories. The first is your print bundle. The second is the supporting fabric that gives the quilt structure and a finished edge.
For a straightforward throw, arrange the squares in a 6-by-7 grid and decide whether you want visible sashing. A high-contrast cream, deep green, or solid red can separate busy Christmas prints. A low-volume background can create a quieter, more vintage effect, while dark sashing makes bright ornaments and poinsettias stand out.
Build the supply list around the top
Keep these categories separate:
- Print squares: The coordinated 10-inch precuts that carry the holiday theme
- Background or sashing: Yardage for spacing, alternate blocks, or visual calm
- Borders: Fabric for extending the top and framing the patchwork
- Binding: Cross-grain or pattern-appropriate strips for the final edge
- Replacement fabric: A small reserve if a square is damaged, disliked, or needed for a directional layout
A simple binding plan often starts with 2 1/2-inch strips, but the final quantity depends on the quilt's perimeter, the pattern's binding instructions, and how you join the strips. Don't treat binding as an afterthought. A Christmas print that looks too busy in a block may become the perfect narrow binding, while a solid used in the sashing can unify the edge.
The same principle applies to borders. A border is not “free” because the layer cake has unused area. Ten-inch squares may not provide the long, continuous cuts needed for a clean border, and piecing a border from squares changes the design.
A practical project lens
For a throw-style top, begin with the intended grid, then mark every element that needs yardage. Add backing and batting to the list before cutting into the bundle. A layer cake can provide a practical throw layout, but it isn't a complete quilt-material specification because borders, quilting, binding, shrinkage, and pattern-specific trimming all change the result.
If you're buying online, The Fabric Company's precut collection can help you compare layer cakes with other formats such as Jelly Rolls and Fat Quarters. A Jelly Roll's 2.5-inch strips may suit sashing or a strip-based border, while Fat Quarters can supply larger background or lining cuts.
Three Christmas Projects That Fit a Layer Cake
The best Christmas layer-cake project isn't always a full quilt. The format works especially well when the pattern respects the square's size and lets the fabric's print do some of the decorating.
A throw quilt for a forgiving first project
A simple 6-by-7 patchwork grid uses the squares in their most direct form. You can lay out all the prints on the floor or a design wall, move similar reds and greens apart, and sew rows without complex diagonal points.
This is a good choice for a seasonal gift because the construction is easy to understand. It also gives bold motifs enough space to remain recognizable. Add a contrasting border, a separate backing, and batting, and the top can become a useful couch or chair throw.
For a beginner, whole-square patchwork is forgiving because the design doesn't depend on matching many sharp triangle points. You still need a consistent seam, but the pattern lets you focus on pressing, row assembly, and quilting decisions. For more ideas, browse easy layer-cake quilt patterns.
A table runner with a smaller commitment
A table runner uses the same coordinated prints in a longer, strip-friendly arrangement. You might select a portion of the bundle for the top, then pair it with one coordinating yardage for sashing, a border, backing, or binding.
This project suits a maker who wants seasonal decoration without starting a large quilt late in the year. It also makes a practical hostess gift. Arrange the prints so the strongest Christmas motifs appear near the center, and use calmer low-volume pieces toward the ends.
Stockings for a family set
A single 10-inch square can provide the main fabric for a stocking front and back when the stocking pattern is designed for that scale and you add separate lining fabric. Directional prints may require more careful placement, and a pattern with a large seam allowance or generous cuff can change the cutting plan.
Stockings are excellent stash builders. Use leftover squares for cuffs, heels, toes, or hanging loops, then choose a coordinating solid for the lining. The result can feel collected without requiring every stocking to use the same print.
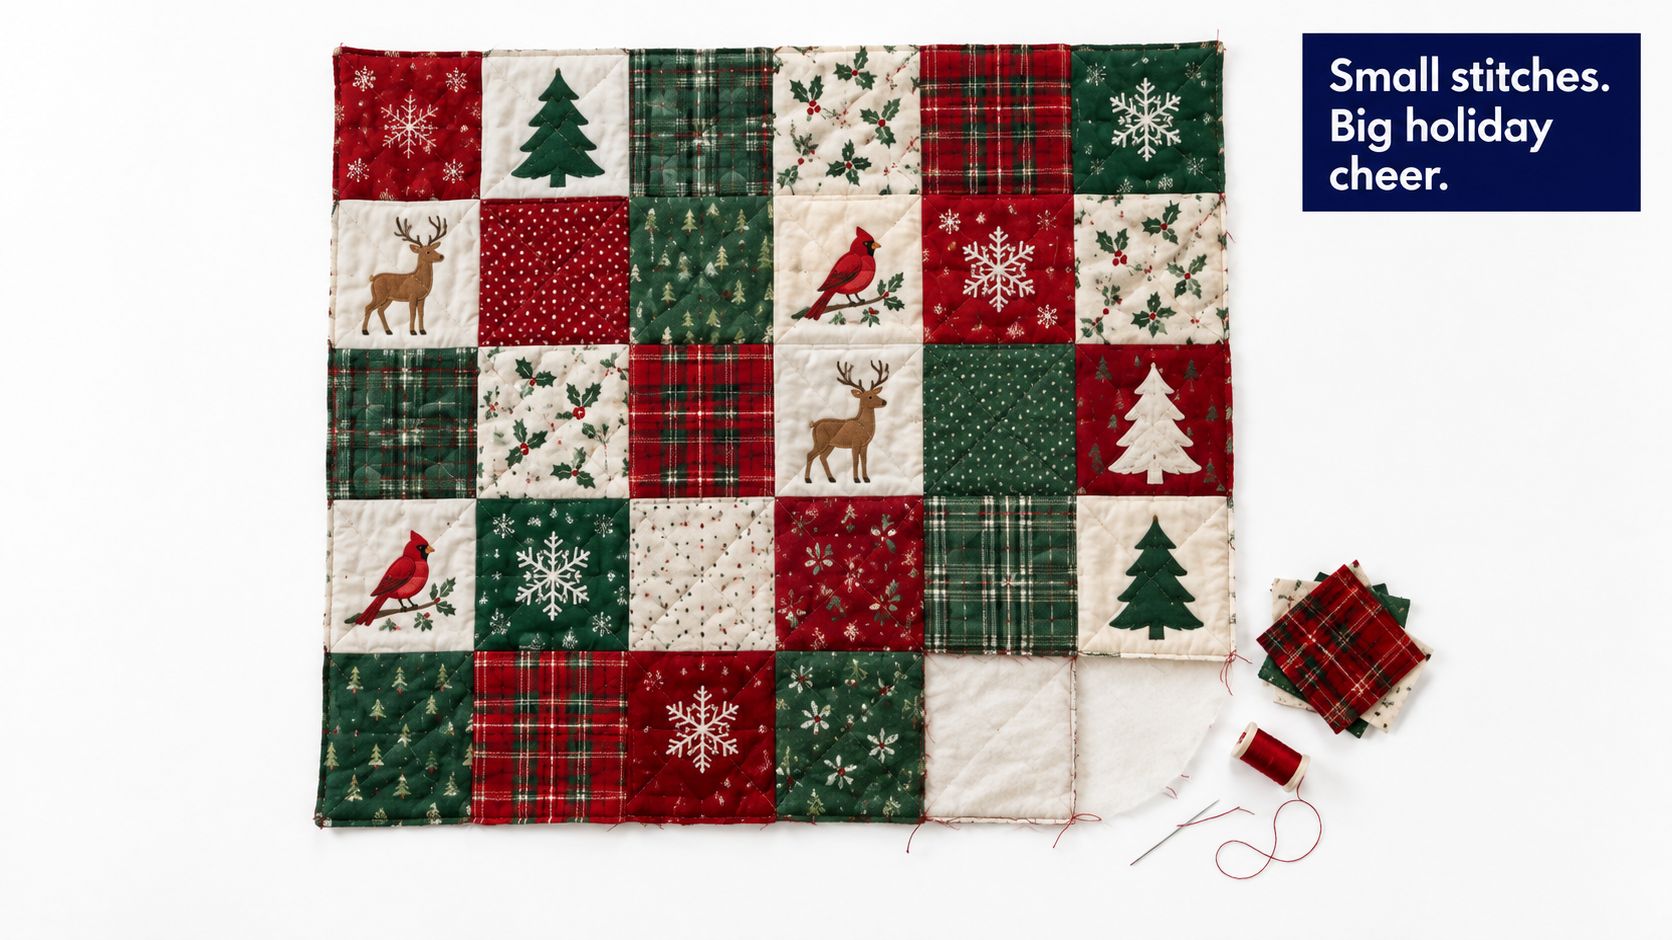
Match the project to your available sewing time. A throw asks for sustained piecing and finishing, a table runner offers a shorter decorative project, and stockings let you create several small gifts from a coordinated stash.
Backing and Batting That Finish the Quilt
The pieced top gets most of the attention, but the backing and batting determine how the finished quilt feels, drapes, and behaves after quilting. Plan them before you start sewing the blocks so the top doesn't sit unfinished while you search for a compatible backing.
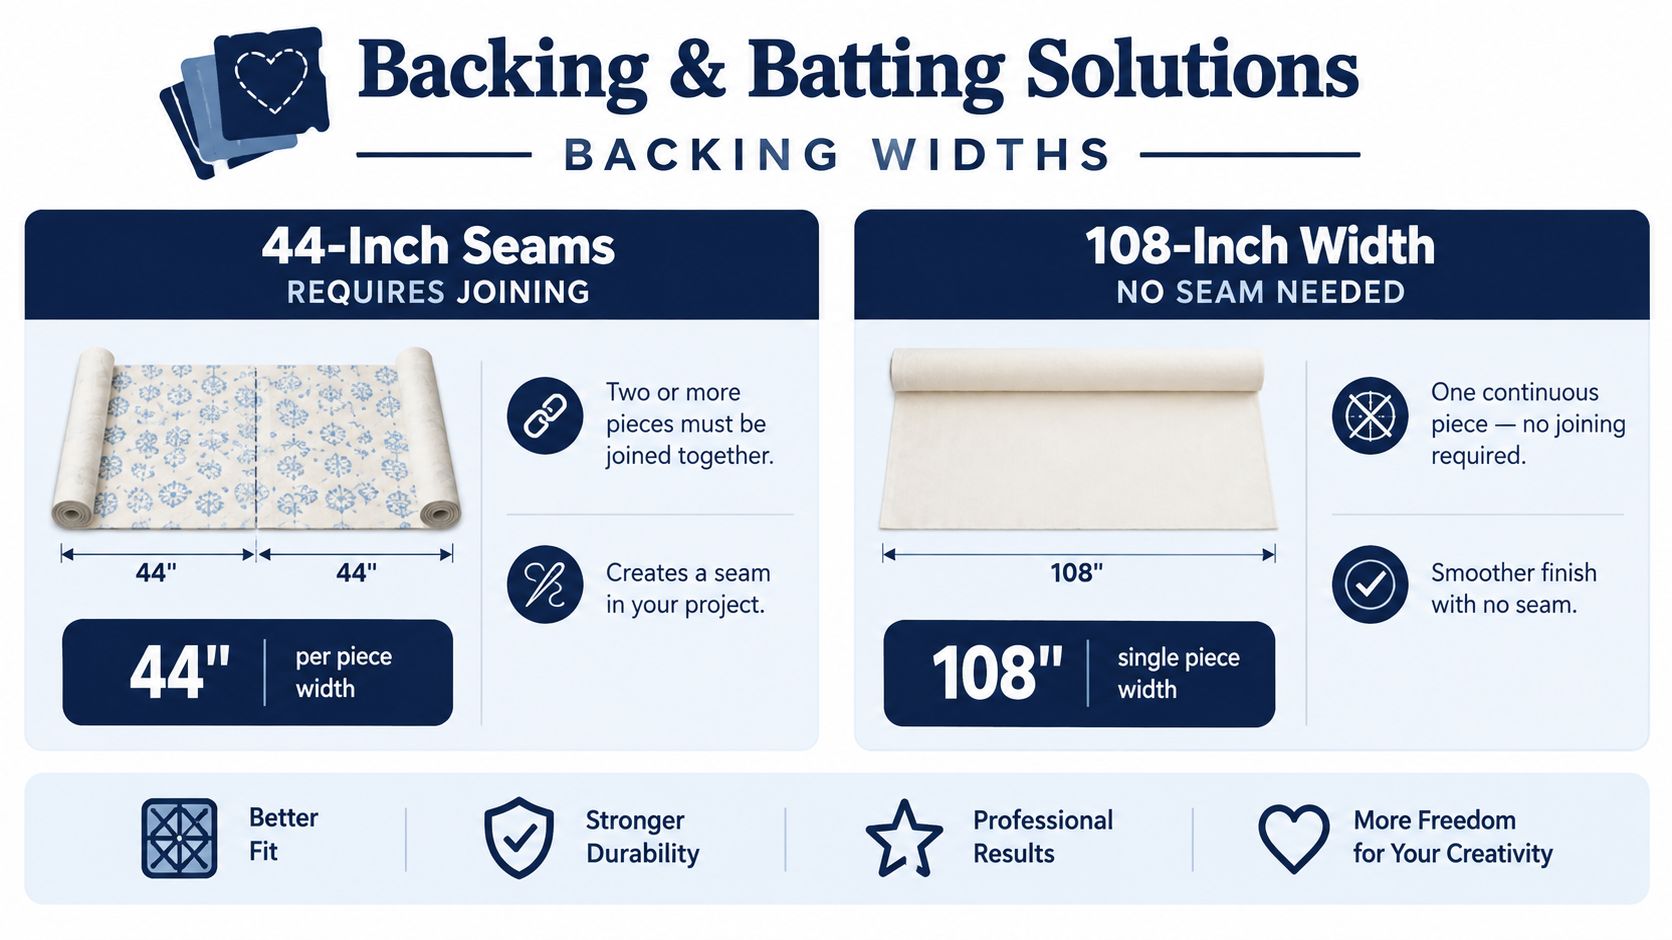
A regular-width quilting cotton can work well, but it may require a center seam for a throw-sized quilt. A 108-inch-wide backing can provide a continuous piece for many quilt projects, which reduces seam placement decisions and can speed up preparation. Compare the options by construction, not just by the price of the fabric.
Regular width versus wide backing
| Backing choice | Construction effect | Best fit |
|---|---|---|
| 44-inch fabric | Requires joining for a wider quilt back | Makers who already have matching yardage or prefer a pieced backing |
| 108-inch backing | May avoid a seam for a continuous piece | Makers prioritizing a clean back and faster preparation |
A wide backing also lets you keep the back visually quiet when the Christmas top already has many motifs. If you do piece a backing, place the seam where your quilting plan can support it rather than allowing it to compete with the front.
Choose batting for the intended feel
Hobbs batting is available in packaged sizes and roll forms, so choose based on the project and how much material you need. Loft affects thickness and drape. A low-loft, needle-punched cotton can create a flatter seasonal throw, while a higher loft changes the texture and quilting presence. Scrim can also affect stability and handling, depending on the batting construction.
Review quilting batting sizes and planning guidance before ordering. Then add thread, needles, rotary blades, clips, and binding tools to your supply list. Our Springfield, Tennessee showroom stocks quilting supplies for local pickup, which can help if you need a finishing item during a holiday project.
Getting the Size Right and Keeping It There
A layer cake is a starting format, not a finished quilt in a bundle. The advertised square size describes the precut piece. Your finished dimensions depend on seam allowances, block construction, trimming, borders, quilting, and laundering.
A 10-inch square becomes approximately 9.5 inches after a conventional 1/4-inch seam allowance on each side. Small errors matter. If each of two joined units is 1/8 inch short, the combined block can show a 1/4-inch discrepancy, and that difference becomes more visible as you assemble multiple rows.
Protect accuracy at the machine
Measure several squares before sewing. Factory cutting is consistent, but checking the pieces helps you catch a damaged or irregular square before it reaches the design wall.
Use a seam guide rather than relying only on the edge of the presser foot. Press according to the pattern, avoid pulling the fabric, and handle bias edges gently when a pattern creates them.
- Check the precuts: Confirm that the squares are square and close to their stated size.
- Guide the seam: A marked machine bed, seam guide, or carefully positioned guide helps maintain repeatable width.
- Control the edges: Don't stretch the fabric while sewing or pressing.
- Test mixed fabrics: Prewash, or at least test a sample, when combining cottons from different sources or pairing the top with a different-fiber backing.
A consistent laundering and drying routine matters for a gift quilt that will be used every Christmas. Differential shrinkage can distort pieced units, especially when the top and backing behave differently.
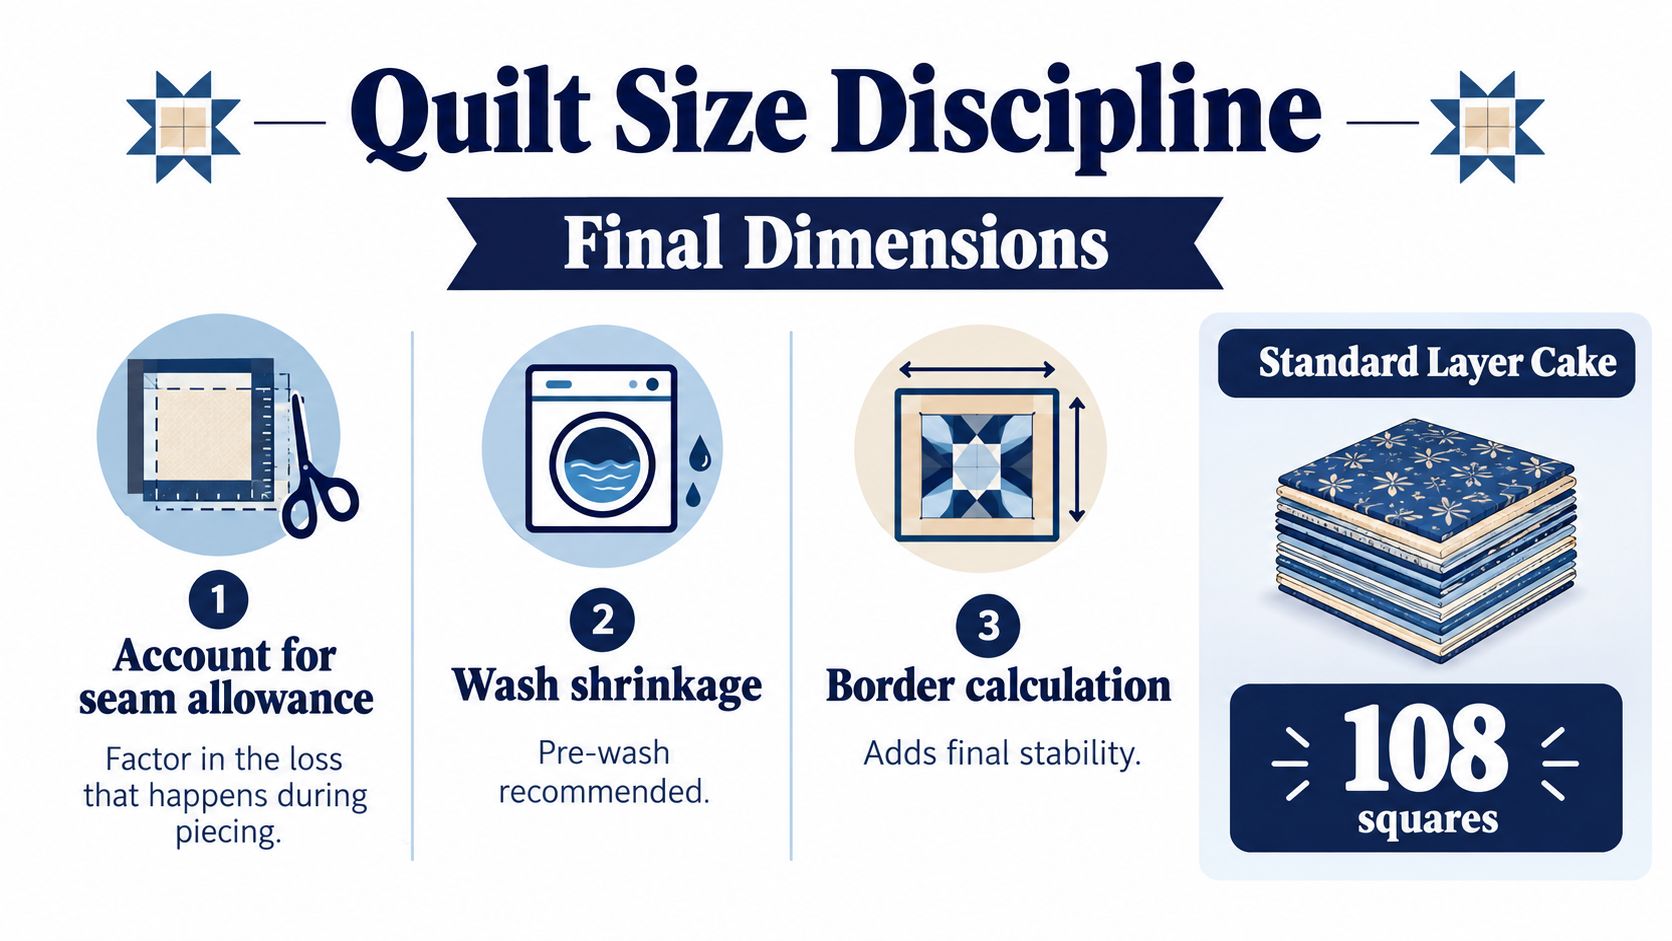
Accuracy check: Sew and press a sample block before cutting the rest of the bundle. If the sample doesn't measure as the pattern expects, fix the seam or pressing method early.
Hand-cut 10-inch squares can vary in squareness and size, even when the label uses familiar wording. A manufacturer-branded Layer Cake and an arbitrary stack of hand-cut squares may look similar in the shop, but they don't offer the same dimensional control. For additional yardage guidance, use this fabric yardage calculation guide.
A visual demonstration can reinforce the difference between nominal and finished size:
Using Every Last Square in Your Stash
Leftovers are not a planning failure. They're part of working with directional prints, fussy cuts, triangles, borders, and replacement pieces. Christmas fabric is especially useful in small projects because even one coordinated square can carry a strong seasonal motif.
Reserve extra squares for:
- Bindings: Cut strips on the cross-grain when the pattern and fabric allow it, or use a compatible yardage if the project needs more length.
- Stocking details: Turn squares into cuffs, heels, toes, or hanging loops.
- Mug rugs: Pair a holiday square with batting and a simple quilted backing for a useful seasonal coaster.
- Mini ornaments: Use fabric scraps for stuffed ornaments, folded decorations, or fabric-covered shapes.
- Pillow fronts: Center one bold ornament, poinsettia, or snowflake print inside a framed block.
- Scrappy rows: Save several leftovers for next year's Christmas quilt or a narrow accent strip.
Mixing collections takes care. A traditional red, cream, and evergreen bundle may clash with a bright novelty line, even when both fabrics are labeled Christmas. Compare scale, value, background color, and print personality before adding a new square to the same block.
Store each seasonal bundle in a labeled container with the collection name and manufacturer information. Keep selvedge notes with the leftovers so you can search for matching yardage later. A small paper record can save you from guessing whether a cream print belongs with a vintage-style collection or a brighter modern one.
Leftover fabric also works well in a larger stash plan. A square that doesn't suit the original throw may become exactly the contrast needed in a future scrappy block.
Buying Christmas Layer Cakes With Confidence
Online shopping adds one more planning variable, the difference between what you see on a screen and what arrives in the parcel. Christmas collections may include bright white, cream, dark red, deep green, low-volume backgrounds, or metallic-looking details that appear different across devices.
Use this checklist before checkout:
- Compare the color carefully: Look for clear, accurate product photography and compare several views when available.
- Inspect print scale: Judge the motif at the actual 10-inch-square size, not only in a tightly cropped image.
- Confirm the bundle details: Check the collection name and stated square count, since manufacturers can vary the number of pieces.
- Plan the supporting fabric: Add coordinating solids or yardage for sashing, borders, binding, backing, and lining.
- Check visual balance: Coordinated prints may come from one factory-matched collection and still lack enough contrast for your chosen block design.
Brands such as Robert Kaufman, Camden, Riley Blake Designs, and Cloud9 can photograph differently across screens. If you're unsure whether a collection feels traditional, vintage, modern, or highly themed, compare the lightest and darkest prints first, then look at motif size.
Premium layer cakes for beginners can help you make a more informed first selection. You can also compare bundles in person at Our Springfield, Tennessee showroom, where you can judge true color, texture, and scale without relying on a monitor. For image accessibility, describe product photos accurately in alt text, such as “a stack of coordinated 10-inch Christmas quilting squares,” rather than using a file name like “IMG_1234.” Google's image guidance identifies alt text as the most important image attribute for supplying image metadata.
The Fabric Company offers Christmas layer cakes, other precuts, 108-inch quilt backings, batting, thread, patterns, and finishing supplies for planning a complete seasonal project. Visit The Fabric Company online or stop by Our Springfield, Tennessee showroom to choose your bundle, backing, and batting with the finished quilt in mind, then join The Weekly Thread for more tips and 10% off your first order.