

You've got a leaf, star, or letter cut from favorite fabric, and it keeps shifting every time you reach for a pin. Appliqué using fusible interfacing gives that motif a temporary, heat-activated hold so you can focus on clean placement and stitching instead of wrestling with moving edges. The key is choosing the right fusible weight, matching the heat to the fabric, and letting the piece cool before you handle it.
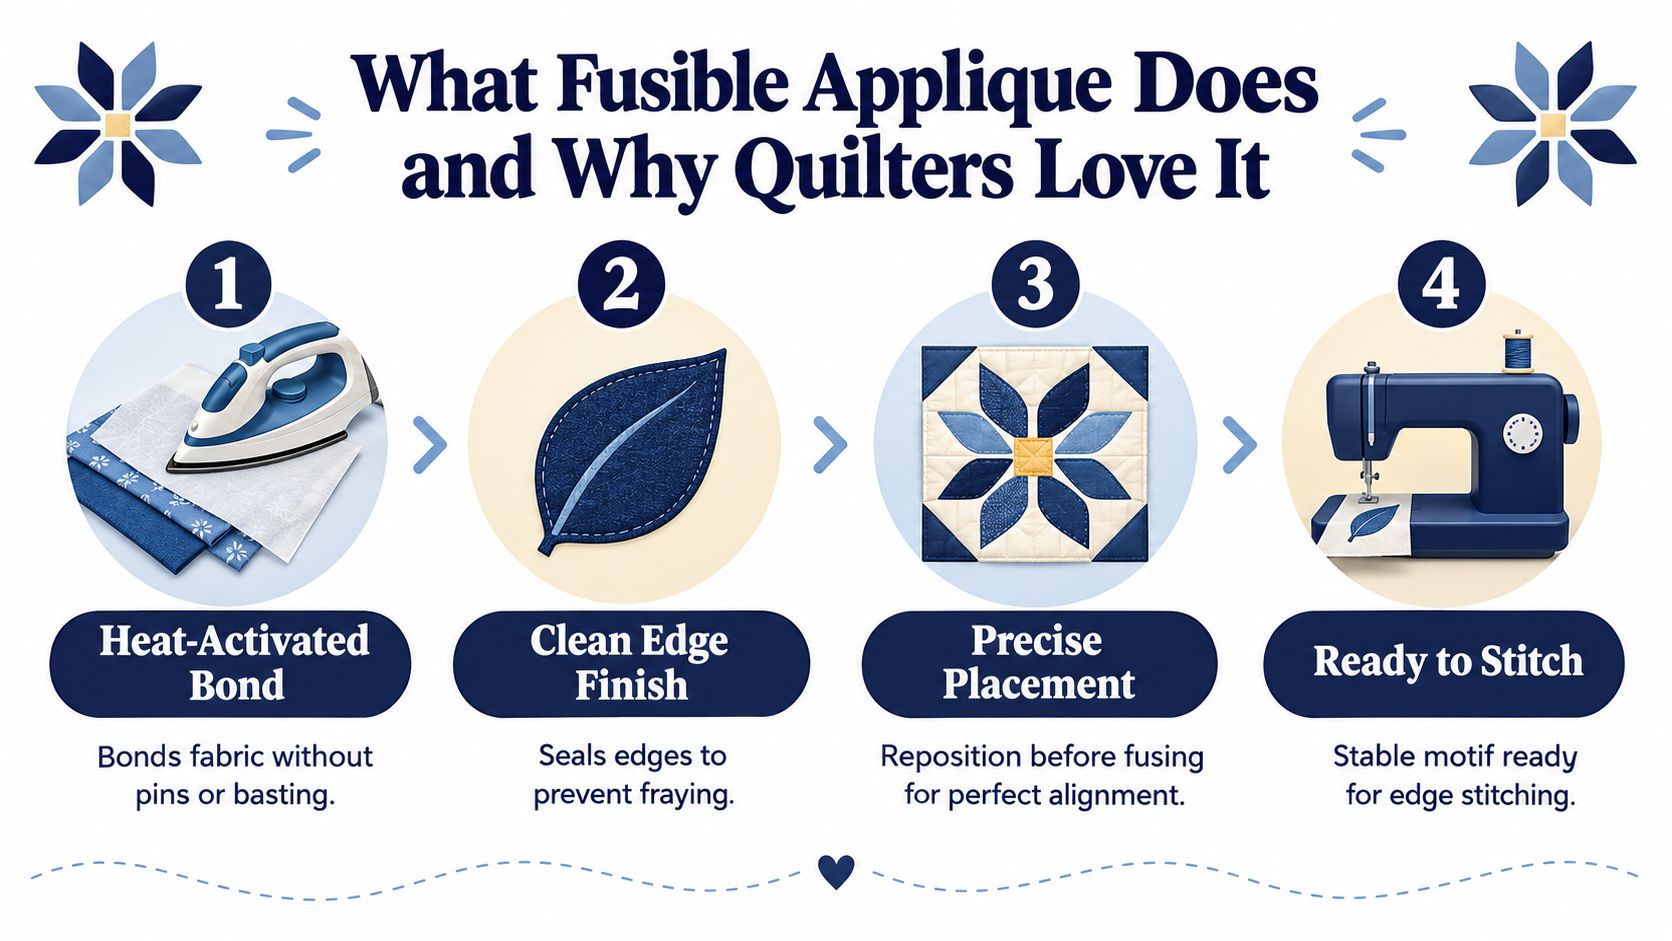
What Fusible Applique Does and Why Quilters Love It
At the kitchen table, the process looks wonderfully simple. You lay a leaf on a quilt block, pick up a dry iron, and press. There are no pins in the way, no freezer paper to remove, and no need to baste every curve before sewing.
Fusible web is an adhesive material activated by heat. You apply it to the wrong side of an appliqué fabric, press it, and create a flexible bond that lets you position the motif on a background. It works like a fabric sticker, but the adhesive isn't the permanent structural finish. Edge stitching or quilting must lock the shape in place for lasting use.
The technology behind this method developed before modern appliqué became common. A 1969 U.S. patent described fusible interlining bonded to base fabric with localized heat, while a 1972 patent advanced adhesive distributed as closely spaced resin dots between fabric layers, as documented in this academic review of fusible interlining history. Those developments helped make heat-activated bonding more practical for sewing and quilting.
Before cutting anything, settle three material choices:
- Fusible interfacing or web weight: Lightweight products preserve softness. Heavier products add body but can make a quilt top stiff.
- Motif fabric: Quilting cotton is easy to handle, while apparel fabrics and blends may need gentler heat.
- Background fabric: The background needs enough stability to support the motif without puckering during stitching.
This method sits between traditional needle-turn and raw-edge appliqué. Needle-turn offers a soft, heirloom finish, but it asks you to control the folded edge as you sew. Fusible appliqué stabilizes the shape first, which is especially helpful with points, curves, letters, layered leaves, and repeated motifs.
The approach has also become production-friendly. Quilting kits increasingly include laser-cut, pre-fused pieces that are ready to place and stitch, a sign that fusible appliqué now supports both first projects and repeatable workshop workflows, as described in this history of appliqué techniques.
Choosing the Right Fusible Interfacing for Your Project
The most common shopping mistake is choosing a product by adhesive strength alone. Your finished project also needs the right hand, drape, thickness, and temperature profile. A soft quilt block and a structured bag front shouldn't use the same fusible because both need an appliqué shape to stay put.
Fusible weight comparison
| Weight Type | Best For | Bond Strength | Drape and Hand | Iron Setting | Example Use |
|---|---|---|---|---|---|
| Lightweight | Quilting cotton motifs and soft quilt tops | Light to moderate | Soft and flexible | Follow the product label, usually dry heat | Leaves, petals, letters, and small layered shapes |
| Mid-weight | Layered motifs, apparel, and bag fronts | Moderate to strong | More body with less drape | Medium to medium-high heat when allowed by the label | A motif on a tote or a multi-piece floral design |
| Heavy-duty | Home décor and heavier fabrics | Strong | Firm and structured | Product-specific heat and pressure | Structured bag fronts or décor pieces that need body |
HeatnBond Lite is a useful reference point for lightweight work, especially when quilting cotton needs stability without a cardboard-like patch. HeatnBond Ultrahold offers a stronger grab for layered designs, apparel applications, and bag fronts. Products such as Pellon 809 or Decor Bond are better reserved for projects where structure matters more than softness.
Material rule: If a lightweight quilt will be washed and handled often, start with the lightest fusible that gives you a stable edge for stitching.
Most fusibles activate with medium to medium-high heat and no steam, but the package directions take priority. Cotton blends generally tolerate more heat than polyester, while delicate silks and heat-sensitive blends call for a lower setting and a scrap test. A 2026 industry note describes lower fusion temperatures of about 110–130°C for heat-sensitive silks and points toward more specialized coating technologies, as reported in this interlining trend overview.
For a product-specific reference, compare the construction and handling notes in Steam-A-Seam 2 Lite for appliqué. The important lesson isn't that one product works for every project. It's that fusible choice changes the finished feel, and a heavy web on a baby quilt can leave a stiff patch that shows through the top.
Preparing and Cutting Your Motif
A reversed pattern is the first detail that saves trouble later. Fusible appliqué is built from the back of the fabric, so the shape you trace must be flipped whenever the design has a clear direction, such as a bird facing left, a letter, or an asymmetrical leaf.
Follow the four-part preparation sequence
- Reverse and trace. Turn the motif pattern over and trace it on the smooth paper side of the fusible web. Leave enough space between pieces to label colors and avoid confusion during assembly.
- Rough-cut the web. Cut around the traced shape, leaving at least a quarter-inch margin. This rough cut doesn't need to be beautiful. Its job is to make the piece manageable while protecting the final outline.
- Fuse to the fabric. Place the adhesive side against the wrong side of the motif fabric. Press according to the manufacturer's time and temperature directions. A short initial tack of about 2–4 seconds is commonly used, but the product label controls the setting, as noted in this appliqué guide.
- Final-trim the shape. Once the fabric and web are bonded, cut directly on the traced line with sharp embroidery scissors or a small rotary blade. The fused layer keeps the fabric crisp, which makes curves and points easier to control.
The backing must stay on while you cut and position the piece. Peeling it too early removes the handling support and can distort narrow sections.
Precuts can shorten preparation when the motif fits their size. Jelly Rolls, made from 2.5-inch strips, can suit small stems, borders, and narrow leaves. Layer Cakes, made from 10-inch squares, give you a larger prepared surface for flowers, animals, and graphic shapes. You can fuse the strip or square first, then skip the tracing and rough-cut stages only when the design already fits within that prepared area.
Keep pieces organized
Label the paper backing with the fabric color or layer name. For a complex motif, build from the back layer forward and keep a simple placement sketch beside your pressing area. This prevents the classic mistake of fusing a foreground petal before the leaf behind it has been positioned.
A demonstration of the sequence is available in this fusible appliqué video.
Fusing and Positioning the Motif on the Background
Set up the ironing station before the adhesive touches fabric. Use a hard, heat-resistant surface, a dry iron, and a pressing sheet large enough to cover the entire motif. Empty the iron's water reservoir so accidental steam can't enter the bond.
Press the background fabric first. Moisture, wrinkles, and sizing can interfere with even contact, so a smooth, dry background gives the adhesive a better surface.
Use short, controlled pressure
Place the motif with the adhesive side down and the paper backing facing up during the initial bond. Press firmly for about 2–3 seconds, then allow the piece to cool enough to handle the backing without stretching the fabric. Follow the product label if it specifies a different sequence.
Peel away the paper backing, check the placement, and cover the motif with a pressing cloth or pressing sheet. Press section by section for the final bond, holding the iron in place for about 8–10 seconds where the product allows it. Lift the iron between sections. Sliding it can stretch the weave, drag the motif, and soften adhesive at the edge.
The final press should be direct and even, not a long ironing motion. Some products call for no steam, while product-specific instructions can differ, so don't treat one iron setting as universal. Iron-on stabilizer guidance is useful when you're deciding how a stabilizing layer fits into a broader sewing setup.
Cooling check: Let the fused piece cool flat before moving it. A warm bond can look secure and then lift when the block is picked up.
Assemble layered motifs on a sheet
For a flower with several petals, a bird with separate wing pieces, or a scene with overlapping leaves, use a Teflon or pressing sheet. Fuse the layers on the sheet first, keeping the design flat and aligned. Once the motif becomes one unit, transfer it to the background and make the final press.
Heat-sensitive fabrics need a different approach. Lower the temperature, shorten the dwell time, and test a scrap of the exact fabric and fusible combination. A polyester blend can scorch or distort before the adhesive has had time to form a reliable bond, while silk may need a product designed for lower-temperature activation.
Stitch Options for Machine and Hand Finishing
The fusible holds the motif in place while you work, but stitching gives the appliqué its long-term security and visual character. Choose the stitch before you start sewing, because the edge treatment affects how closely you trim the fabric and how visible the thread will be.
Compare machine finishes
| Stitch | Best For | Skill Level | Visual Effect |
|---|---|---|---|
| Raw-edge zigzag | Quilts and wearable pieces where the raw edge is intentional | Beginner to intermediate | Clean, modern outline |
| Machine blanket stitch | Leaves, petals, folk-art motifs, and decorative quilts | Beginner to intermediate | Hand-stitched appearance |
| Satin stitch | Fully covered edges and bold motifs | Intermediate | Smooth, dense border |
| Straight stitch in the hoop | Embroidery-machine repeats and uniform outlines | Intermediate | Precise, consistent edge |
A raw-edge zigzag with a 3.0 width and 1.0–1.5 length creates a clear edge finish when the raw edge is part of the design. Test the settings on a scrap first, especially around tight curves. A blanket stitch is more forgiving and adds a folk-art feel without covering as much of the motif as satin stitch.
Satin stitch can look polished, but it magnifies every wobble. Slow down at points, pivot carefully, and keep the edge centered under the needle. Straight stitch in the hoop works well for dense repeats because the embroidery machine controls the path consistently.
Consider hand finishing
Needle-turn appliqué creates a soft, traditional edge, but thick fusible products can make the turn difficult. A whip stitch with perle cotton or embroidery floss is more visible and forgiving, especially on rustic quilts, wall hangings, and decorative panels.
Match the thread to the motif when you want the stitching to disappear. Match it to the background only when you want the outline to contrast with the appliqué.
For a broader look at placement and finishing, use this appliqué quilt tutorial. It helps to think of the stitch as part of the artwork, not just a mechanical step that keeps the fabric attached.
Common Fusible Applique Problems and How to Fix Them
One iron setting won't work for every fabric and fusible. Bonding problems usually come from a mismatch among temperature, pressure, dwell time, steam, product weight, and handling, not from a mysterious defect in the appliqué method.
Diagnose the visible symptom
- Bubbling: The adhesive may not have melted evenly. Re-press with firm pressure and more dwell time, or raise the temperature in 10-degree increments while testing a scrap. Steam can also contribute to bubbles, so use dry heat when the product directions call for it.
- Peeling corners: The final press may have been too short, or the edge may have been trimmed too close for adequate adhesive coverage. Re-press through a cloth and reinforce the edge with stay stitching if needed.
- Warping or puckering: The fabric may have received too much heat for too long. Lower the temperature and shorten the press. Keep the iron stationary instead of gliding over the piece.
- Glue seepage: Excess adhesive can escape at the raw edge or transfer to the iron. Use a pressing sheet, reduce heat and dwell time as appropriate, or switch to a lower-tack web. If residue reaches the soleplate, follow this guide for cleaning an iron soleplate.
- Frayed edges after stitching: The needle may be too far from the raw edge, or the stitch may be too wide to cover the fibers. Adjust the stitch so it reaches the edge without rolling the fabric under the needle.
Test first: Apply every correction to a scrap made from the same fabric, fusible, and pressing cloth combination. A successful test is more useful than a universal temperature rule.
Watch the small mistakes
The adhesive side belongs against the wrong side of the appliqué fabric, never the right side. Keep the paper backing facing up when pressing the web to the motif fabric, and don't slide the iron across a shape that can stretch.
If the piece lifts after cooling, check whether you pressed every section, whether the background was dry and smooth, and whether the product suits the fabric. The bond remains a positioning aid until stitching secures the edge, so don't send an unstitched appliqué through a wash cycle and expect it to behave like a finished quilt.
Project Ideas and Where to Shop the Supplies
Start with a project small enough to let you learn the behavior of your chosen fabric and fusible. A 12-inch mini quilt with five layered motifs from a Layer Cake gives you practice with registration without committing a full quilt top. You can also turn fussy-cut animals into the focal point of a baby quilt panel, or use 2.5-inch Jelly Roll strips to make coordinating coasters with small leaves, stars, or initials.
For larger projects, try a wall hanging with turned-edge leaves, a holiday table runner made from seasonal precuts, or a denim jacket decorated with fused birds and flowers. A plain tote bag front can take a bolder centerpiece because a mid-weight or heavy-duty product adds useful body, while a lightweight web keeps apparel more comfortable.
Match the supply to the project
- Soft quilting cotton: Choose lightweight fusible web when the appliqué should blend into the quilt top.
- Layered quilt motifs: Use a mid-weight option when several pieces need to remain aligned during stitching.
- Bag fronts and structured décor: Consider heavy-duty support, but test first so the finished panel doesn't become too rigid.
- Delicate or mixed-fiber fabric: Select a lower-temperature product profile and test the bond, color, and texture on a scrap.
The Fabric Company carries quilting and sewing supplies that support this workflow, including interfacing and stabilizers, precuts, batting, tools, and fabric from brands such as Riley Blake Designs, Cloud9, Robert Kaufman, and Hobbs. You can also compare sewing notions and supplies when your project needs fresh needles, scissors, pressing tools, or finishing thread.
For makers producing decorated uniforms or team apparel, branded applique for workwear offers useful context on how appliqué can move beyond quilts into durable, identity-focused garments.
Before you begin a larger piece, gather a few fabric remnants, a pressing sheet, sharp scissors, and the fusible weight that matches your intended drape. Browse fusible interfacing for appliqué projects and choose a project-ready precut fabric collection that gives your motif the color and scale you want.
The Fabric Company offers interfacing, stabilizers, precuts, batting, threads, and quilting cottons for appliqué projects, with online shopping and Our Springfield, Tennessee showroom available for makers who want to plan supplies in person. Visit The Fabric Company to gather the right fusible weight for your fabric, then join The Weekly Thread for more tips and 10% off your first order.